Freestanding Neon Signs: Floor and Table Displays
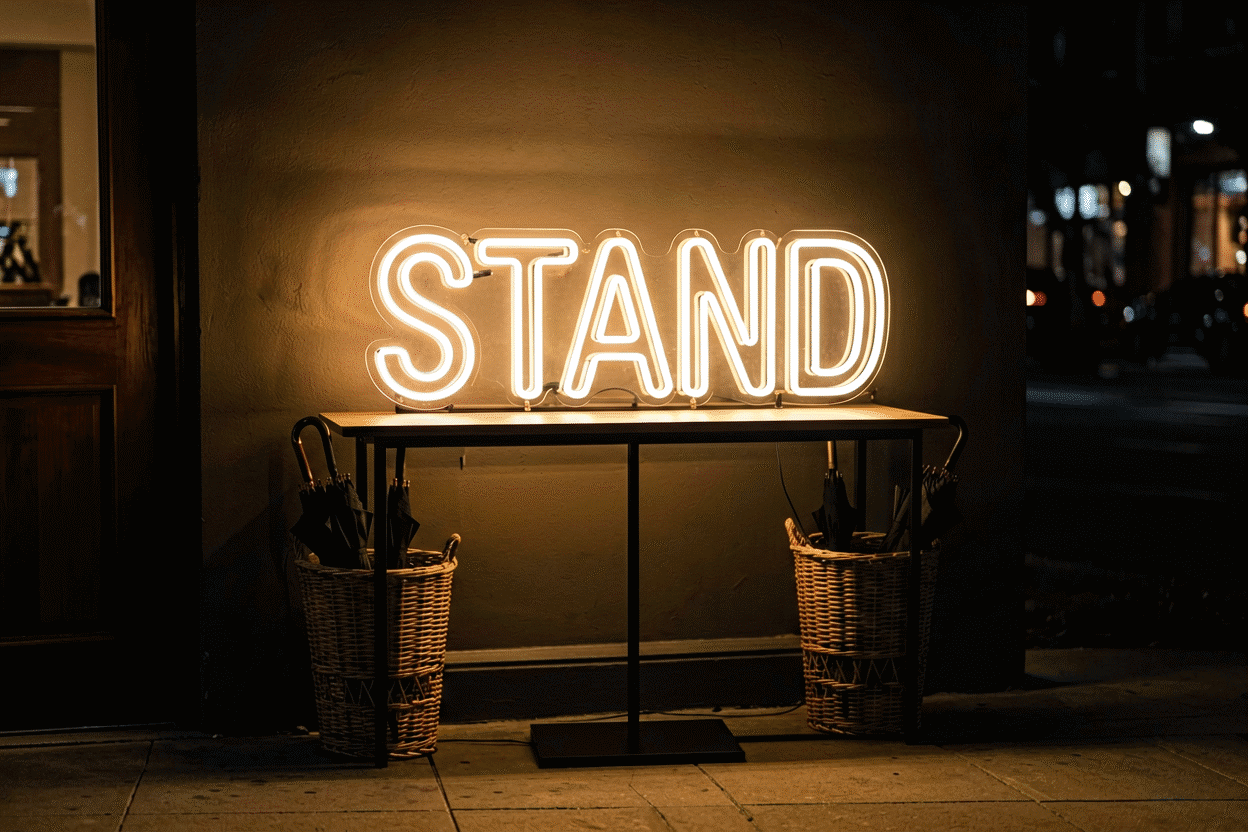
A freestanding neon sign is any sign that carries its own support — floor easels, tripod stands, weighted bases, and display posts — and it solves the problems wall-mounting can’t: no-drill spaces, flexible layouts, rental venues, and floors that need the light exactly where walls can’t put it. The engineering that separates a stable freestanding piece from a tip-over hazard is simple (low weight, wide base, ballast), and the format opens up placements most people never consider: the middle of a showroom, the end of an aisle, the corner of a photo booth.
This is the complete guide to the format — the four stand types, the stability rules, power routing on the floor, and where each configuration earns its keep. Wall-mounting fundamentals live separately at how to hang a neon sign; desk-scale pieces have their own roundup in desktop neon sign ideas.
Why Freestanding Exists (The Use Cases Walls Can’t Serve)
Four situations account for nearly all freestanding demand:
- No-wall venues — pop-up shops, market stalls, trade show booths, and galleries where the walls are someone else’s property or don’t exist.
- Open-floor layouts — showroom islands, gym floors, event ballrooms: the sign marks a zone, not a surface.
- The rental problem — signs that travel between apartments, Airbnb hosts, and event stylists who reconfigure weekly.
- The photography corner — the freestanding piece that defines a photo backdrop anywhere in a room, rotated and repositioned per shoot.
What the format trades away is also worth naming: wall-mounting keeps signs at eye level permanently, out of traffic, with invisible cords. Freestanding trades that permanence for flexibility — and takes on gravity as a design partner.
The Four Freestanding Forms
1. The Easel Mount
A-frame easels (wood or metal, art-supply grade) hold sign panels the way they hold canvases — leaned, gravity-secured, instantly movable.
- Best for: cut-to-shape and panel-backed signs from 12–36 inches; wedding welcome tables; retail display corners.
- The engineering: attach the sign to the easel’s face with standoffs or wire at two heights, and check the easel’s weight rating against sign-plus-backing. The assembly’s center of gravity must stay within the easel’s back leg — a tall sign on a shallow easel is a slow-motion fall.
- The look: gallery-adjacent, warm, and appropriate anywhere from boho weddings to boutique floors.
2. The Tripod Stand
Photography tripods (with a crossbar or mounting plate) and purpose-built sign tripods hold signs at precise heights with the smallest possible floor footprint.
- Best for: photo booths, content corners, events needing height flexibility — the tripod adjusts from seated-portrait height to standing.
- The engineering: weight on tripods is a rating, not a suggestion. Signs under 8 lb pair with medium-duty stands; sandbag the legs whenever the public is within reach. (The event-scale version of this discipline is the event setup guide‘s core content.)
3. The Weighted Base Post
The “floor lamp format”: a vertical pole from a weighted base, sign mounted at the top — the most permanent-feeling freestanding form.
- Best for: showroom islands, storefront window displays, gym and studio floors, anywhere the sign stands alone as a landmark.
- The engineering: base weight rule of thumb — at least 10% of the sign’s weight plus 5 lb for any sign above 36 inches tall, positioned opposite the sign’s face. Water-filled and sand-filled bases (the event-rental standard) make transport weightless and setup solid.
- The look: architectural. This is the form that reads as “designed installation” rather than “sign on a stand.”
4. The Box Pedestal
A cube plinth (painted MDF, acrylic, or rental-stage deck) with the sign mounted to its face or standing on its top — the merchandising format.
- Best for: retail product zones, trade shows, photo-op moments (“stand next to the glowing cube”).
- The engineering: plinth weight or hidden ballast inside does the stability work; the sign mounts flush. Corrugated versions ship flat and assemble on site — the trade-show standard.
Stability: The Three Rules
Every freestanding failure is one of three, and every one has a ten-second check:
- Center of gravity inside the base. Push the sign’s top corner gently — if the assembly lifts a leg or rocks, the center is outside. Fix: lower the mount, widen the stance, or add ballast.
- Ballast scales with exposure. Home corner: the base as-shipped is fine. Public events, kids, or pets: sandbag or water-weight, every time — the public will interact with anything glowing, “do not touch” signage is a weather report, not a barrier.
- Wind is a freestanding problem even indoors — door drafts, HVAC returns, and open windows oscillate tall light signs slowly and destructively. Freestanding outdoor use needs real ballast and windbreak planning; the full outdoor spec lives in the outdoor guide.
Power on the Floor
The freestanding format’s one genuinely new problem:
- Run cords along structure: down the stand’s leg, along the floor’s edge or under rubber cord protectors whenever crossing any walk path. Floor tape (gaffer) for events, permanent protectors for installations.
- The battery option solves the middle of rooms: quality LED signs run 10–12 hours on a power station — the showroom island and the photo-booth-in-a-field both become possible. Battery math is covered in the power supply guide.
- Plan the outlet before you place the stand — the most common freestanding install error is choosing the perfect spot and discovering its nearest power is across a doorway.
Where Each Form Glows Best
| Form | Home | Event | Retail | Permanent install |
|---|---|---|---|---|
| Easel | Bedroom corner, nursery | Weddings, showers | Display tables | Low-height zones |
| Tripod | Content corners | Photo booths | Window displays | Height-flexible spots |
| Weighted post | Reading corners | Signage islands | Showroom landmarks | Gyms, salons, lobbies |
| Box pedestal | Console tables | Trade shows | Product zones | Photo-op walls |
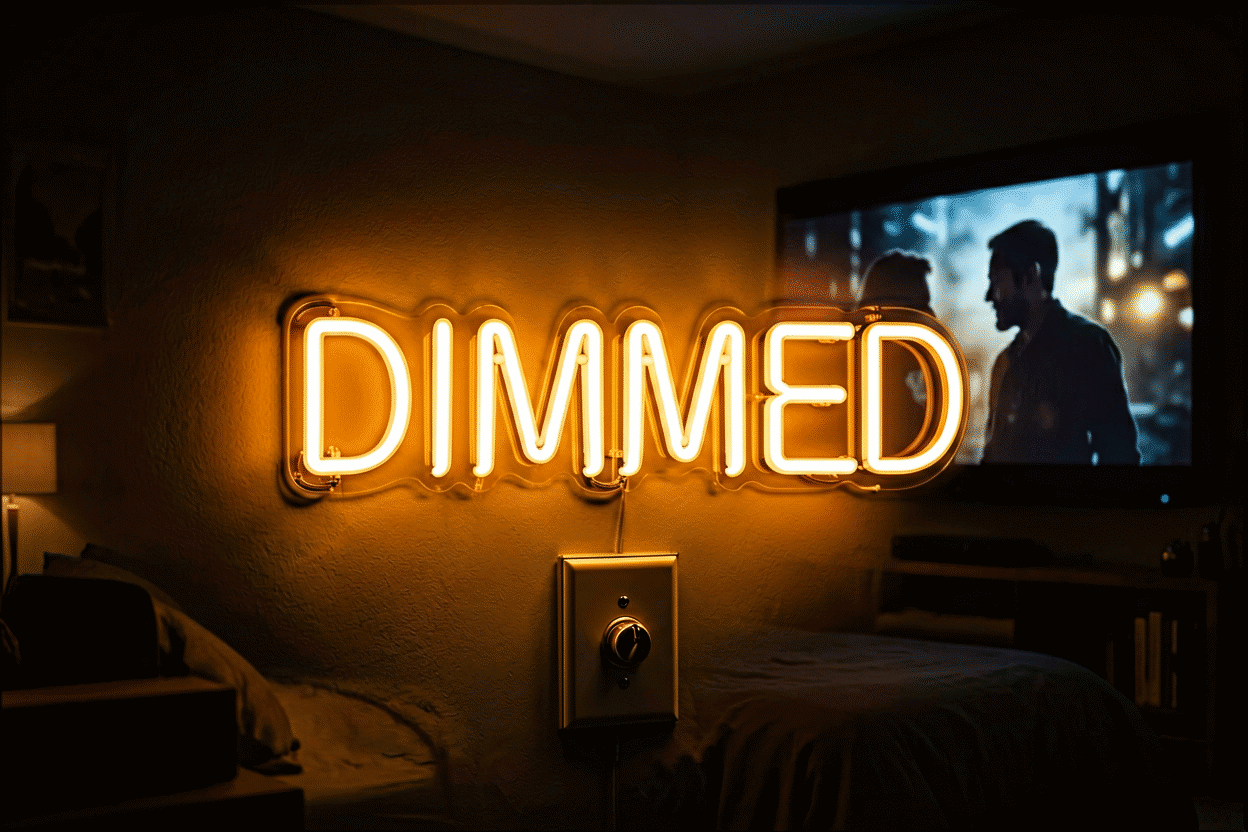
The home row deserves a note: freestanding in bedrooms and living rooms is the no-commitment answer to neon — the sign that leans its stand against the wall this season and moves to the reading corner next season. Combined with warm dimmable designs (browse bedroom ideas), it’s the format for people whose layouts breathe.
Designing for a Stand
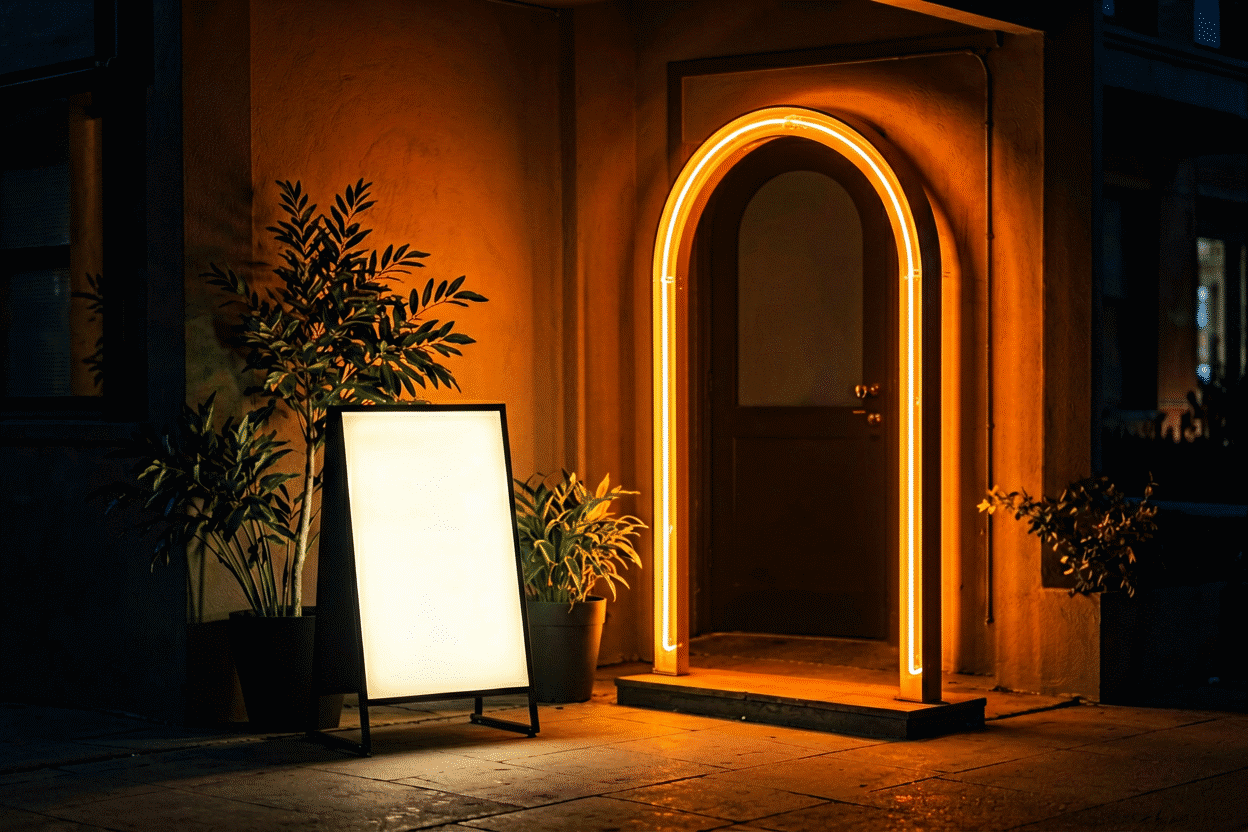
Signs meant to stand (rather than hang) want slightly different specs: balanced compositions (word plus icon beats long left-to-right phrases, which cantilever their weight), 24V builds for taller pieces, and dimming standard — freestanding signs live in traffic and get touched, so controls within reach matter. The custom builder prices every configuration with mounting-compatible backings, and any design can pair with the stand formats above — bring your intended stand to the design session and size the sign to it, not the reverse.
Freestanding in Practice: Four Placements
The freestanding formats applied to four real placements:
The showroom island. A boutique’s floor centerpiece: a 40-inch wordmark on a weighted-base post, positioned at the store’s center where four sightlines meet. The engineering choices that made it permanent-feeling: a 25-pound cast-iron base under a ten-pound sign (the 2.5:1 ratio), cord routed down the pole’s interior channel to a floor outlet under the display table, and the whole assembly positioned to be photogenic from the door — freestanding signs in retail are as much merchandising as lighting (the business color logic). Two years of daily operation, zero incidents.
The Airbnb welcome corner. The rental-property use case: a freestanding sign that says the property’s name, welcoming guests at the entry. The build: an easel-mounted 24-inch piece at the landing, chosen over wall-mounting deliberately — the easel repositions for photography, stores flat during turnovers, and survived its first relocation when the property’s layout changed (the rental logic). The battery station (the corner sits five feet from the nearest outlet) runs the sign for a week per charge (the power math). Guest photos made it the listing’s second image.
The event photo-op. A corporate launch’s freestanding moment: the brand phrase on a tripod-stand assembly, sandbagged, positioned against the venue’s skyline windows. The event calculus: the stand and sign assembled in ten minutes at the venue, photographed all evening from every angle, and packed back into a sedan — the portability that wall signs can’t offer (the event playbook). The sandbag earned its keep twice: once from a gust at the loading door, once from an enthusiastic attendee’s elbow.
The reading-nook resident. The home case: a small moon icon on a shelf-stand in a reading corner, chosen because the corner’s walls are fully windowed (no mounting surface) and the furniture moves seasonally. The freestanding piece solved both constraints at once — it stands on the shelf that stands anywhere, and its dimmed warm glow became the corner’s identity (the bedroom logic). The one-year report: repositioned four times, zero hardware touched, one coin cell replaced.
The through-line: freestanding earns its place wherever walls are unavailable, unsuitable, or unfixed — and in every case above, the format’s stability engineering (the base ratio, the ballast, the sandbag) is what turned “a sign on a stand” into the room’s reliable centerpiece (the stability rules).
FAQ: Freestanding Neon Signs
What is a freestanding neon sign? Any sign mounted to its own support — easel, tripod, weighted post, or pedestal — rather than a wall. It trades wall-permanence for no-drill flexibility and open-floor placement.
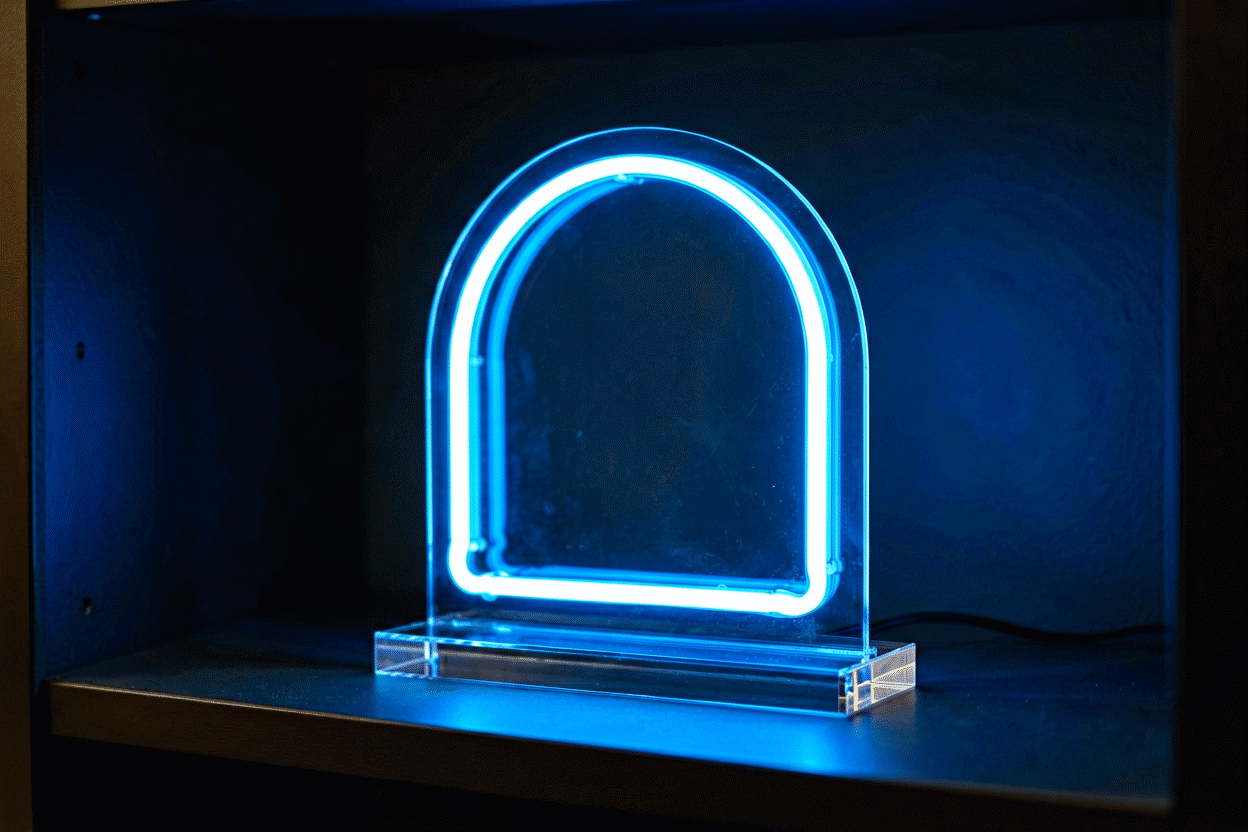
How do you make a neon sign stand up? Mount it to an easel, tripod, or weighted-base post rated for its weight, keeping the assembly’s center of gravity inside the base footprint, and add sandbag ballast in public spaces. Signs also simply lean on shelves and plinths with a small acrylic prop.
Are freestanding neon signs stable? Stable when the stand’s base spans the center of gravity and the weight rating fits — plus ballast whenever the public can reach them. Instability is almost always a too-small base or too-tall mount, both fixable in seconds.
Can you use a neon sign without hanging it? Yes — freestanding stands, shelf-leaning, and table pedestals all display neon without wall contact. It’s the standard answer for rentals, events, and open-floor layouts.
How do you power a neon sign in the middle of a room? Route the cord down the stand and along the floor edge under a rubber protector, or run 10–12 hours on a battery power station — the clean solution for showroom islands and field photo booths.
What’s the best stand for an event neon sign? A tripod or weighted post with sandbagged feet: fast to set, height-adjustable, and stable against crowd bumps. The full event logistics — transport, timelines, teardown — live in the event setup guide.
Choosing the Freestanding Format: The Last Word
The format’s honest place in the decision tree: freestanding wins wherever walls fail you — absent (open floors, fields), forbidden (rentals, venues), or unfixed (layouts that breathe) — and it concedes to wall-mounting wherever permanence, height, and invisibility matter (the trade). Within the format, the stand hierarchy is use-case-ordered: easels for display gentleness, tripods for photographic flexibility, weighted posts for architectural permanence, and pedestals for merchandising presence — each with its stability discipline attached (the rules). Design for the format deliberately: balanced compositions, dimming within reach, and the battery option for the power-free placements (the power layer). Done right, a freestanding sign isn’t a compromise born of wall-problems — it’s the exhibition format: the sign as object in the round, viewable and movable, owning its floor.
Sources & Further Reading
- Solid-State Lighting (U.S. Department of Energy) — DOE reference on LED efficacy and lifetime.
- Mercury (U.S. EPA) — federal guidance on mercury exposure and safe handling.