Renter-Friendly Neon Sign Hanging: 5 Zero-Trace Ways
Renting with a neon sign comes down to one rule: the wall should look exactly the same the day you move out as the day you moved in — and everything else is negotiable. Five hanging methods do that (four from the no-drill playbook, one clever furniture trick), plus the paperwork habits that protect your deposit and the electrical checks that keep an apartment-safe installation genuinely safe.
If you want the engineering detail on each method — weight ratings, adhesive chemistry, failure modes — it’s all in how to hang a neon sign without drilling. This page is the renter’s complete playbook.
First: What Your Lease Actually Says (It’s Less Than You Fear)
Most standard leases prohibit “damage to walls” and “permanent alterations” — which holes are, and which adhesive strips are not. Read for these three phrases:
- “No nails/screws/holes without permission” — the common clause. Strips, hooks, leaning: all compliant. Ask for written permission before drilling anyway; landlords say yes surprisingly often, and a text message is your paper trail.
- “No adhesives” — rare, usually written by someone burned by a poster-tack incident in 1998. If yours has it, skip to the furniture methods below.
- “No alterations to electrical” — you’re not altering anything by plugging in a low-wattage LED sign, any more than a lamp. This clause targets hardwiring, not outlets.
Photograph every wall the day you move in, timestamped. Thirty seconds per room converts any future deposit dispute from your-word-against-theirs into a five-second win.
The Five Renter-Friendly Methods
1. Adhesive Mounting Strips (The Default Answer)
Heavy-duty strips rated 4–8 lb per pair hold typical LED signs (2–6 lb) on the smooth painted drywall apartments are made of. Clean both surfaces with rubbing alcohol, use double the strips the weight calls for, press each for 30 full seconds, wait an hour before hanging.
Removal is the part landlords care about: pull each release tab straight down along the wall, slowly. The strip stretches off and the paint stays. Do not pull outward, do not rush, and warm stubborn strips with a hair dryer for ten seconds.
One timing trap: never mount strips on freshly painted walls — paint needs 2–3 weeks to fully bond, or the strip takes the paint film with it. New-build apartments with week-old paint are the classic casualty.
2. Fishing Line from Adhesive Hooks (The Floating Look)
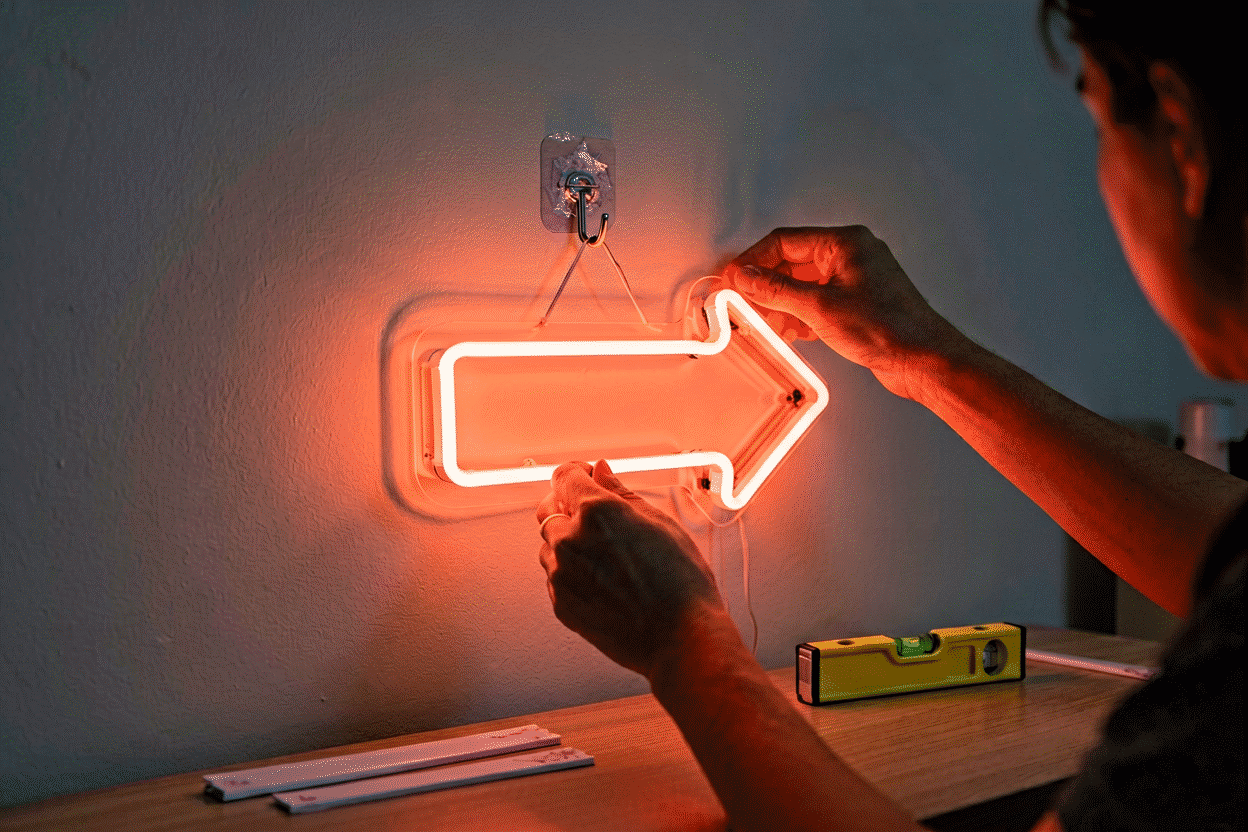
Clear hook cups at the sign’s top corners, transparent fishing line through the backing holes, and the sign hangs with nothing visible holding it. Hooks loaded in shear (straight down) hold far more than their tension rating, which is why this method carries medium signs that clusters of strips would struggle with.
If your apartment has a picture rail or a curtain rod, hook over that instead and you’ve used a wall feature for its exact intended purpose — zero adhesive, zero anything.
3. Lean It (The Zero-Risk Method)
A cut-to-shape sign leaning on a shelf, bookcase, or mantel is a legitimate display style — arguably the best-looking one, since leaning signs sit at the natural angle product photographers fake with effort. Anchor the bottom edge with a ball of museum putty and even door-slams won’t walk it sideways. Putty releases with a slow twist, leaving nothing.
Best for: the sign over the bed (no overhead risk at all), styling shelves, and anyone whose decorating changes with their feed.
4. Mount to Furniture, Not Walls (The Overlooked Move)
The clause says walls. It says nothing about your own furniture:
- Bookcase top: signs zip-tied (clear ties, hidden behind the top edge) to a bookcase’s frame hang at wall height with the wall untouched. The bookcase’s weight against the wall does the anchoring.
- Headboard: a sign mounted flat to a free-standing headboard’s top rail reads identically to a wall mount from anywhere in the room.
- Room divider / open shelving: the industrial-loft move — a grid shelving unit or clothes rail becomes the sign’s host, and the whole assembly is furniture.
This method also future-proofs the layout: your sign setup moves apartments as one unit.
5. The freestanding Pole (For Big Signs)
Signs too heavy for adhesive (10 lb+) can hang from a freestanding floor lamp-style pole or a garment rail with a crossbar — event decorators do exactly this for backdrops. Weight lives on the floor; the wall never enters the transaction. Sandbag or water-weight the base if the sign hangs off-center.
Apartment Electricity: The Three Real Checks
LED neon is friendlier to apartment circuits than the lamp you already own (the numbers live in our electricity guide). But three things are worth doing:
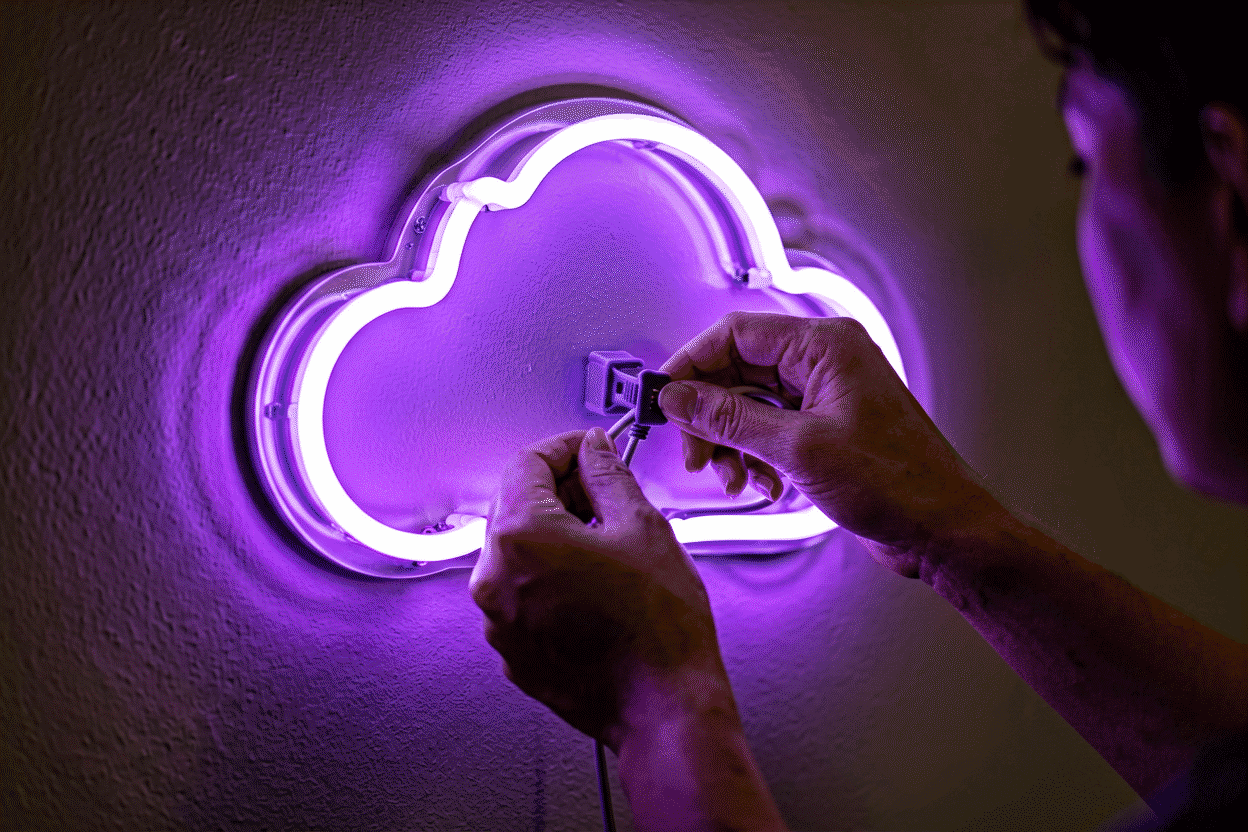
- Don’t daisy-chain power strips. One quality strip per outlet, sign plus a couple of low-draw devices. Never strip-into-strip.
- Keep the cord’s path honest. Adhesive clips down the wall’s shadow line; never under a rug, through a doorway, or pinched behind furniture. Our wire-hiding methods cover apartment-safe routing.
- Check the outlet if the sign flickers. In older buildings, one loose receptacle can make any plugged device misbehave. Wiggle-test with a lamp before blaming the sign.
The Move-Out Restore Routine
The day the lease ends, this is the whole script:
- Unplug, unmount, coil the cord with velcro ties.
- Pull every strip tab straight down; roll any residue off with your thumb (it balls up like eraser).
- Peel cord clips with dental floss sawed behind the adhesive; rub residue with a drop of dish soap on a damp cloth.
- Roll museum putty away with slow pressure.
- Photograph every wall again, timestamped, next to the move-in photos.
Total elapsed time for a typical one-sign apartment: twenty minutes. Total wall damage: none.
Renting Shapes the Sign You Should Buy
Apartment walls reward specific design choices: smaller letters and shorter phrases (lighter backings stick better), cut-to-shape backing (nothing to align, reads as art not hardware), and warm dimmable colors for the bedroom-scale rooms apartments actually have — the bedroom neon guide maps what fits where.

And since renters move, order with the next wall in mind: every custom sign from the neon builder ships with a fresh hardware kit and mounting strips, so the sign re-installs in apartment number two exactly like day one. Buy once, hang everywhere.
The Renter’s Seasonal Rotation Plan
Renters get an advantage homeowners don’t think to want: the sign setup can rotate with the year. The seasonal plan that keeps a rental fresh with zero wall damage:
The base setup (all seasons). One anchor sign — the wordmark or icon that defines the space — in its permanent position on strips or furniture-mount. This piece doesn’t move; it’s the room’s constant. Around it, the rotation happens.
Spring: the light rotation. Swap accent pieces toward airy registers — pastel icons, ice-blue accents (the pale palette), floral shapes leaned on shelves. Storage for the off-season pieces: their original boxes in a closet, signs flat, nothing stacked on them (transport discipline).
Summer: the patio migration. Outdoor-rated signs move to balconies and porches (rated builds only — the outdoor rules), plugged into outdoor-rated strips on the balcony outlet. The indoor wall that loses its accent for the season gains space for whatever the summer rotation is — fans, plants, the seasonal shuffle.
Autumn: the warm shift. Amber, burgundy, and warm-white pieces come out of storage as the light changes — the seasonal palette swap that decorators run with lamps and throws, extended to glow. Halloween pieces make their appearance (the spooky vocabulary) and retire in November.
Winter: the festival layer. Holiday signs take the accent positions; warm whites and multicolor pieces carry the season (the holiday calendar). The year’s rotation ends where spring will begin — everything back to boxes, the base sign alone glowing into January.
The rotation kit. What makes seasonal swapping painless: numbered adhesive hook positions (photograph the wall with placements marked, re-set the same positions each season), a small parts box per sign (its strips, its putty, its cord clips — packed together, always), and the habit of re-cleaning application surfaces at every swap (isopropyl wipe before every re-mount — the step that keeps the fifth season as strong as the first).
The economics of rotating. A modest rotation is three to five pieces total (base + two seasonal accents + one event spare) — a few hundred dollars across a couple of years, or the budget of a single large sign spent on variety instead of scale. Rentals justify the approach structurally: the pieces that travel well between apartments also travel well between seasons.
The rotation plan is also the answer to the renter’s deepest decorating question — how to make a temporary space feel continuously intentional — and it compounds: by year two, the seasonal rhythm is muscle memory and the apartment reinvents itself four times annually on a Sunday afternoon’s effort.
FAQ: Neon Signs for Renters
Can you hang a neon sign in a rental? Yes — adhesive strips, fishing-line hooks, leaning, and furniture mounts all hold LED signs with zero wall damage. Only drilling requires landlord permission, and most leases permit damage-free methods outright.
Will adhesive strips damage apartment walls? Not when used correctly: clean surfaces with alcohol, press 30 seconds, and remove by pulling the tab straight down along the wall. Strips damage walls when pulled outward fast or applied to paint under three weeks old.
What’s the best neon sign mounting for apartments? Mounting strips for most signs up to 8 lb on smooth painted drywall; fishing line from hooks for a floating look; leaning with museum putty for absolute zero risk; furniture mounts for anything heavier.
How do I hang a heavy neon sign in an apartment without wall anchors? Mount to your own furniture (bookcase, headboard, garment rail) or use a freestanding pole with a weighted base — the weight goes to the floor and the lease stays intact.
Can my landlord charge me for adhesive strip marks? Correctly-removed strips leave no marks. Photograph walls at move-in and move-out; if a residue dispute appears, it wipes off with soap and water in front of anyone.
Do LED neon signs use a lot of electricity in an apartment? No — a typical LED neon sign draws 10–30 watts, less than a single incandescent bulb. Running one nightly costs roughly a dollar or two per month.
What size neon sign is best for apartments? Apartment walls reward 18–36 inch signs: light enough for every damage-free method, small enough to fit standard wall segments between windows and furniture, and sized to the rooms apartments actually have. Match letter height to your main seating distance — roughly 2–4 inches — and the scale reads intentional instead of cramped. The measurement method works identically in 600 square feet; only the numbers shrink.
Preview every apartment-scale design in the custom builder with live pricing before committing, and confirm the power-exit corner points toward your nearest outlet.
Sources & Further Reading
- Solid-State Lighting (U.S. Department of Energy) — DOE reference on LED efficacy and lifetime.
- Neon sign (Wikipedia) — the consolidated public record of neon-sign history and technology.
- Mercury (U.S. EPA) — federal guidance on mercury exposure and safe handling.