
Blog
How to Decorate a Living Room Wall With Neon
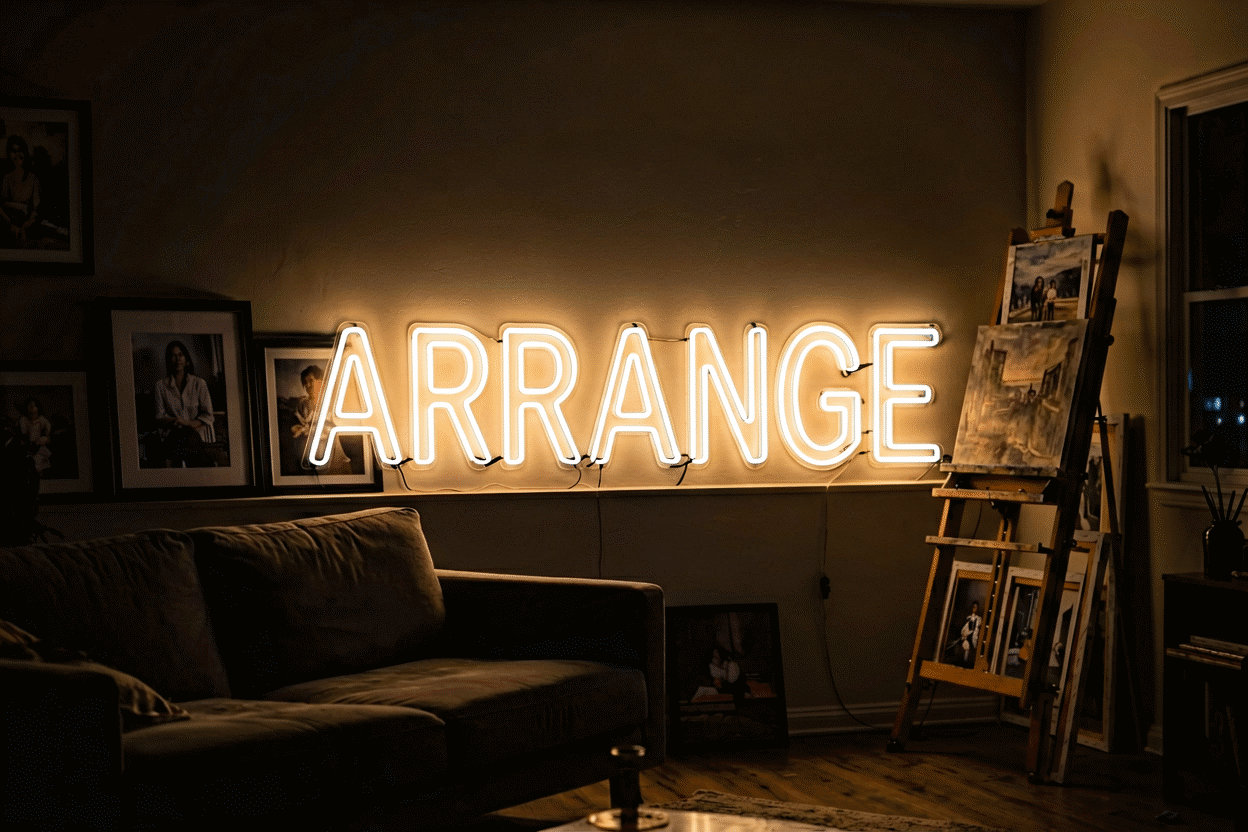
Decorating a living room wall is a composition problem, not a shopping problem. The wall already has constraints — the sofa’s width, the ceiling’s height, the TV’s gravity, the window’s light — and the piece either works with those constraints or fights them. Neon is the most forgiving medium for this because it solves three wall problems at once (art, color, and evening light), but only if it’s sized and placed like composition, not like a poster.
This is the working method: measure first, choose the register second, compose third, hang fourth. The inspiration tier lives in the living room ideas guide; this is the how-to.
Step 1: Measure the Wall Honestly
Three numbers decide everything.
The furniture width. The piece hangs in relationship to the furniture below it, not to the wall’s edges. A 7-foot sofa carries a 36–48 inch piece; a console table carries 24–30; an empty wall carries whatever the room’s focal hierarchy allows. The classic error is sizing to the wall (too big) or to the shelf (too small) — size to the anchor furniture, minus 20–25%.
The sightline height. Seated eye level in a living room runs 48–54 inches; standing runs 60–66. Wall pieces center at the seated number for conversation rooms, the standing number for entry walls. The museum standard (57 inches to center) splits the difference and works everywhere — the size guide covers the full measurement logic.
The viewing distance. A piece read from across the room (15 feet) wants size and simplicity; a piece read from the sofa (8 feet) can carry detail and script. This single number kills or keeps more options than any aesthetic opinion.
Step 2: Choose the Wall’s Register
Every living room wall runs one of four registers — pick deliberately.
The statement wall (one piece, oversized, the room’s focal point): phrase or shape, 36 inches up. This is the wall the sofa faces, and it gets the budget.
The gallery wall (neon within a frame grid): the neon piece is one element among prints and photos — usually the glow anchor at the grid’s center or its corner. Scale it to the frames’ average, not the grid’s total.
The accent corner (small piece, secondary zone): the reading chair’s arc, the bar cart’s glass shape, the plant corner’s botanical outline. 18–24 inches, warm register.
The media wall (glow behind or below the screen): the bias-light strip or console accent — the functional register where neon serves the TV instead of competing with it.
Step 3: Compose Before You Buy
Composition rules that survive every style:

One focal per sightline. Stand in the doorway: whatever piece you see first is the focal; if three pieces compete, none is. The statement wall carries the room’s single big piece — everything else defers.
Warm light, bold shape. If the room’s palette is neutral (the common case), the neon supplies the wall’s color and the art’s warmth in one object: a warm-white script or a single bold shape in the room’s accent color. The color system covers the full palette logic, and the fonts guide covers the script-versus-block decision.
Negative space is the frame. The wall around the piece wants 12+ inches of clean wall on each side; the glow reads because the wall lets it. Crowded neon is dorm neon.
Layer the lighting. The neon joins the room’s lighting plan, it doesn’t replace it: neon at 30–50% plus one warm lamp is the evening composition every good living room runs. Plan the dimmer at purchase time, not after.
Step 4: Hang It Like It’s Permanent
The hang is where living rooms differ from bedrooms: heavier pieces, plaster and brick possibilities, and furniture that must survive.
The anchor math. Find the wall’s center over the anchor furniture (measure the sofa, not the wall), mark the centerline, and position the piece’s center at your chosen height. Level twice — a 1-degree tilt reads like a broken frame from across the room.
The wall material call. Drywall takes anchors at stud-misses and screws at stud-hits (the hanging guide has the full method); plaster wants pre-drilled holes; brick and concrete take the masonry route. Behind every living room wall runs electrical — a stud finder with AC detection is the $30 that prevents the worst outcome.
The cord route. The cord wants to drop to an outlet invisibly: behind the sofa, down a corner, or inside a cord channel painted wall-color. The piece’s power supply needs open air (not inside a cabinet) and an outlet that isn’t the lamp’s.
The final check. At dusk, from the sofa and the doorway, at 40% brightness: if the piece reads focal, warm, and intentional from both positions, the wall is done.
The Five Walls That Work
If the method needs examples, these five compositions cover most living rooms: (1) the phrase piece over the sofa — the livable phrases tier; (2) the oversized arc over the sofa — shape as statement; (3) the neon-in-gallery — glow among frames; (4) the corner botanical by the chair — accent register; (5) the media-wall bias glow — function register. The wall-art guide develops the shape tier, and the home-decor hub carries the full range.

The Wall Types and Their Methods
Living room walls come in four materials, and each takes a different hand.
Drywall (the default): the anchor method – stud-find, anchor at stud-misses, screw at stud-hits, level to the millimeter (the full method). The drywall’s one trap is the unknown plumbing and electrical run: the $30 stud finder with AC detection pays for itself the first time it beeps where the drill was about to go.
Plaster (the pre-war home): pre-drilled holes and the gentle touch – plaster cracks radiate from forced hardware. The adhesive tier (the heavy command strips rated for the piece’s weight) serves the renter’s plaster beautifully; the anchor tier serves the owner’s.
Brick and concrete (the loft): the masonry route – hammer drill, masonry anchors, the piece mounted with stand-offs that keep the tube off the rough surface. The brick wall is neon’s best-looking canvas (the texture behind the glow) and its most-committed mount (there’s no repositioning without a new hole).
Paneling and board (the era home): the stud-direct method – screws into the board’s framing, no anchors, the paneling’s flex respected by mounting at the studs only. The cord channel runs the board’s seams.
The Five Common Failures and Their Fixes
From the rooms that didn’t work, the five repeatable lessons. The too-high piece (measured standing, lived seated): drop it a hand-width – the room changes instantly. The wrong center (centered to the wall, not the sofa): re-hang to the anchor furniture’s centerline – the composition clicks. The two-focal room (two competing pieces in one sightline): demote one to accent (smaller, dimmer, off-axis) – the room finds its hierarchy. The reflection blindside (the piece ghosting in the TV): shift six inches – the physics forgives. The dangling cord (the placement that ignored the outlet): the cord channel or the furniture-route – the piece that read 90% because of the last 10% (the fixes are all ten-minute jobs).
The meta-lesson: every one of these is caught by the method’s audit steps – measure to the furniture, check the sightline from the doorway and the seat, walk the reflection zones, route the cord before committing. The wall that follows the sequence lands on the first hang; the wall that skips it re-hangs twice (the full method above) and pays for the shortcuts in spackle.
Variations and Case Studies
The wall-decor method, run through the three most common living-room cases. Case one – the sofa wall: the seven-foot sofa, the twelve-foot wall, the TV adjacent. The method’s application: the piece sized to the sofa (36-48 inches – the wall’s extra width stays negative space), centered to the sofa’s centerline (not the wall’s – the TV’s presence makes the true center obvious), hung at 57 inches. The result: the wall reads composed because the furniture, not the architecture, set the composition. Case two – the gallery wall: the collection of frames, the one neon piece joining it. The application: the neon as the grid’s anchor (its glow the visual center the frames arrange around) or its corner (the glow accent the grid points to) – sized to the frames’ average, not the grid’s extent. Case three – the empty wall: the wall with no furniture, the room’s leftover space. The application: the oversized shape (the arc, the wave – the wall-art tier) that owns the emptiness deliberately, or the wall stays empty – the method’s honest permission.
The cases’ common lesson: the wall’s composition answers to the room’s use, not the wall’s dimensions – the measurement that matters is the one between the furniture and the eye, and every case above found it by the same four steps (the method above).
FAQ About Living Room Wall Neon
How high should a neon sign hang in a living room? Center at 57 inches (museum standard) for mixed use, 48–54 for seated-dominant rooms. The size guide has the full height-to-room ratios.
How big should the sign be over a sofa? Sofa width minus 20–25%: a 7-foot sofa carries 36–48 inches. Wider than the sofa reads billboard; smaller reads postcard.
Can I put neon on a gallery wall? Yes — as the grid’s anchor or its corner glow, sized to the frames’ average. One neon per gallery; two reads as a sign shop.
What if the wall is huge? Don’t scale the sign to the wall — scale it to the sofa and let negative space do the rest, or compose a two-piece system (statement piece plus corner accent) rather than one giant sign. Empty wall is a choice; crowded wall is a mistake.
What is the biggest mistake in hanging neon wall decor? Hanging too high – the error that outnumbers all others, caused by measuring standing and living seated. The fix is a hand-width down and the room changes instantly: the piece enters the seated sightline, joins the conversation, and reads installed rather than displayed. The second-place mistake (centering to the wall instead of the furniture) produces the off-kilter piece that looks level and feels wrong – the sofa’s centerline, not the wall’s, is the composition’s true center (the wall-decor method above covers both fixes in the audit steps, and both are ten-minute corrections rather than re-mounts).
Can I hang a neon sign on a TV wall? Yes, with the two-wall system’s discipline: the neon goes behind or beside the screen (the bias-glow position), never opposite it (the reflection band that kills both) (the placement physics). The working compositions: the small shape or strip above the TV (the glow that softens the screen’s edge), the vertical piece beside the console (the media wall’s accent), and the bias strip directly behind the panel (the eye-comfort tier the setup guide covers from the gaming side). The TV wall that runs one of the three reads designed; the TV wall that hangs the piece across from the screen runs the glare – the mistake the reflection audit catches in ten seconds.
Sources & Further Reading
- Neon sign (Wikipedia) — the consolidated public record of neon-sign history and technology.
- Neon, element 10 (Wikipedia) — element properties: density, boiling point, abundance.