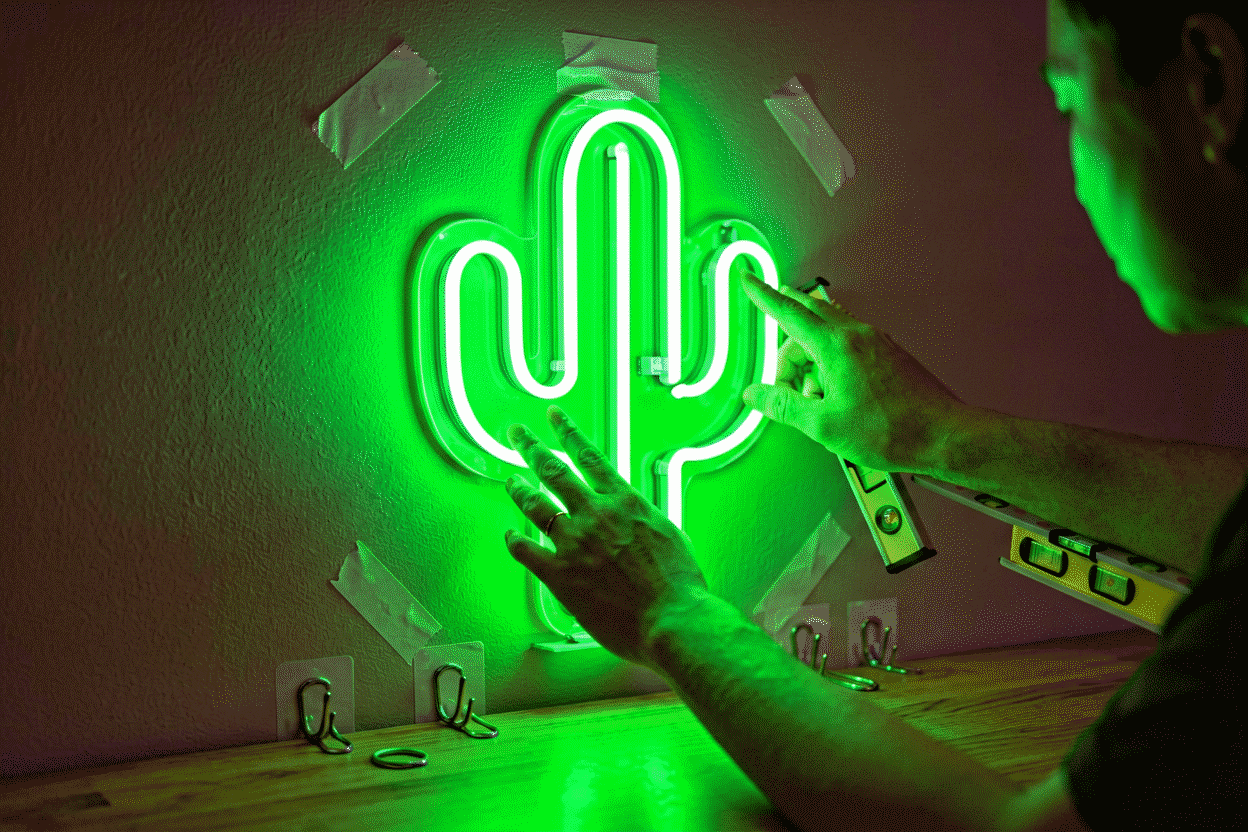
How to Hang a Neon Sign on a Brick Wall (3 Ways)

Hanging a neon sign on a brick wall takes about 45 minutes with a hammer drill, masonry bits, and sleeve anchors — LED neon signs under 10 lb need just two to four anchor points, and the one decision that decides everything else is whether you drill into the mortar joints or the brick faces. There is also a legitimate no-drill path for renters and exposed-brick lofts where the lease (or the masonry) says no holes.
This guide covers all three routes: mechanical anchoring into brick, anchoring into mortar, and the adhesive no-drill method — plus the mistakes that crack old brick and the hardware that never holds.
First time hanging neon at all? Start with our complete hanging guide for backing types, templates, and leveling basics — then come back here for everything brick-specific.
Before Anything: Know Your Wall (and Your Lease)
Real brick or brick veneer? Solid brick bearing walls accept anchors anywhere. Brick veneer — a single layer of brick over a wood-frame wall — has only about one inch of masonry before your bit hits air and then the wall cavity, so anchors must go into the mortar or through into framing. Tap the wall: solid masonry sounds dull and dense everywhere; veneer can sound slightly hollow. If you’re unsure, drill your first pilot hole in a mortar joint and feel what’s behind it.
Exposed interior brick vs. painted brick. Old exposed brick (pre-1940s buildings) is often soft and crumbly — it cracks under hammer action and sheds dust. Painted brick usually indicates a harder, newer fired brick, and the paint layer actually helps the bit start without wandering. Soft old brick pushes you toward mortar joints or the adhesive route.
The lease question. In rented lofts, “brick walls” usually means “the feature you’re not allowed to touch.” If that’s you, jump straight to the no-drill method below — it holds a typical LED sign with zero holes and removes cleanly.
Route 1: Drill Into the Mortar Joints (Recommended for Most Walls)
Mortar is the softer material between the bricks, and it’s the smarter target for three reasons: it drills faster with less shock to the wall, it’s repairable later (a dab of color-matched mortar makes the hole effectively disappear at checkout), and if you ever crack it, you’ve cracked replaceable mortar — not a 90-year-old brick.
What you need:
- Hammer drill (a regular drill works but takes 3–4x longer and heats the bit)
- Masonry bits sized to your anchors (typically 1/4″ or 5/16″)
- Plastic sleeve anchors or sleeve-anchor screws rated 25 lb+ (massive overkill for a 2–6 lb sign, which is exactly what you want in masonry)
- Can of compressed air or a turkey baster to blow out dust
- Vacuum with brush head
The steps:
- Hold the sign’s template against the wall and mark hole positions on the mortar joints with a pencil or painter’s tape. Adjust the template left or right a few inches if needed so holes land mid-joint, not at the brick edge where mortar is thinnest.
- Set the drill to hammer mode, start slow, and drill your pilot hole straight in (perpendicular to the wall). Mortar gives you 1–1.5 inches of depth in most walls; drill the full length of the anchor.
- Blow out every speck of dust. Dust in the hole is the number-one cause of anchors that spin loose. Compressed air, then a vacuum, then look again.
- Tap in the plastic sleeve until it sits flush with the joint. It should take gentle hammer pressure — if it slides in by hand, the hole is too wide; re-drill one size down is not possible in masonry, so move over half a brick and start fresh.
- Drive the screws a quarter-inch proud and drop the sign’s acrylic backing onto them, exactly as with drywall keyhole mounts.
One brick-specific rule: never tighten masonry screws like you’re torquing a lug nut. Snug is structural. Overtightened is cracked.
Route 2: Drill Into the Brick Faces (For Heavier Signs)
Brick itself holds more weight than mortar — the right target when the sign is large (10 lb+), when the layout forces hole positions that miss the joints, or when the brick is hard modern fired clay that shrugs off drilling.
Same process as Route 1 with three changes:
- Expect a slower, louder drill. Let the hammer action do the work; leaning on the drill burns bits.
- Use sleeve anchors (metal expanding sleeves with machine screws) rather than plastic plugs for anything load-bearing. In brick faces, metal sleeves grip the harder material properly and won’t walk loose with years of door-slams and building vibration.
- Blow the dust out twice. Brick dust is finer than mortar dust and packs harder.
The one thing not to do: drilling into the brick’s fired outer shell at its very edge, where the face is thinnest — it spalls (flakes off a chunk of face). Keep holes at least 3/4 inch from any brick edge, which in practice means center-of-brick whenever you can.
Old soft brick (1900s–1930s buildings, the kind that flakes when you brush it) should not be hammer-drilled at all if you can avoid it. Switch to mortar joints drilled without hammer action, or go adhesive.
Route 3: The No-Drill Method (Renters, Soft Brick, “Absolutely No Holes”)
Construction adhesive on clean brick holds a typical LED sign surprisingly well — with a catch: it’s semi-permanent.
The method: run beads of a premium construction adhesive along the back of the sign’s acrylic backing and any standoff posts, press to the wall for 60 seconds with firm pressure, brace the sign overnight (a chair with pillows works), and cure 24–48 hours before powering on. On rough brick, the adhesive grabs the high spots; on painted sealed brick, scuff the paint lightly with sandpaper first.
The catch, plainly: removing an adhered sign later involves fishing line or a putty knife, heat, patience, and usually some adhesive residue to scrub off (mineral spirits on sealed brick; test first). It will not damage the brick itself. It may test your patience.
For lighter signs (under 4 lb), two better-behaved options:
- Brick clips — the spring steel clips that grip the top and bottom of a brick, no holes at all. They need mortar joints proud enough to grip and they hold a small sign mounted to a thin wood or acrylic plate. Fiddly but 100% removable.
- Outdoor-rated mounting strips — the same strips from our no-drill hanging guide, applied to flat-faced brick. They bond poorly to deeply recessed mortar, so keep them on the brick faces, use double the strips the weight requires, and wait a full hour before hanging.
Honest limits: adhesive methods cap around 8 lb. A large multi-word sign over a bar or mantel needs real mechanical anchoring.
Which Route for Which Sign?
| Situation | Best route | Hardware |
|---|---|---|
| Small–medium LED sign (2–6 lb), any brick | Mortar joints | Plastic sleeve anchors |
| Large sign (10 lb+), window display, high traffic | Brick faces | Metal sleeve anchors |
| Renting / lease forbids holes | Adhesive or brick clips | Construction adhesive / spring clips |
| Soft 1900s brick that crumbles | Mortar, no hammer action, or adhesive | Plastic anchors hand-driven |
| Painted/sealed brick | Either drilling route | Scuff sand before adhesive |

The Three Mistakes That Crack Brick
Hammer-drilling with a worn bit. A dull masonry bit stops cutting and starts hammering — the shock propagates and pops a corner off the brick. Bits are cheap; brick faces are not.
Overtightening. Masonry works by compression: the sleeve expands against the hole walls. Past snug, you’re just loading the brick in tension, which it hates. Stop when the sign doesn’t wobble.
Anchors in crumbled old mortar. If the joint is sandy and pulls out when you poke it with a screwdriver, that joint won’t hold an anchor — drill out and repack a pinch of hydraulic cement first, or move to the brick face.
Brick Is a Style Statement — Design for It
Exposed brick is the classic partner for neon: warehouse bars, man caves, and loft bedrooms put the glowing tube against the rough clay wall precisely because the contrast does the design work. Deep red brick loves cool glows (ice blue, white, green — the complementary contrast pops), while painted white brick lets warm pinks and ambers own the room. Our man cave neon signs collection was built against exactly this wall type.
When you design the sign, design the wall around it: a cut-to-shape backing follows the lettering and lets the brick read through the gaps, while a full clear panel on heavy texture can catch reflections. You can preview both backing styles — and every glow color against a brick-toned background — in the custom sign builder before you order.
Field Notes: Eight Real Brick Installs
The patterns that recur across real brick installations are worth learning from other people’s walls:
The exposed-loft wall (soft 1920s brick). The classic failure: hammer-drilling old soft brick cracks faces, and adhesive alone fights the texture. The working formula is mortar joints drilled without hammer action plus one construction-adhesive bead along the backing’s top edge as a belt-and-suspenders third hand. Install time nearly doubles; durability is total.
The painted modern loft (hard fired brick). Everything the old wall can’t do, this one can: hammer drilling is safe, metal sleeve anchors hold 25 lb signs on four points, and the paint layer starts bits without wandering. Scuff-sanding paint before adhesive is the one extra step.
The fireplace surround. The most common interior brick placement, with a heat caveat: above an active wood or gas fireplace, the chimney breast runs warm, which degrades adhesive mounts years early. Mechanical anchors only, and check the manufacturer’s ambient temperature range if the sign rides high above the flue.
The garden and patio wall. Outdoor brick plus weather means stainless or coated hardware (zinc corrodes and stains brick orange-brown in a season), rated signage, and drip management: mount on standoffs so water doesn’t pool behind the backing (outdoor practice).
The retail feature wall. Shops hanging menu boards and logo signs on brick run the same mechanics at larger scale: layout paper templates taped across the whole wall first, all positions confirmed against the mortar grid before any hole is drilled. The pro habit that prevents fourth-hole discoveries.
The dorm fake-brick wall. Faux brick paneling changes everything — it’s thin composite over drywall, so treat it as drywall with anchors, not as masonry. Drill into it like brick and you crack the panel’s face layer for no holding gain.
The archway and curved wall. Curved brick refuses flat backings. Small cut-to-shape signs flex visually with the curve; full panels bridge it with gaps at the corners that collect shadow. Mount small, or accept standoffs long enough to clear the curve.
The half-brick wainscot. Chair-rail-height brick strips anchor fine but sit low for sign placement — the move is mounting just above the brick line into the plaster or drywall above it, with the sign’s bottom edge visually resting on the brick’s top edge. The wall does the aligning.
Finish the masonry job: the how to decorate large walls piece covers what to put around the sign once it hangs, and our man cave neon signs guide builds the garage-wall context brick rooms usually become.
FAQ: Neon Signs on Brick Walls
How do you hang a neon sign on a brick wall? Mark the sign’s hole positions on the mortar joints, drill pilot holes with a hammer drill and masonry bit, blow the dust out completely, tap in sleeve anchors, drive screws a quarter-inch proud, and drop the sign’s backing onto them. About 45 minutes.
Should I drill into the brick or the mortar? Mortar for most signs — it drills easier, holds sleeve anchors fine at neon weights, and repairs invisibly. Drill into the brick faces only for heavy signs or layouts that miss the joints. Avoid hole positions within 3/4 inch of a brick’s edge.
Can you hang a neon sign on brick without drilling? Yes. Construction adhesive holds a typical 2–6 lb LED sign semi-permanently; brick clips and outdoor mounting strips handle lighter signs with full removability. Adhesive tops out around 8 lb.
Will Command strips stick to brick? Standard strips struggle on rough unsealed brick. Outdoor-rated strips bond to smooth brick faces (not recessed mortar) and hold small signs — use double the strips the weight calls for and press each for 30 seconds.
Do I need a hammer drill for brick? A regular drill will get through mortar and soft brick eventually, but a hammer drill does it in seconds without cooking the bit. For one or two holes in mortar joints, a patient regular drill is acceptable; for brick faces, use a hammer drill.
How do I get a masonry anchor to stop spinning loose? The hole wasn’t cleaned. Drill depth is fine in 90% of cases — the dust packed at the bottom keeps the sleeve from seating. Blow the hole out with compressed air, re-seat the anchor, and it grips.
Sources & Further Reading
- Neon sign (Wikipedia) — the consolidated public record of neon-sign history and technology.
- Mercury (U.S. EPA) — federal guidance on mercury exposure and safe handling.