How to Hide Neon Sign Wires: 7 Clean Methods
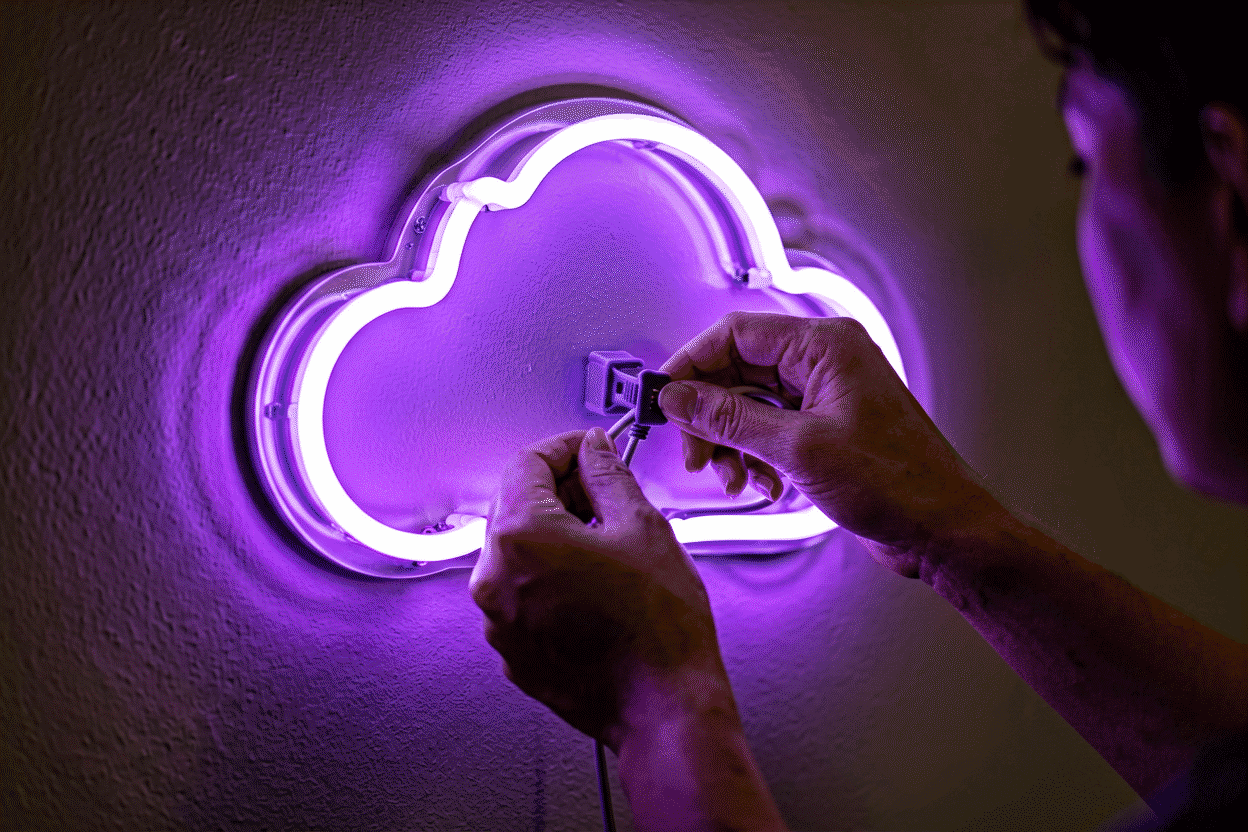
Hiding neon sign wires comes down to routing the drop down the wall’s shadow line with adhesive clips, painting a cord channel to match the wall, or — when the sign is permanent — fishing the cord inside the wall to a new outlet. Seven methods cover every situation from a rental bedroom to a storefront, and the honest version of this guide also tells you which methods look worse than a tidy visible cord.
A neon sign is a light that happens to need electricity; the cord is the one part nobody ordered. Fifteen minutes of routing work turns it from the giveaway into a non-event. The basics of where the cord exits and why (the sign’s lowest corner) are covered in the hanging guide — this page is everything that happens after the mount.
Method 1: The Shadow-Line Drop (The Zero-Cost Default)
The fastest clean-up that doesn’t spend a dollar: route the cord straight down the wall’s natural shadow line — inside a corner, alongside a door frame’s casing, or directly below the sign — secured with adhesive cable clips every 12–18 inches.
Why it works: eyes read vertical lines in corners as architecture. A cord running plumb in a shadow reads as something that belongs; the same cord diagonally across open wall reads as exactly what it is. Clips cost pennies, stick to any smooth painted surface, and release later with dental floss under the adhesive.
Best for: bedrooms, offices, anywhere the outlet is roughly below the sign. This is 80% of installs done well in 15 minutes.
Method 2: Adhesive Cord Channels (The Paintable Upgrade)
Clear or paintable plastic cord channels — sometimes sold as “cord covers” or “raceways” — turn the drop into a hard edge that reads as intentional. You cut the channel to length with a utility knife, stick it to the wall (most have premium adhesive backing), and snap the cord inside.
The upgrade that matters: paint the channel your exact wall color before installing, and the drop effectively vanishes in photos and from across the room. This is the standard move for content-creation walls and bedroom headboards where the sign appears in every frame — our bedroom placement guide shows the finished look.
Buy one size larger than the cord diameter; power adapters for larger signs are chunky and the channel needs to swallow the junction gracefully.
Method 3: Furniture Geometry (Route Behind Things)
The most underused method: let the room’s furniture do the hiding.

- Headboard/dresser backs: signs above furniture drop their cords directly behind it — the furniture is the cord box.
- Shelf undersides: a sign over shelving runs its cord along the shelf’s bottom edge with two small clips, then down behind the shelf unit.
- Desk setups: the sign’s cord joins the existing desk-cord bundle behind the monitor arm — one more cable in a bundle nobody sees.
Zero wall contact, zero hardware, works in rentals perfectly. The only requirement is that the sign’s exit corner sits above something tall enough to reach.
Method 4: The Baseboard Run
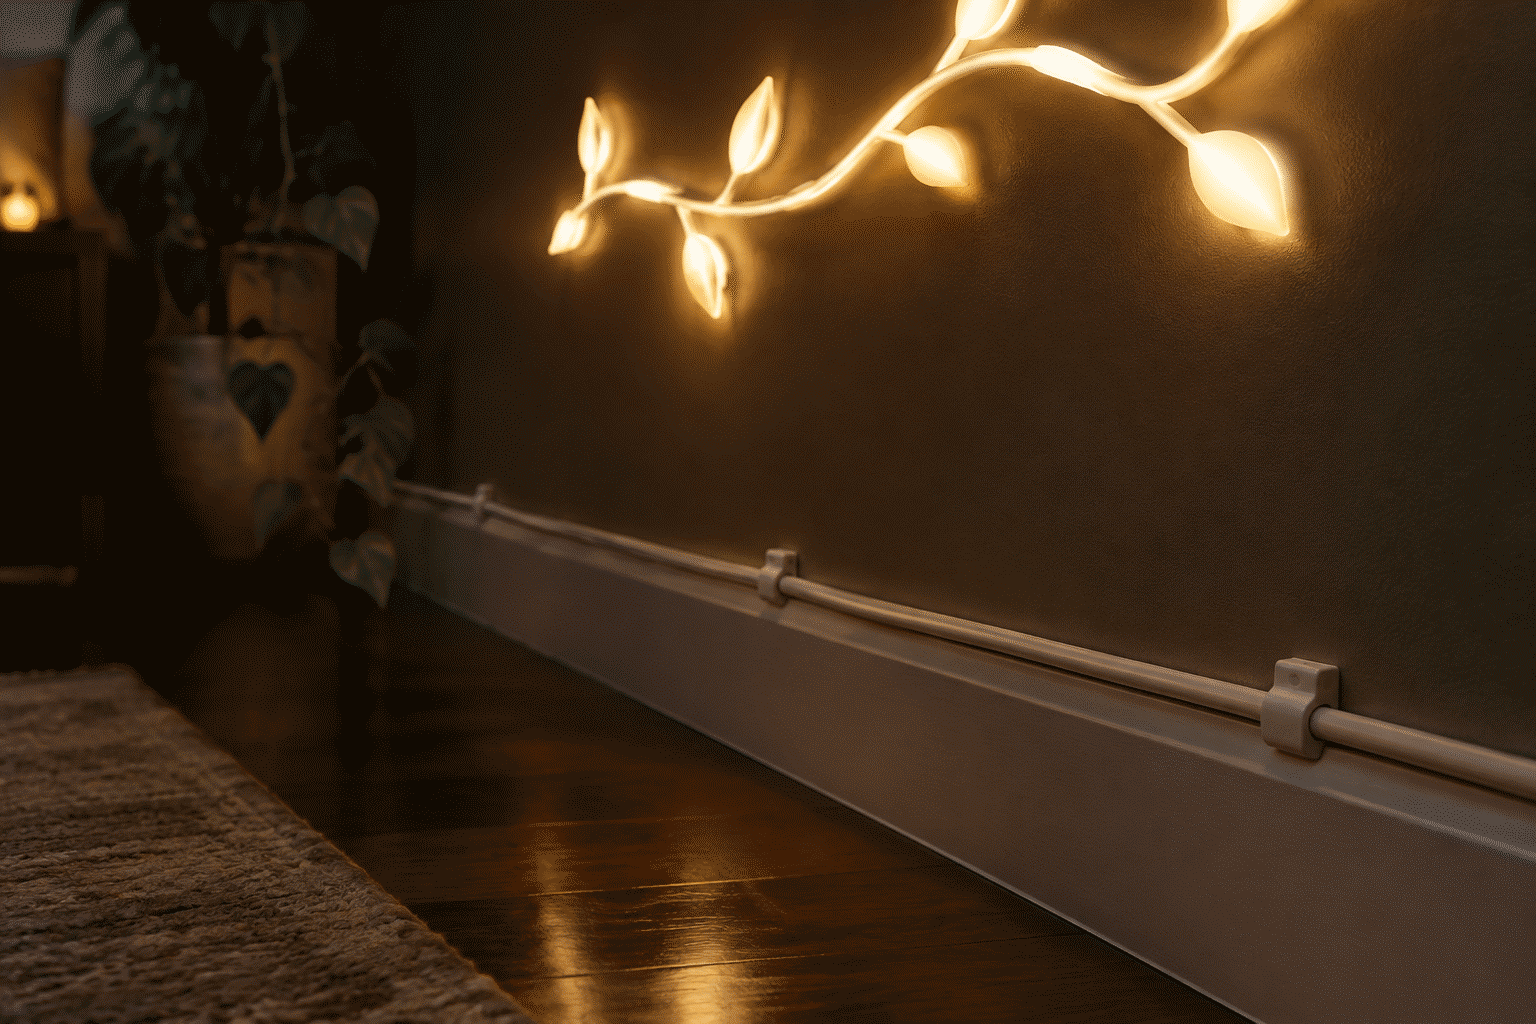
When the outlet sits far from the sign, run the cord down the shadow line to the baseboard, then along the baseboard’s top edge to the outlet. The baseboard seam is a pre-existing line in every room — a cord laid into it disappears because brains already ignore that line.
Secure with clips that grip the seam, or run the cord inside paintable channel only for the open-wall portions. This combination — shadow drop plus baseboard run — solves almost any “wrong side of the room” problem without extension cords crossing anything.
Method 5: In-Wall Fishing (The Permanent Solution)
For owned walls and permanent installs, the professional answer: the cord enters the wall behind the sign and exists at an outlet or a newly installed one below.
The honest scope: this means a code-compliant in-wall rated power kit or an electrician adding an outlet — typically $150–$350 for the outlet work. What it buys is the true floating look: sign on the wall, nothing else anywhere. Storefronts and finished feature walls in homes are the natural users.
Safety line, stated plainly: never fish a standard cord through a wall cavity as a DIY shortcut — building codes prohibit it for good reasons (fire spread, insulation contact). Use a rated in-wall kit with proper low-voltage or line-voltage separation, or hire the electrician. Our cable management guide covers the multi-sign commercial version of this decision.
Method 6: Fabric and Camouflage
Soft solutions that work when drilling and channels are out:
- Cord sleeves in wall color — fabric or woven sleeves that wrap the drop, turning a plastic cord into something that reads as a curtain tie or plant hanger.
- Cable-hiding wall art: the sign’s cord runs behind a tall leaning plant, a tapestry’s edge, or a mirror — the same furniture-geometry trick with decor.
- Cord as design: deliberately sleeved in cotton or metallic braid, routed in a graceful intentional curve, the cord becomes part of the installation. Neon galleries do exactly this — visible, but chosen.
Method 7: Battery and Remote Power (Eliminate the Cord)
Small and medium LED signs can run on battery power stations or rechargeable packs, deleting the cord question entirely for 10–12 hours per charge. The trade-offs: recharging discipline, slightly reduced peak brightness on some packs, and upfront cost ($60–$150 for a quality unit that also runs your projector at tailgates).
For event signs, photo-corner signs, and anywhere an outlet simply cannot exist (the middle of a grass-wall backdrop, a ceremony arch), batteries aren’t the compromise — they’re the enabling technology.
Choosing Fast: The Decision Table
| Situation | Best method | Cost | Time |
|---|---|---|---|
| Outlet roughly below sign, rental | Shadow-line clips | ~$5 | 15 min |
| Sign appears on camera | Painted cord channel | $15–25 | 45 min |
| Sign above furniture | Furniture routing | $0 | 10 min |
| Outlet across the room | Shadow drop + baseboard run | $8 | 25 min |
| Owned wall, forever install | In-wall kit / electrician | $150–350 | Half day |
| No outlet possible | Battery power | $60–150 | 5 min |
The Glass Neon Exception
Everything above describes LED neon. Real glass neon runs on transformers pushing 2,000–15,000 volts, and its wiring is not a decor decision — it’s an electrical installation with code requirements for transformer placement, grounding, and clearance. Hide glass neon wiring the way you’d hide any high-voltage work: with a licensed installer. If you’re choosing between the two for a home wall, this difference is a genuine part of the LED versus glass decision — the LED’s low-voltage cord is what makes all seven of these methods possible.
Design Out the Problem
The cheapest wire-hiding method is designing the sign so its cord exits somewhere smart: pick the sign’s orientation and power-exit corner when you order, based on where your outlet actually is. In the custom sign builder you can see exactly where the cord leaves the design — order that corner pointed at your outlet, and Method 1 does the rest.
Three Rooms, Routed: Before and After
The wire-hiding methods above, traced through three real room types:
The bedroom names sign (cord crossing a window wall). The outlet lived on the opposite side of a window from the sign — the classic worst case. The routed solution: cord exited the sign’s lower corner, ran down the shadow line to the baseboard, then along the baseboard’s top edge fifteen feet around the window wall to the outlet, secured with nine adhesive clips in matching white. Elapsed time: twenty minutes. Visibility at normal viewing: effectively zero — the drop vanished into the corner’s shadow, the run disappeared into the baseboard seam. Total cost: about six dollars of clips. The lesson: distance stops mattering once the cord lives in the room’s existing lines.
The streamer’s three-sign wall (the bundle case). Three signs, a monitor, two lamps, and a console — the full cable management scenario in miniature. The transformation: one under-desk tray captured everything below the desk line; each sign’s drop ran through paintable channel (painted the wall’s exact gray before mounting — the step everyone skips) from desk height to sign; one sleeved bundle connected tray to strip. The camera test that finished it: from stream position, photograph, inspect frame corners — two cord glints remained, both fixed with a clip moved four inches into shadow. Before-and-after difference on camera: total. The visible-hardware count went from eleven cords to zero.
The storefront window sign (the weatherproof case). A café’s window sign with the outlet inside the counter below — the drop crossing painted window brick. The professional answer here was the in-wall option’s cousin: a paintable cord channel surface-mounted down the brick’s mortar line (following the wall’s existing geometry rather than fighting it), painted to match, meeting a junction box where the sign’s adapter lived dry and hidden behind the counter. Outdoor-rated throughout for the window’s temperature swings. The detail that made it read as design rather than remediation: the channel ran in the mortar line, so even unpainted it would have disappeared into the wall’s pattern.
The patterns across all three: the cord always goes down first (vertical drops hide; diagonals confess), existing lines (corners, baseboards, mortar, tray edges) do the hiding, and paint is the finisher that turns hardware into architecture. None of the three rooms spent over thirty dollars or an hour — the methods are cheap; the discipline is the product.
FAQ: Hiding Neon Sign Wires
How do you hide neon sign wires on a wall? Route the cord down the wall’s shadow line (corner, door casing, or directly below the sign) with adhesive clips every 12–18 inches, or install a paintable cord channel and paint it your wall color. Both take under an hour and rent cleanly.
Can you put a neon sign cord inside the wall? Only with a code-compliant in-wall rated power kit or an electrician-installed outlet — standard cords in wall cavities violate fire code. Budget $150–$350 for the electrician version.
What is a cord cover for a neon sign? A plastic adhesive-backed channel (raceway) that snaps over the cord run. Paint it the wall color before installing and the drop disappears in photos and from a distance.
How do you hide the cord on a neon sign above a bed? Drop it behind the headboard — the furniture does the hiding. No headboard: shadow-line clips down the corner beside the bed, or a painted channel for camera-facing walls.
Can neon signs be battery powered? Small and medium LED signs run 10–12 hours on quality battery power stations — the clean solution for event installs and outlet-less walls. Glass neon cannot; its transformer needs mains power.
Is it safe to cover a neon sign cord with fabric? Yes for LED neon — its cool-running low-voltage cord is safe under fabric sleeves. Never wrap or bury glass neon transformer wiring; that’s high-voltage and requires proper installation.
Sources & Further Reading
- Solid-State Lighting (U.S. Department of Energy) — DOE reference on LED efficacy and lifetime.
- Mercury (U.S. EPA) — federal guidance on mercury exposure and safe handling.
Pricing based on CustomNeon’s current catalog (2026); custom quotes come live from the sign builder.