Neon Sign Cable Management for Walls and Studios
Cable management for neon signs is a systems problem, not a hiding problem: once you run two or more signs — a gaming wall, a home bar, a streaming setup — the questions stop being “where does the cord go” and become “what powers what, in what order, without tripping breakers or strangling WiFi.” The toolkit: one quality power strip per outlet, velcro ties and sleeves for bundling, labeled runs, and a topology that keeps power and signal apart. A four-sign wall goes from bird’s nest to broadcast-clean in about an hour.
Single-cord hiding (the bedroom-sign case) has its own guide at how to hide neon sign wires — this page is what happens when the collection grows.
First: Power Math (It’s Smaller Than You Fear, With One Rule)
A typical LED neon sign draws 10–30 watts. Four signs plus a console plus a TV still lands under what a single modern circuit (1,800 watts) carries by an order of magnitude — the numbers themselves are friendly. The rule that isn’t flexible:
One power strip per outlet, never daisy-chained. Strip-into-strip is the actual fire risk in these setups, not the signs themselves. Wattage math rarely bites; cheap strip chains always do eventually.
The professional layout:
- Signs plug into one quality surge-protected strip (15-amp, from a brand you’ve heard of), mounted under or behind the furniture line — never on the floor where feet, vacuums, and spills live.
- The strip plugs directly into the wall outlet. Nothing between them.
- Non-sign devices get their own strip on the same outlet if needed — splitting by function means one switch kills the glow wall without taking down your router.
For the running-cost side of this math (it’s measured in dollars per month, not tens of dollars), see our electricity guide.
The Five-Piece Toolkit
- Velcro cable ties (not zip ties — you’ll re-route twice before you’re happy). Roll of 100 costs about eight dollars and will improve your entire life.
- Cable sleeves — braided expandable sleeving turns six cords into one clean snake. Get the split-loom or zip-up kind so you can add runs later without re-threading everything.
- Adhesive cable clips in two sizes (single-cord and 3-cord) for the wall drops and desk edges.
- Under-desk cable tray — the single highest-leverage purchase for studio walls. Every cord that would hang vanishes into a basket screwed under the desktop.
- Label maker or masking tape + pen. “Sign 1 / pink dream / strip 2” written on both ends of every run. Six months from now, future-you will send thanks.
The Topology That Works: Zone, Bundle, Drop
Think of a multi-sign wall as three layers and the mess disappears:
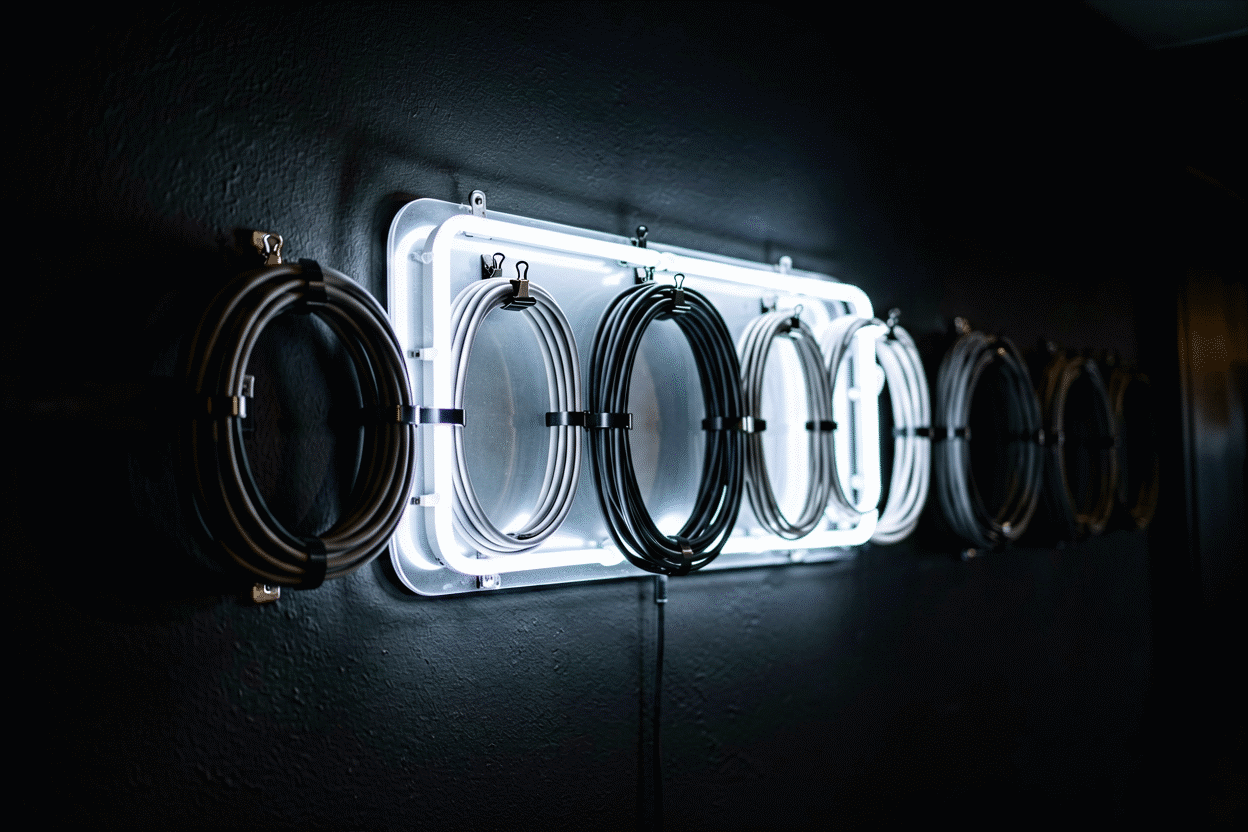
Layer 1 — The power spine. Power strip(s) mounted at the furniture line, under a desk or behind a console. Everything electrical originates here.
Layer 2 — The bundle runs. Signs’ cords gather into sleeved bundles that run horizontally along the furniture’s top edge or under the desk tray — the paths that are structurally hidden.
Layer 3 — The vertical drops. From the bundle to each sign: the only exposed cords anywhere, each one running plumb up the wall’s shadow line in an adhesive clip, or hidden in paintable channel when they face cameras.
The order of operations matters: mount signs, confirm positions, then cut and dress cables. Routing before final placement is how you end up with nine re-tied velcro loops and resentment.
Scenario: The Streaming and Gaming Wall
The classic three-sign setup — name sign, game logo, accent shape — behind a desk (see it assembled in our gaming room ideas):
- Signs mounted, power exits at each sign’s lowest corner toward the desk.
- All three drops run behind the desk into the under-desk tray, joining the existing monitor/console cables there.
- One sleeved bundle exits the tray’s side to the strip mounted on the desk’s underside leg.
- Velcro every 8 inches inside the tray; one label per run.
- The camera check: sit in stream position, photograph the wall, look for any cord visible in frame — fix those runs with painted channel, not luck.
The payoff beyond looks: one switch turns the entire glow wall off after the session, and adding sign number four next year is a 15-minute job because every layer is labeled and has slack.
Scenario: The Home Bar
Bars add three complications: moisture, stools that scoot, and darkness.
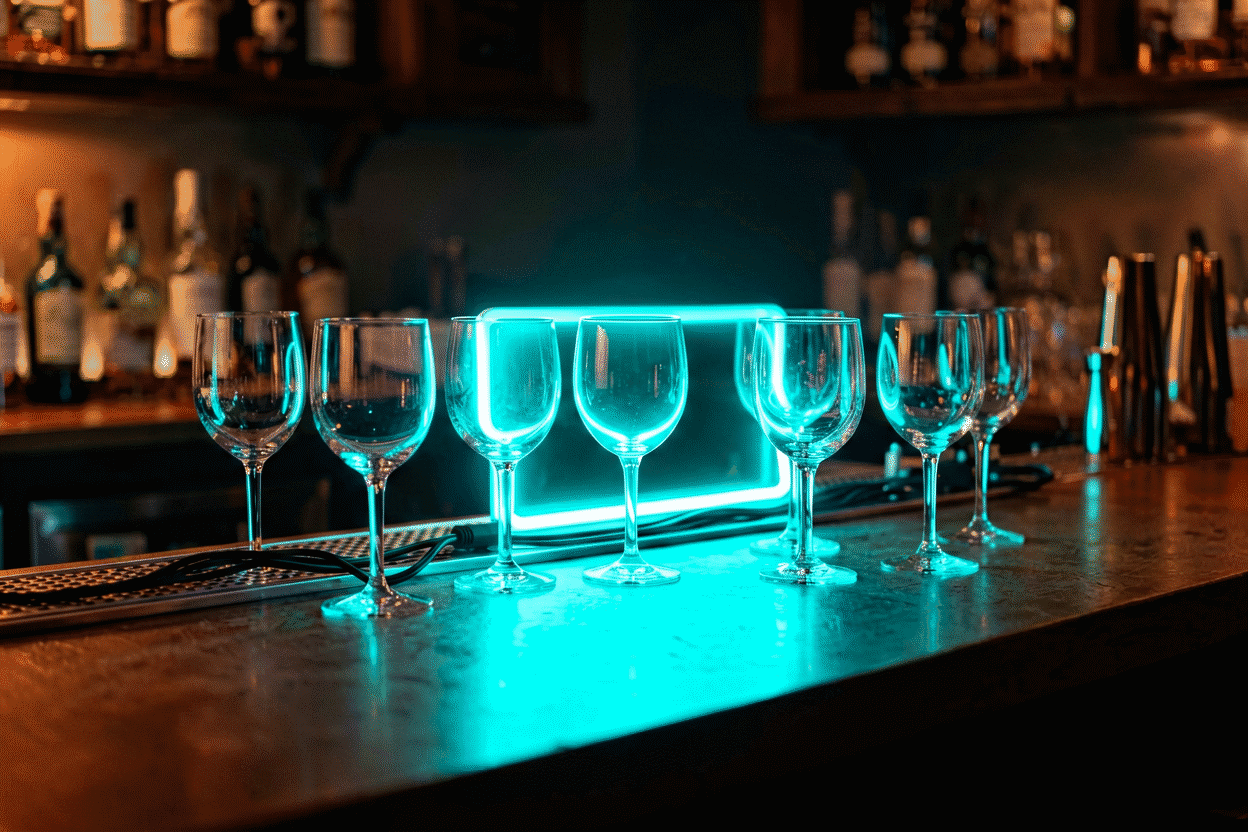
- Power strip mounts high — inside the bar cabinet or under the shelf overhang, never near the sink or floor-level ice buckets.
- Drops run behind the shelf stack, emerging only at the signs themselves. Under-shelf LED strips and the neon signs share the tray, separated into power and accessory bundles.
- Floor runs, if unavoidable, get a rubber cord cover rated for foot traffic — the ramp kind that protects the cord and the ankles.
Scenario: The Salon, Studio, and Small Business Wall
Business walls scale the same topology with one addition: a master switch or smart plug on the whole sign circuit so opening and closing is one action, not six plug-pulls. Smart plugs add scheduling (signs on at open, off at close) and app-level kill switches — our remote and dimming guide covers the control layer in detail.
Signs placed in window displays get outdoor-rated cord treatment regardless of indoor location: UV and temperature swings live inside window glass, and standard cord jackets embrittle in two sunny summers.
The Two Safety Lines That Aren’t Negotiable
- Never run cords under rugs, through doorways, or across walk paths — sheath wear kills cords where they flex, and floors kill people where cords cross them. Overhead or around, always.
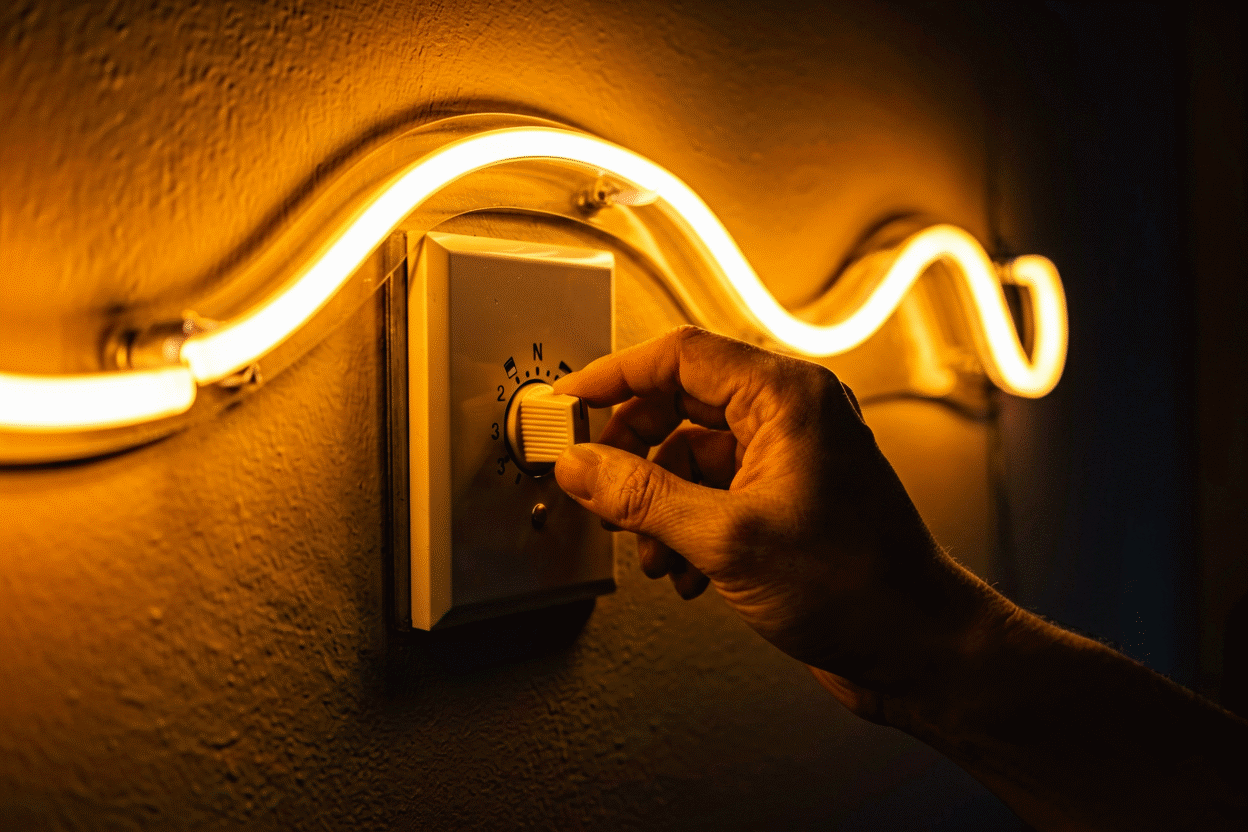
- Match dimmers and controllers to the sign’s driver — stacking an aftermarket dimmer on a sign that expects its own controller is how flicker and premature driver failure happen. One control layer per sign, chosen at order time, documented in the setup folder.
Design Future-You’s Cable Life Away
Cable management starts at order time, not install time. Signs ordered with the power-exit corner matched to each wall position eliminate half the routing instantly — and when you’re building a multi-sign wall, designing all signs in one session in the custom builder keeps connectors, controllers, and mounting hardware consistent across the collection, so the bundle you build fits every run without adapters.
The Studio Build: A Complete Walkthrough
A full multi-sign studio wall built from scratch — the complete sequence, with the reasoning visible:
The room’s job. A dual-purpose studio: streaming corner plus a product-photography wall. The sign plan: three pieces — a wordmark (the brand, warm white, 36 inches), an icon (lightning bolt, electric blue, 14 inches), and a phrase piece (pink script, 22 inches) — each with a role: the wordmark anchors the camera frame, the icon accents the product wall, the phrase warms the room’s lounge half.
Step one: power planning before anything mounted. The outlet inventory found two wall outlets and one floor box. The decision: all three signs share one quality surge strip mounted under the desk (the streaming gear’s strip stays separate — function splits, so failures split too (the topology)). The floor box serves the photography side’s lighting. Nothing daisy-chains, nothing crosses the room.
Step two: mount the signs, positions final. All three mounted per their walls’ types (the hanging methods) — wordmark on studs behind the desk, icon on drywall anchors for the product wall, phrase on the lounge wall’s picture rail via fishing line (the no-holes wall got the no-holes method). Only after all three hung and framed on camera did any cable work begin — routing before final placement is how rework happens.
Step three: the bundle layer. Under-desk tray installed; each sign’s drop clipped down the wall’s shadow line into the tray’s territory; the three drops joined the monitor-and-console bundle inside one braided sleeve from tray to strip. Labels on both ends of every run: which sign, which strip position. The phrase sign’s cord (fifteen feet to its rail-mounted position) got its own sleeved run along the rail itself — the hidden highway the room’s architecture offered for free.
Step four: the camera audit. Sitting in stream position and photographing the full frame; then the product-wall angle; then the doorway view. Found and fixed: one drop catching window glare (moved two inches into shadow with an extra clip), the icon sign’s cord visible above the tray line (re-routed behind the shelf stack), and the phrase sign’s rail run glinting at one angle (black sleeve replaced the gray, glare gone).
Step five: the living-with-it layer. Two scenes saved on the signs’ remotes (day full, evening 25%); the smart plug on the strip runs the sunset-off schedule (the automation tier); and the spare-parts drawer by the desk holds coin cells, spare clips, and the laminated spec card for all three signs.
Total build: one evening’s work, under eighty dollars in management hardware. The result runs daily without a visible cable anywhere — and the fourth sign planned for next year has its labeled, slack-provided bundle position already waiting in the tray.
FAQ: Neon Sign Cable Management
How do you manage cables for multiple neon signs? Give all signs one quality surge strip mounted at the furniture line, bundle their cords in sleeving along hidden paths (under-desk tray, shelf undersides), and make each sign’s vertical drop a clipped plumb run up the wall’s shadow line. Label both ends of every cord.
Can you plug multiple neon signs into one power strip? Yes — LED neon draws 10–30 watts each, so a 15-amp strip carries dozens. The rule is one strip per outlet and never daisy-chaining strips; split by function instead (signs vs. other gear).
How do I hide cables on a gaming wall with neon signs? Route every sign’s drop behind the desk into an under-desk cable tray, join the monitor and console cables there in one sleeved bundle, and keep only clipped vertical runs on the wall itself — painted channel for any run the camera sees.
Are neon sign cables a fire hazard? The signs’ cords aren’t — the hazard pattern is daisy-chained cheap power strips and cords under rugs. One quality strip, visible runs, no floor crossings, and LED neon is among the safest lighting you can install.
What’s the best way to label sign cables? Velcro-tied runs with masking-tape flags or a label maker on both ends of every cord: which sign, which strip, which channel. Ten minutes of labeling saves an hour of tracing later.
Should cable management happen before or after mounting the signs? After. Mount everything, confirm positions and camera angles, then cut, route, and dress the cables — routing before final placement is what creates re-work and slack chaos.
How do you cable-manage neon signs on a wall with no furniture? Anchor the power spine at the baseboard instead: signs drop via clipped shadow-line runs to floor level, where a paintable raceway along the baseboard carries the bundle to the outlet. The verticals stay tight and plumb, the horizontal disappears into the room’s existing line, and the whole system mounts without a single piece of furniture to hide behind. Add labels at both ends of every run and the future-you audit takes minutes.
Sources & Further Reading
- Solid-State Lighting (U.S. Department of Energy) — DOE reference on LED efficacy and lifetime.
- Mercury (U.S. EPA) — federal guidance on mercury exposure and safe handling.