How to Hang a Neon Sign on a Wedding Backdrop
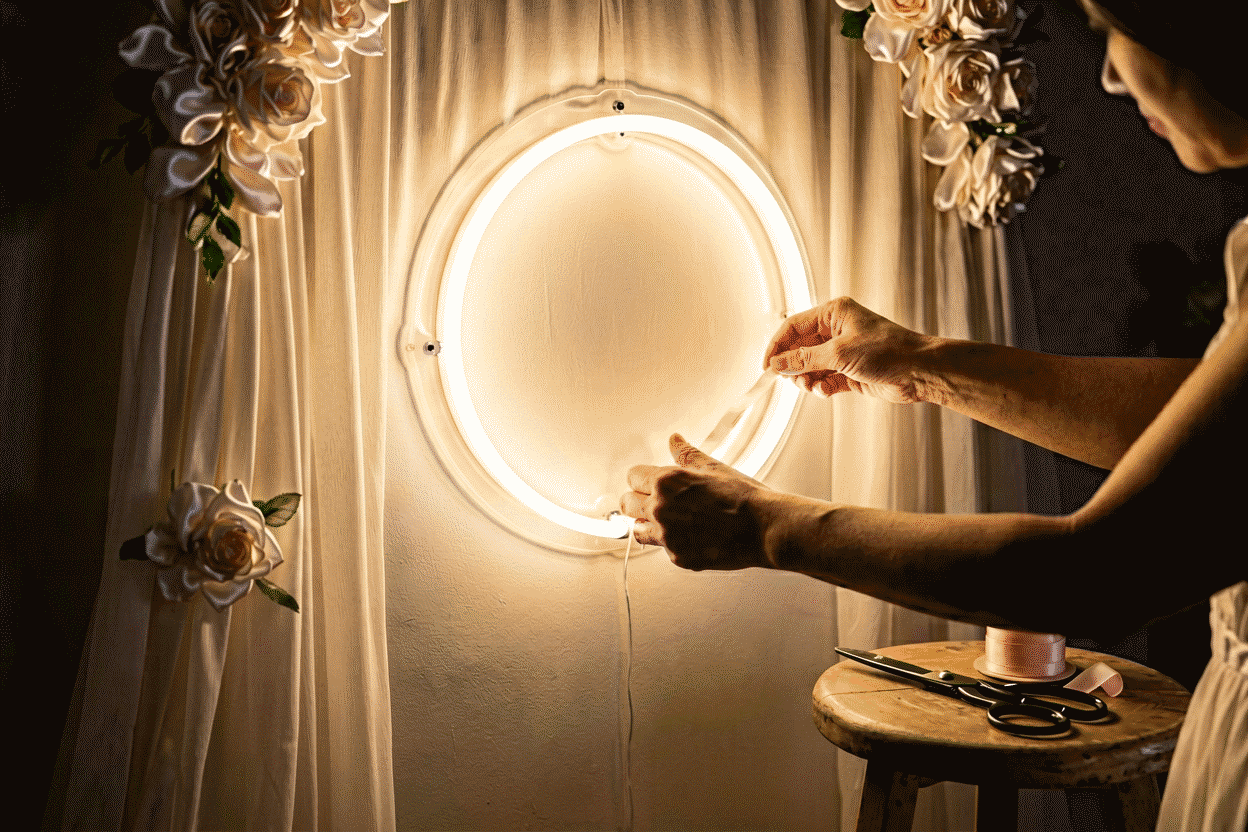
A neon sign on a wedding backdrop hangs from the frame, never from the fabric — and the difference between a sign that floats all evening and one that sags by the first dance is three details: rigid attachment points spread wide, a backing that keeps its shape, and a cord nobody can trip on. With those handled, installation on any of the six common backdrop types takes 20–40 minutes, and the sign photographs like it belongs there permanently.
Weddings are the single biggest neon event market, and backdrop installs are where most of it physically happens. This is the complete guide: backdrop by backdrop, plus the anti-sag engineering, the power plan, and the timeline that keeps day-of setup calm.
Mounting fundamentals generally (backings, leveling, wall anchors) are covered in the main hanging guide — this page is the event-specific playbook.
The Golden Rule: Frame, Not Fabric
Every sagging, tilting, mid-reception-slipping neon backdrop failure has the same root cause: somebody attached the sign to the backdrop material instead of the structure behind it. Fabric stretches, flowers shed, greenery mats compress — all of them creep under a 4–8 lb load over hours.
The structure is always there: a pipe-and-drape frame, a wooden arch, a grid panel, a wall. Find it, part whatever’s decorative, and attach to the thing that doesn’t move. Every method below is a variation on that single move.
Backdrop Type 1: Pipe-and-Drape (The Reception Standard)
The workhorse frame: vertical poles, horizontal crossbar, fabric hung from the bar.
- Part the fabric at the crossbar and locate the bar behind it.
- Hang the sign from the crossbar with zip ties or heavy fishing line looped through the sign’s backing holes. Position the sign so its top edge sits just below the bar, hidden inside the drape’s fold.
- Distribute four to six attachment points across the backing’s full width — this is anti-sag move number one. A sign hung from two points bows its acrylic over a long evening; a sign hung from six holds flat.
- Pull each tie to the same tension, checking lettering level against the horizon (ceilings and drape lines lie; the dance floor is flat).
Weight limit check: standard rental crossbars carry 15–20 lb of drape already; a neon sign under 8 lb is fine, but tell the rental company what’s hanging so they bring the heavier bar if your sign is big.
Backdrop Type 2: Wooden Arches and Tripods
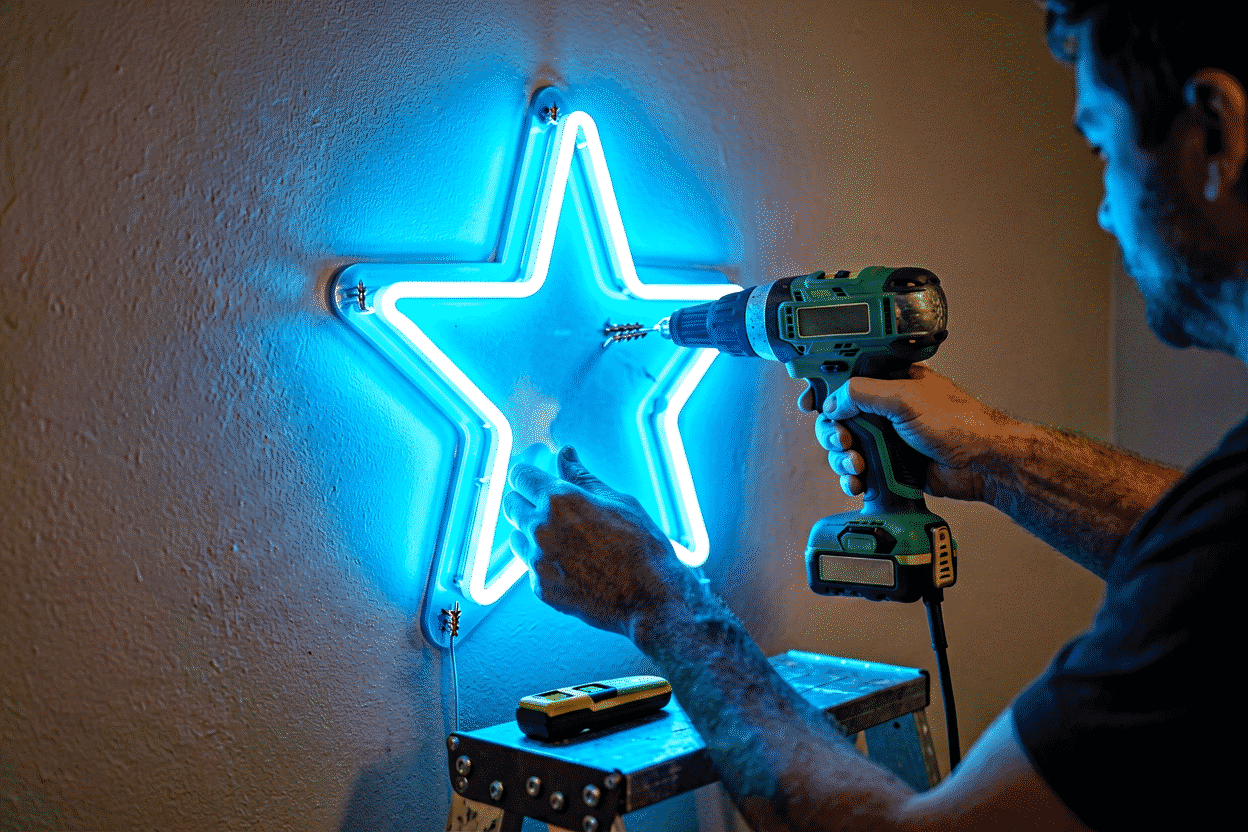
Wooden ceremony arches and tripod beam setups are the easiest surface in events: they accept screws (bring a cordless driver and 1/2″ pan-head screws), conduit clamps (the U-shaped cable clamps that grip a sign’s backing edge to the wood), or zip ties around the beam.
Screw through the backing’s pre-drilled holes into the arch where the wood is thickest. If the arch is rental and hole-free is required, wrap the beam in two crossed zip ties per mounting point and clip the sign to the ties. Either way, the wood doesn’t flex — sag risk here comes only from sparse attachment points, so use them all.
Backdrop Type 3: Grass Walls and Greenery Panels
The full deep-dive lives in hanging a neon sign on a grass wall — short version: zip ties through the panel lattice, part the foliage so ties disappear, sandbag any freestanding wall’s feet, hang at or below the wall’s vertical center.
Backdrop Type 4: Flower Walls
Flower walls are grass walls’ delicate siblings: foliage on grids, but with heavier blooms glued or pinned on, and often foam backing boards that will dent under point loads.
- Never poke ties through blooms.
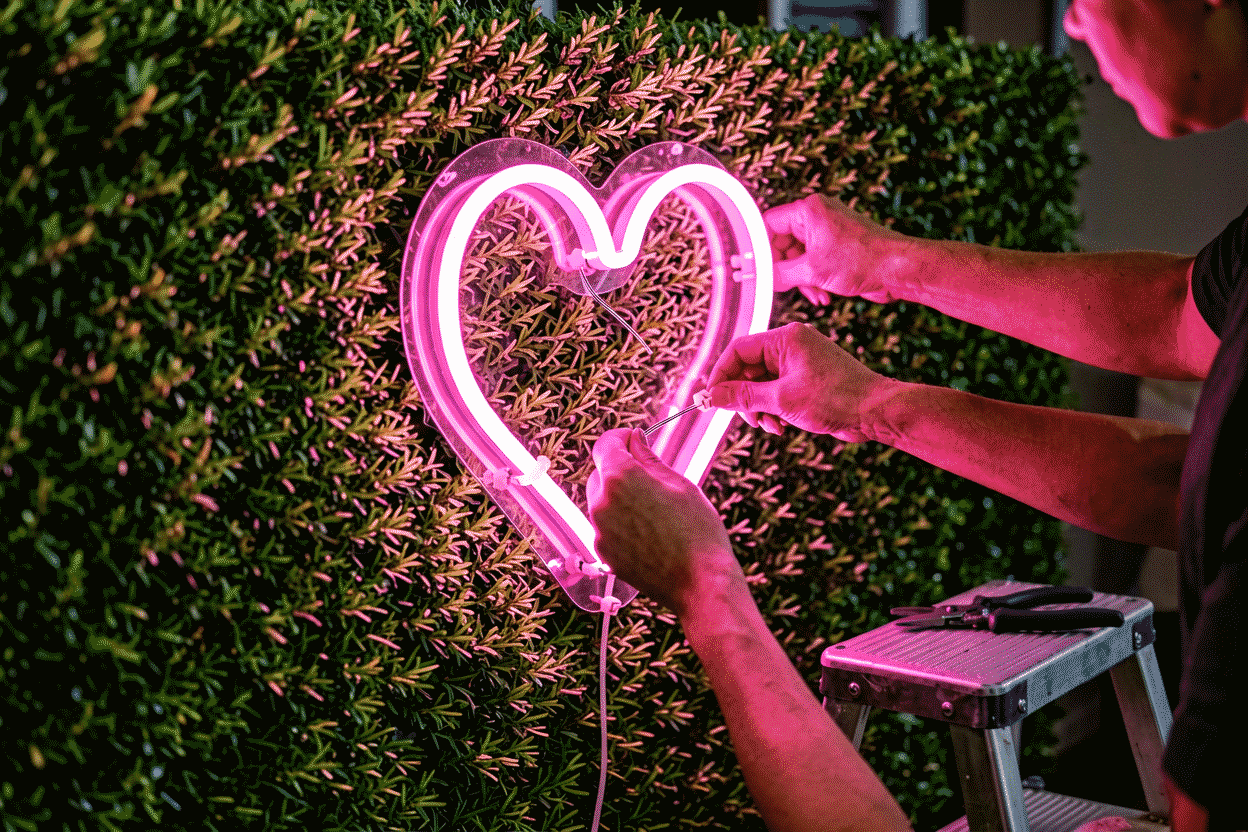
- Thread fishing line through the structural grid behind the flowers, around the board if there is one, and hang the sign from the line — the flowers hide the hardware completely, which is why flower-wall neon photographs so cleanly.
- Keep the sign’s weight on the grid/board, and add a discrete support ribbon from the top corners up to the frame above when the flower wall is soft-backed: the ribbon carries load, the line keeps position, nothing sags.
Backdrop Type 5: Balloon Garland Frames
Neon inside a balloon garland is the “engagement photo” look, and it works exactly one way: the sign attaches to the garland’s internal frame (the aluminum rod or fishing-line grid the balloons are built on), never to balloons. Balloons flex, pop, and shed — a sign strapped to them drops the moment one gives out.
Mount the sign to the frame first, then let the decorator build balloons around its edges. The sign sits recessed into the garland, glowing out of the arrangement — the effect everyone pins, achieved by install order.
Backdrop Type 6: Fabric Walls on Existing Structures
Stretch-fabric walls (spandex, sequin curtains over frames): attach to whatever the fabric is stretched on — pipes, uprights, the venue wall behind. Sequin curtain strands are strong vertically as a group but individually slippery: gather a few strands, zip-tie the bundle and the sign’s hole to the frame in one pass, so the bundle can’t slide.
The Anti-Sag Engineering (All Backdrops)
Three details, worth restating because they’re the whole article compressed:
- Wide attachment geometry. Use every mounting hole on the backing, especially the outermost corners. Sag is bending; spread points turn bending into tension the acrylic loves.
- Rigid ties, matched tension. Zip ties beat string because they don’t creep. Pull each to the same tension — one loose point among five tight ones is where bows start.
- The center-back support. For signs wider than 4 ft, run one extra tie from the backing’s top-center to the frame above. It’s invisible from the front and it kills the center-drop that wide signs otherwise develop by hour three.
Power and Safety on the Day
- Battery packs exist and are the answer for arches far from outlets — most LED signs run 10–12 hours on a quality power station; confirm with your sign maker at order time.
- Tape every floor cord with gaffer tape along walls and door thresholds. Reception traffic is the hazard, not electricity.
- Outdoor ceremonies: outdoor-rated sign, covered GFCI outlet, and a wind check — large light signs are sails. When in doubt, the sign moves to the indoor reception where it glows all night anyway.
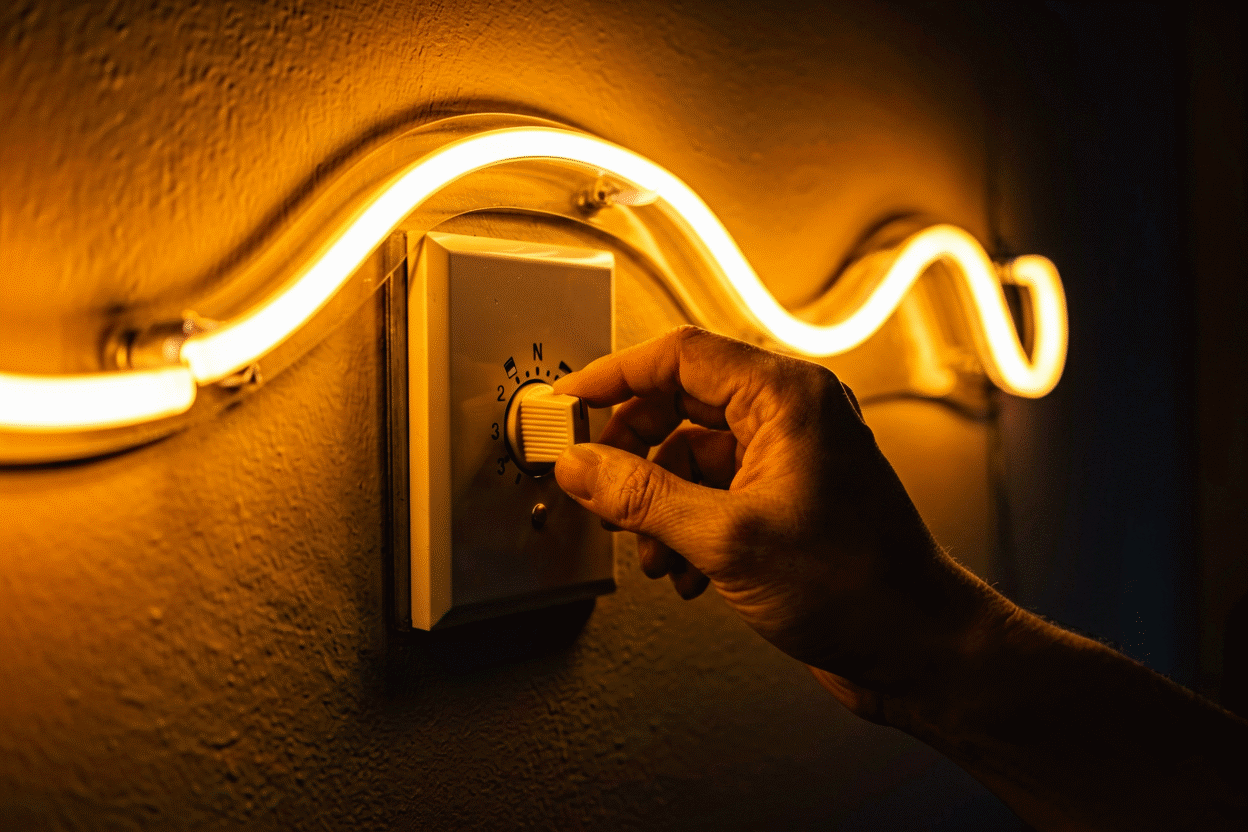
- Dim it for dinner. Signs on dimmers drop to a warm ember during toasts and back up for dancing — the single most compliment-generating move available (see our color and dimming guide for how).
The Timeline That Keeps It Calm
- 2 weeks out: sign delivered; test it powered on at home; confirm mounting hardware and order extras (zip ties, gaffer tape, extension cord).
- Day before: install if venue allows; photograph the powered result so day-of staff can restore it exactly.
- 2 hours before: power on, dim to dinner level, cord-check the walk paths.
- After: most custom signs are keepers — the couple’s names-and-date lives above the headboard at home within the week. Remounting on a bedroom wall takes the standard hardware kit and 30 minutes.
Designing the sign itself — names, dates, phrases, sizing for two or for photography — starts in the wedding neon signs gallery, and every design previews live with real pricing in the custom builder.
The Day-Of Kit and the Emergency Drawer
What experienced wedding decorators actually pack, beyond the sign itself — the kit that turns backdrop emergencies into non-events:
The core kit (one toolbox):
- Gaffer tape in black and white (floor cords, wall drops, marking positions — never duct tape, which leaves residue on rentals)
- Zip ties in three sizes, white and black, plus flush-cut snips
- Heavy fishing line (30-lb test) and small adhesive hook cups — the invisible-mount insurance
- A quality power strip and two outdoor-rated 25-foot extension cords
- Rubber cord covers for any walk-path crossing
- Battery power station, fully charged, for arch and field installs (the power math)
- Spare coin cell for the dimmer remote
- Small spirit level and a tape measure (lettering, not grass, tells the truth about level)
- Microfiber cloth — signs arrive dusty from packing foam, and dusty signs photograph terribly (cleaning)
The emergency drawer (the five saves):
- The sagging crossbar — re-tension to equal pull, then run one center-support tie from the backing’s top-middle to the bar above; the center-drop killer (the anti-sag trio).
- The flickering sign — ninety percent a cord or connector: reseat everything, try the second outlet, then the battery station; only then call the maker’s support line (have the order number in the kit’s folder).
- The backdrop that arrived without a frame — the fishing-line-to-ceiling option (venues with grid ceilings or exposed beams accept hooks) or the freestanding-pole rental scramble; know which your venue offers before the day.
- The too-dim reception room — signs at full brightness do the room’s lighting work for the first hour; dim for dinner, restore for dancing (the evening dim plan).
- The timeline crunch — the pre-staged photo: the install photographed at T-1 becomes the restoration reference that day-of staff can match in five minutes without you (the event calendar).
The coordinator handoff. If a venue coordinator will touch the setup, hand them the one-pager: the photo, the dim setting, the off-switch location, and the don’t-touch list (connectors, ties). Five minutes of paperwork converts strangers into careful custodians.
The pattern in every save: preparation converting emergencies into procedure. Weddings reward decorators who assume nothing about venues, power, or weather — and pack accordingly.
FAQ: Neon Signs on Wedding Backdrops
How do you hang a neon sign on a wedding backdrop? Attach to the backdrop’s frame — crossbar, arch, or grid — with zip ties or fishing line through the sign’s backing holes, using every mounting point. Never hang from fabric, flowers, or balloons, which stretch and sag.
How do I hang a neon sign without it sagging? Spread attachment points across the backing’s full width, pull all ties to equal tension with rigid zip ties, and add a top-center support tie for signs wider than four feet. Sag comes from two-point hangs and unequal tension, not the sign.
Can you put a neon sign on a flower wall? Yes — thread fishing line through the structural grid or board behind the flowers and hang the sign from that, keeping weight off blooms and foam. Add support ribbons to the frame above if the wall is soft-backed.
How do you power a neon sign at a wedding venue? Standard outlets near the backdrop, extension cords taped down with gaffer tape; or a battery power station for remote arches — most LED signs run 10–12 hours on one charge. Outdoor setups need outdoor-rated signs on GFCI circuits.
How long does wedding neon sign setup take? Twenty to forty minutes for one sign on a standard backdrop frame with the right hardware — less when the sign is zip-tied to pipe-and-drape, more for flower walls needing line threading.
Can the couple keep the wedding sign afterward? Yes — names-and-dates signs remount on home walls with the included hardware, and they’re the format most couples actually do keep. It’s a wedding rental that turns into a headboard.
Sources & Further Reading
- Solid-State Lighting (U.S. Department of Energy) — DOE reference on LED efficacy and lifetime.
- Mercury (U.S. EPA) — federal guidance on mercury exposure and safe handling.