Neon Wall Lights: 17 Setups and the Full Guide
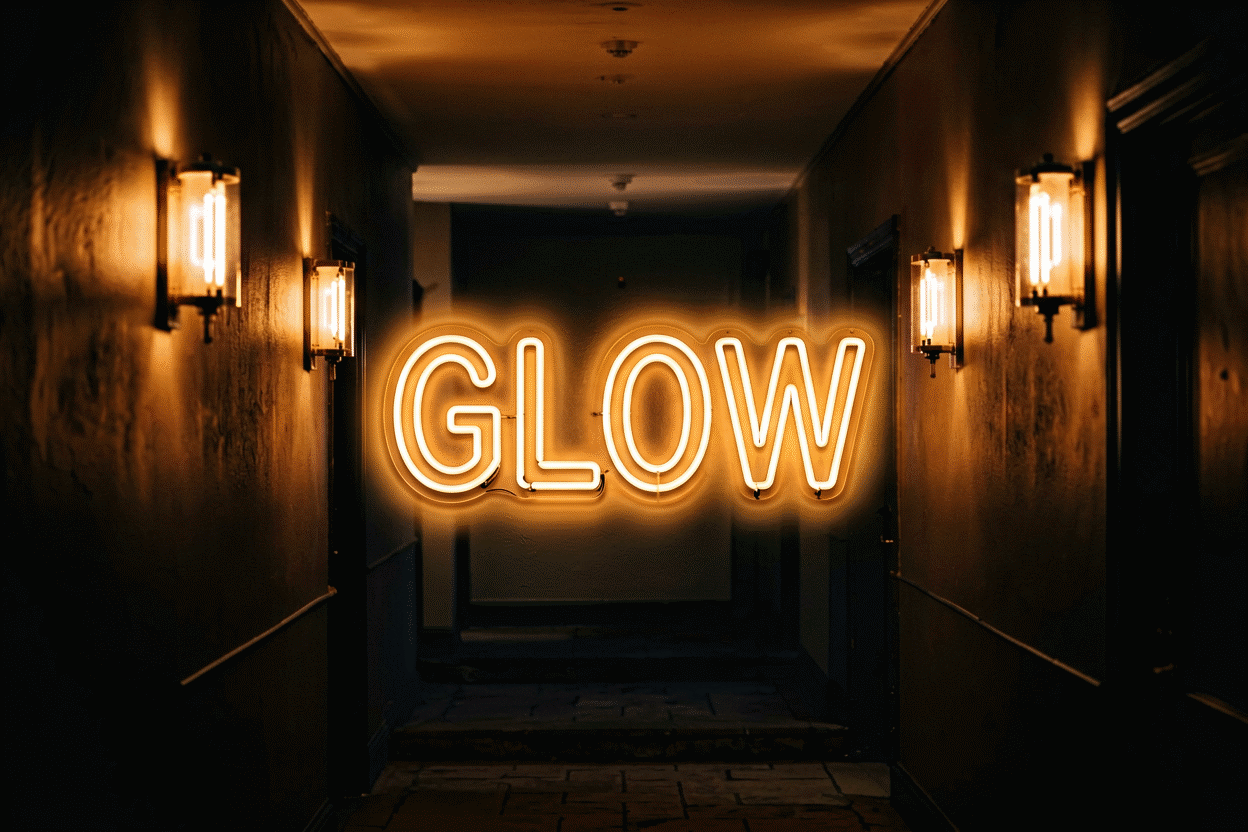
Call it a light, not a sign, and the category changes: the piece’s job shifts from saying something to lighting something — and that reframing opens the whole house. Neon wall lights are the functional register of the form: glow as illumination, ambience as infrastructure, the fixture that happens to be beautiful instead of the art that happens to glow.
Here are 17 setups by room and job, plus the engineering decoder (strips, panels, signs, and the color-changing tier). The art register lives at neon wall art ideas; the decor canon at neon signs for home decor.
The Living Room Setups: Ideas 1–4
- The sofa-back wash — a neon strip run behind the sofa’s top edge: the halo that turns seating into a setting and kills the ceiling-light need after six.
- The corner wash — a vertical strip or narrow panel up the corner: the room’s ambient layer at 20%, the “house still awake” signal.
- The shelving run — strips under each shelf: the library treatment, glow-layered, the most-faked designer look in the category and the easiest to actually do.
- The picture-light swap — a small neon above the wall art instead of a picture light: the art gets lit and the light is the better-looking object.
The Bedroom Setups: Ideas 5–8
- The headboard halo — the strip behind the headboard: the bedroom’s softest possible light, the 15% that means sleep is adjacent.
- The under-bed glow — strips under the platform frame: the floating-bed effect, the kids’ room’s night tier, and the internet’s favorite bedroom hack.
- The mirror surround — neon framing the vanity or dresser mirror: the get-ready station’s professional lighting, phrase-tier adjacent but wordless.
- The closet glow — a small piece inside the walk-in: the luxury tier’s cheapest imitation, and genuinely useful at 6 a.m.
The Media & Work Setups: Ideas 9–11
- The bias-light panel — glow directly behind the monitor or TV: the eye-strain reducer that looks like set design; the most functional foot in this whole guide.
- The desk spine — a vertical strip at the desk’s edge: the work corner’s dusk layer, 30% brightness, quitting-time dimmer.
- The gaming wrap — the corner’s three-surface glow (the color-changing tier covers the RGB logic): the immersion build, dimmed for the neighbors’ sake.
The Utility & Transition Setups: Ideas 12–15
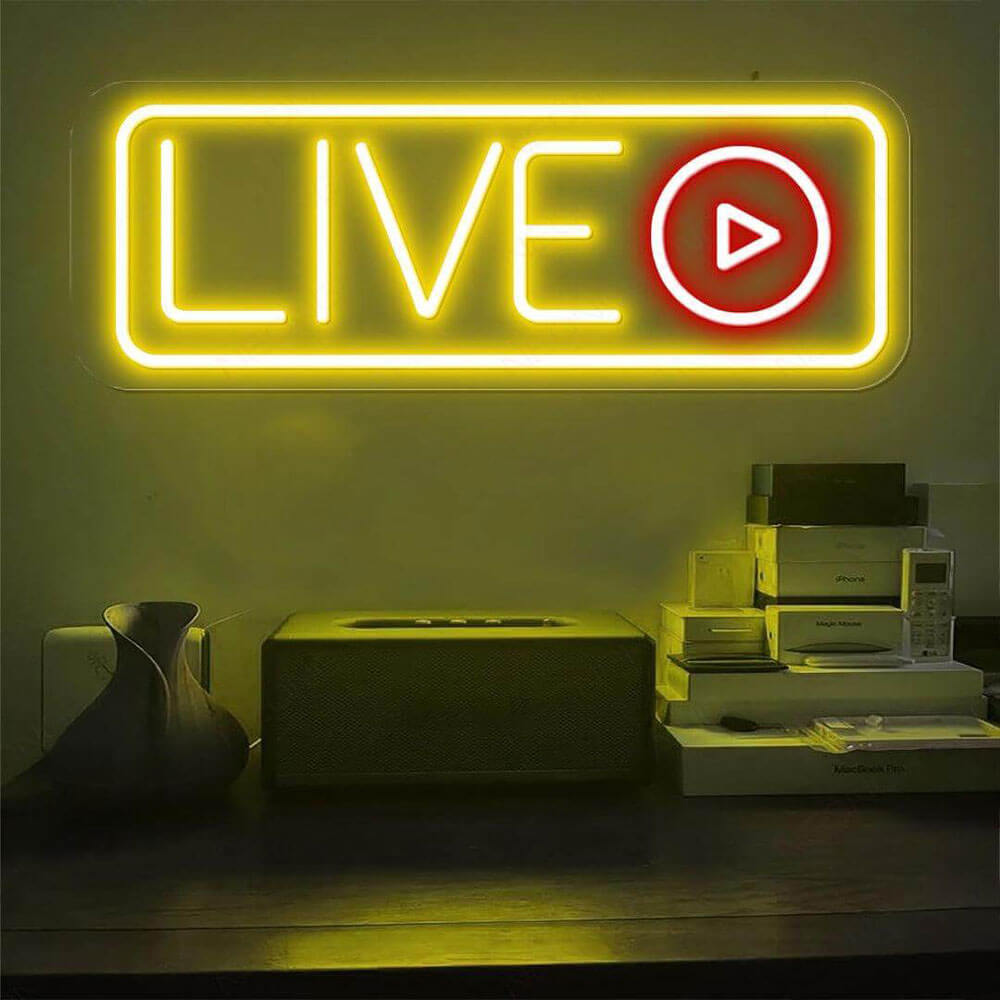
- The hallway runner — low strips along the corridor’s base: the 2 a.m. navigation tier, warm white, 10% — never the overhead light.
- The stair glow — step-edge strips: the safety tier that looks like architecture; check local codes for the stair-specific rules.
- The bathroom night tier — a strip under the vanity’s floating edge: the midnight fixture that doesn’t blind; moisture logic applies (the bathroom canon context).
- The kitchen toe-kick — strips under the cabinets’ base: the kitchen’s night layer, the coffee run’s best light.
The Statement Setups: Ideas 16–17
- The color-changing wall — the RGB panel tier running the wall’s moods by schedule (the full logic): Friday red, Sunday warm, holiday green on remote.
- The neon-sign-as-lamp — the phrase piece doubling as the room’s only evening light (the palette logic): the honest version of what most rooms are already doing.

The Decoder: Strips, Panels, Signs
Strips (flexible, continuous, linear): the architecture tier — halos, washes, runs, and under-glow. Cheapest per foot, invisible when off, and the category’s best pure-light value. The kitchen and hallway work is all strips.
Panels and shapes (rigid, formed): the icon tier — moons, waves, forms. The wall-art crossover; covered in depth at the art guide.
Signs (text, logos, phrases): the statement tier — the pieces that speak. They light rooms incidentally, beautifully; treat the light as the bonus and the phrase as the job.
The engineering layer is shared: everything dimmable or nothing (the brightness logic context), everything on the power math that rounds to pocket change monthly, and everything mounted by the hanging guide’s methods — strips take the adhesive-and-channel route, panels take anchors, signs take the full treatment.
The Strip Engineering: The Working Method
The strip tier (the halos, washes, and runs) installs by a method that separates the professional look from the LED-aftermarket one.
The channel discipline. The strip that sticks bare to the wall reads aftermarket; the strip in the aluminum channel with the diffuser cover reads architectural. The channel’s cost is trivial ($10-20 per run), and its effect is total: the diffused line replaces the dotted LED points, the channel straightens what the adhesive sags, and the finished run reads as design rather than installation (the mounting logic covers the channel systems).
The corner and joint math. The strips’ runs meet at corners (the inside miter for the halo’s turns), join at connectors (never the solderless cheapies on the visible runs), and terminate at the power drops (the connection that’s hidden behind or beneath). The halo’s four-corner success is measured in the miters: the gap that shows at the corner ruins the effect the strip was buying (the wall-lights physics above).
The controller placement. The RGB tier’s controller and the dimmer’s driver want accessible placement (the shelf’s underside, the cabinet’s interior) – the control the household can reach is the control the household uses. The strip program that hides its controls dies at full brightness; the program that surfaces them runs the moods (the color-changing logic covers the RGB tier’s full system).
The Layer Budget: Building the Room’s Glow
The single-layer start ($50-120): one halo (behind the TV or the headboard) or one wash (the corner strip) – the room’s first glow layer, the ten-minute install that changes the room’s nights. The two-layer program ($120-300): the halo plus the under-shelf runs or the toe-kick tier – the room’s depth emerging, the layered look the internet saves. The full program ($300-700): the room’s complete glow architecture – the halo, the runs, the accent panels, the color-changing anchor – the lighting plan that replaces the ceiling light after six (the wall-art statement tier for the room’s centerpiece).
The budget’s power math closes the case: the full program draws less than the lamp it replaces (the numbers) – the room’s whole glow layer running for the cost of one bulb’s habit, which is the quiet argument that wins every strip-tier household.
FAQ About Neon Wall Lights
Are neon wall lights good for everyday lighting? They’re the best ambience layer and the worst task layer: run them as the evening’s mood (with lamps for reading) and they carry the house after six. The power math says the whole system costs dimes.
What’s the difference between a neon sign and a neon wall light? Intent: signs speak (phrases, logos), lights illuminate (strips, halos, washes). The hardware overlaps; the placement logic differs — the art guide covers the statement register, this guide the functional one.
Where should neon strips go in a living room? Behind the sofa (halo), under shelves (layering), and up the corner (wash): the three placements that replace the ceiling light after dark. Warm white at 20–30% is the standard.
Can neon wall lights change color? The RGB tier does — the color-changing guide covers the schedules, the moods, and the holiday logic. The fixed-color tier stays calmer; pick by temperament.
Are neon wall strips good for everyday lighting? They are the best ambience layer and the worst task layer: the strips run the evening’s mood (the halo behind the sofa, the wash up the corner) with a power draw that rounds to pocket change (the math), while the reading and the cooking still belong to the lamps and the overheads. The strip-first home runs its evenings on glow and its mornings on honesty – the two-layer plan the best rooms converge on. The strips’ honest limitation: they light the room’s edges and moods, not the room’s work; the household that expects task lighting from the bias glow buys a flashlight.
Can neon strips light a whole room? As the evening’s ambience layer: yes, beautifully – the halo behind the sofa and the wash up the corner carry the room’s after-six mood at the pocket-change power draw (the math). As the only light: no – the strips light the room’s edges and moods, not its tasks, and the reading-cooking-finding work still belongs to the lamps and the overheads. The two-layer plan (the strips for the evening, the overhead for the morning) is the honest lighting architecture – and the strip layer is the one the room actually loves.
Are neon strips safe behind a TV? Yes – the bias-light placement (the glow directly behind the screen) is the tier’s most-recommended position: the LED strips run cool (the heat facts), draw a few watts, and the bias glow actually reduces the eye strain of the long screen sessions. The installation’s disciplines: the strip rated for the enclosed placement, the power supply in open air (not behind the panel’s dead space), and the channel mounting that keeps the strip’s adhesive from the panel’s heat. The bias-lit screen is the setup tier’s standard for a reason – it looks better and it feels better.
Neon wall light or sconce — which problem does each solve? Sconces solve architecture: they wash walls, flank mirrors, and light tasks on switched circuits. Neon wall pieces solve identity — a sign IS the visual event, not the lighting for one — so the decision runs backward from intent. Rooms that need light buy sconces; rooms that need a focal point buy glow; rooms that need both run the sconces on the dimmer and let the neon piece ride its own switch.
How do battery neon wall pieces compare to plug-in? Battery tiers (usually LED flex on a small pack) buy cord-freedom for shelves, mantels, and rentals — at the cost of monthly charging and noticeably lower output, since packs drive the tubing at reduced draw to hit their 20-40 hour ratings. Plug-in pieces run full brightness indefinitely for a meter cost nobody notices; the honest split is battery for decor moments, plug-in for anything meant to be seen daily.
The Strip Tier vs the Panel Tier
The wall-lights program’s two hardware routes, compared:
| Decision axis | The strip tier | The panel and sign tier |
|---|---|---|
| The architecture | The runs (the halos, the washes) | The forms (the shapes, the statements) |
| The installation | The channel-and-diffuse method (the engineering above) | The anchor-and-mount method (the guide) |
| The light’s character | Ambient (the edges and the moods) | Focal (the statements and the icons) |
| The budget per foot | The strip’s economy | The piece’s brackets |
| The flexibility | The geometry-following (the architecture’s light) | The statement’s permanence |
| The two-layer program | The halo underneath | The anchor above |
The two routes’ combination is the room’s complete glow: the strips installing the ambience (the bias glows, the halos, the washes – the light you feel) and the panels and signs carrying the identity (the shapes, the phrases – the light you see) – the two-layer program at $300-700 for the full room (the budget logic above).
The route-selection’s honest default: start with the strips. The ten-minute halo install (the $50-120 tier) changes the room’s nights before any statement purchase deliberates – the ambience layer’s instant gratification teaching the room what its focal layer should say.
Sources & Further Reading
- Solid-State Lighting (U.S. Department of Energy) — DOE reference on LED efficacy and lifetime.
- Mercury (U.S. EPA) — federal guidance on mercury exposure and safe handling.
Pricing based on CustomNeon’s current catalog (2026); custom quotes come live from the sign builder.