How to Dim a Neon Sign: Controls and Fixes
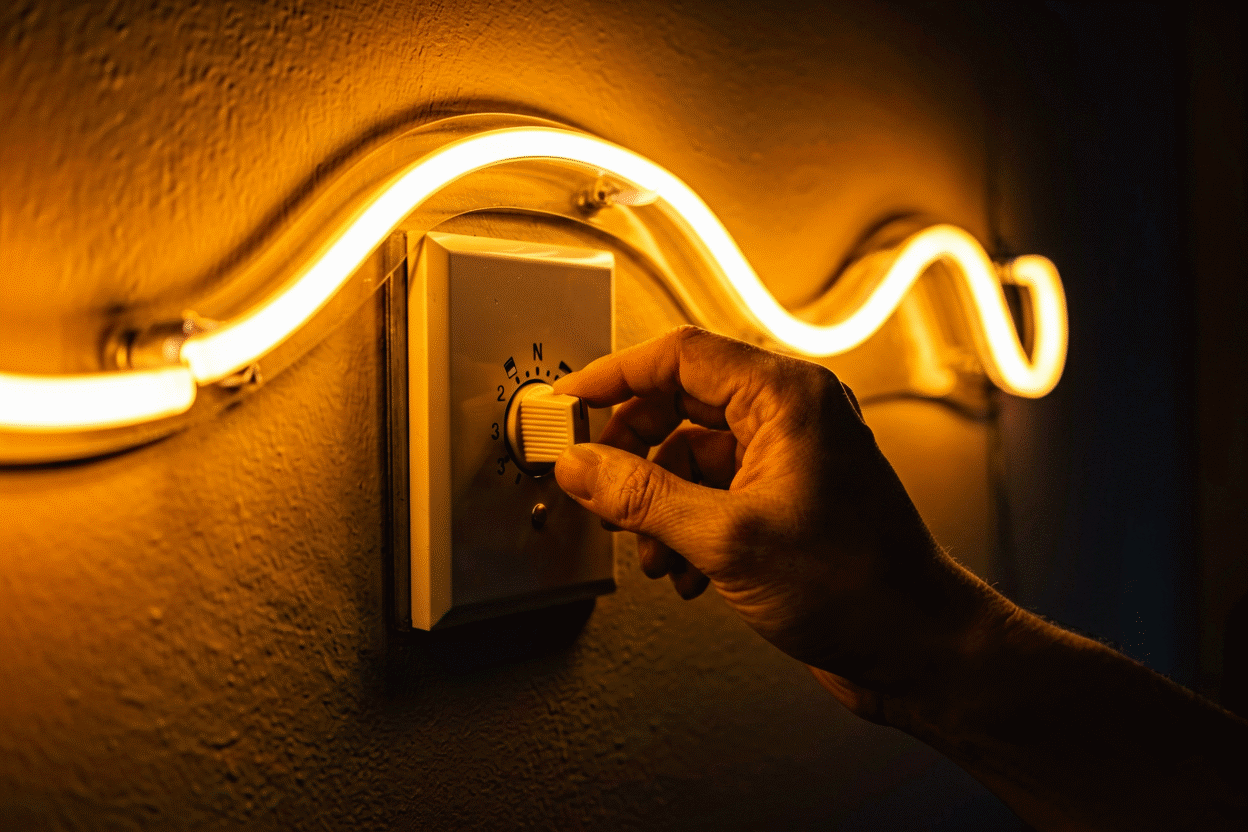
Dimming a neon sign runs through one of three doors: the remote it shipped with (pair, press, done — the 90% case), an app if the sign is smart, or an in-line dimmer you add to the cord for signs that came with no controller at all. Each takes under ten minutes, and the troubleshooting when something misbehaves is a short tree with a decisive fork: is the problem the control layer or the power layer?
The companion piece on whether and why signs dim — brightness ranges, color behavior, the glass-versus-LED boundaries — lives at can neon signs be dimmed. This page is the hands-on version.
Door 1: The Included Remote (Standard Path)
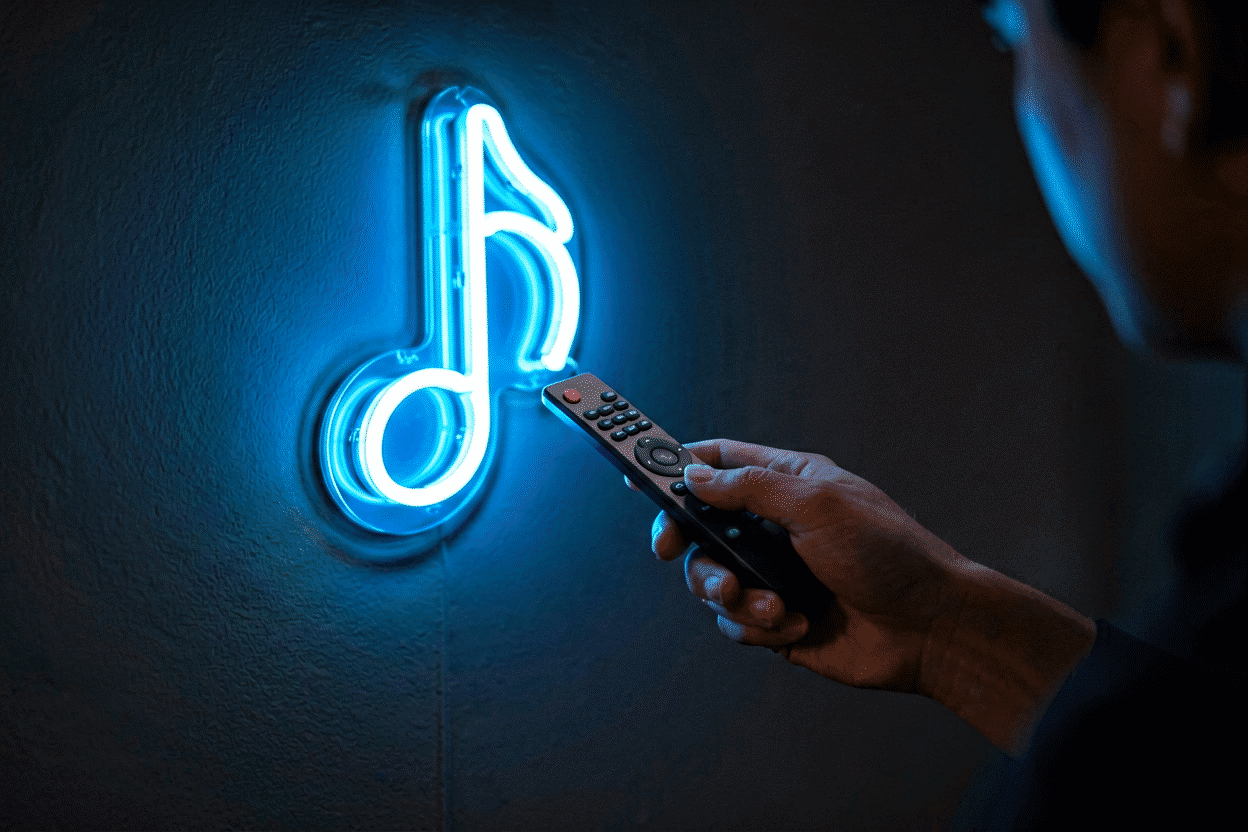
Most quality LED signs ship with a small remote — IR (needs line of sight) or RF (works through furniture) — and the operating sequence is genuinely three steps:
- Power the sign on at the adapter or switch and let it run its startup (RGB signs sometimes cycle a color test).
- Point/press — the brightness keys are the sun icons (up/down) on virtually every handset; each press steps brightness, hold to slide. On RGB remotes, brightness applies to the currently selected color or mode.
- If nothing responds, pair the remote: most handsets pair by holding the pairing button (often hidden inside the battery compartment or the “S” key) within 30 seconds of powering the sign. The sign blinks acknowledgment. The full button map and pairing variants live in the remote control guide.
Two habits that prevent 90% of remote grief: keep a spare coin cell in the drawer (a weak battery mimics every possible fault), and photograph your preferred settings after a good session — remotes lose their minds after battery swaps and the photo is the recovery key.
Door 2: App and Smart Control
Bluetooth and WiFi signs add phone control — brightness sliders, schedules, scenes, sometimes music-reactive modes. Setup pattern:
- Pair in the maker’s app (Bluetooth signs pair in-app near the sign; WiFi signs join your 2.4 GHz network — the 2.4 GHz part is where most setups stall; signs overwhelmingly don’t see 5 GHz).
- Set two scenes minimum: day (full brightness) and night (your dimmed evening level). Scenes beat sliders because the two-tap switch is what actually gets used.
- Add a schedule for the night drop — the sign that dims itself at 10 pm beats the sign you meant to dim. Smart plugs do the schedule-and-switch layer for non-smart signs (brightness still needs the sign’s own remote).
Door 3: Adding a Dimmer to a Sign That Has None
Signs shipped bare — mono-color signs with just an adapter — dim via an in-line LED dimmer on the low-voltage side:
- Match the numbers: the dimmer must match the sign’s voltage (12V or 24V — printed on the adapter) and exceed its wattage (adapter output watts, with headroom to spare).
- Cut nothing: quality in-line dimmers come as plug-through pods — adapter plugs into the dimmer pod, pod’s output to the sign’s connector. No wire cutting, no warranty anxiety.
- Order of connection: adapter → dimmer pod → sign, then power on and use the pod’s wheel or buttons.
The one hard line: never put a household AC wall dimmer on the mains side (between wall and adapter). AC dimmers chop mains power in ways LED adapters interpret as faults — flicker, buzz, and dead drivers. Dimming happens on the low-voltage side or not at all. The power-side details are in the power supply guide.
The Troubleshooting Tree
Work top to bottom; each fix takes seconds and eliminates a whole branch:
Remote presses do nothing.
- Coin cell fresh? (A battery at 2.7V is dead to an IR handset.) Swap before suspecting anything.
- IR remotes need line of sight to the receiver dot on the sign or controller — furniture, curtain, and angle matter. RF remotes don’t care.
- Re-pair (hold pairing key 30 seconds after power-on; sign blinks).
Sign responds but brightness range is poor (dim floor too high, or steps too coarse).
- Driver floor: some drivers bottom out at 20–30%. If you need night-level glow, an app-controlled or PWM in-line dimmer reaches lower.
- The remote’s last row of small keys is often fine-step brightness — try them before concluding the range is limited.
Flicker at low brightness.
- Below the driver’s PWM floor. Raise one step.
- In-line dimmer and driver fighting: remove the add-on dimmer and test — if flicker vanishes, the dimmer wasn’t matched (voltage or wattage). Re-match.
One section of the sign dims differently.
- Not a dimmer problem — that’s a channel or section fault. Power off, check connectors along the run, and see the repair guide — section faults are connectivity, not brightness settings.
App can’t find the sign.
- Bluetooth: stand next to it, toggle phone BT off/on, relaunch app.
- WiFi: confirm the sign only sees 2.4 GHz; move it closer to the router for first pairing; re-onboard after router changes.
Everything dead, not just dimming.
- Jump to power-layer diagnosis: outlet (test with a lamp), adapter light (if it has one), connector seating — the full sequence is in the power supply guide. Dimming questions end where power questions begin.
Dimmer worked, then stopped after a storm of button-mashing.
- Controllers have mode lockouts — some remotes sit in a “speed” mode for dynamic patterns where brightness keys are re-purposed. Press the static-color key first, then brightness.
Settings Worth Stealing
- The two-scene life: day full / night warm-and-dim. Everything else is decoration.
- 60–70% for cameras: content walls and streaming setups photograph best just below full — full brightness blooms on phone sensors.
- The 10 pm slide: scheduled drop to 15% for evening rooms. The single most appreciated automation in sign ownership.
- Full brightness weekly: running signs at their peak for an hour occasionally isn’t necessary for LED health (that’s a different technology’s folklore), but it resets your eye’s calibration for what the sign actually does.
Design Dimming In
If you’re ordering rather than fixing: specify dimming and remote at order time in the custom sign builder — the integrated option costs less than any retrofit, pairs with the sign’s own driver (compatibility guaranteed by design), and covers brightness plus color modes on RGB builds. The retrofit path in Door 3 is for signs already on the wall.
Controller Compatibility Notes
The fine print that makes or breaks add-on dimming setups — compatibility notes from the field:
Voltage first, always. The single rule that prevents nearly all add-on failures: 12V dimmers for 12V signs, 24V for 24V. There is no “close enough” — a 12V dimmer on a 24V sign behaves unpredictably (usually not at all), and the reverse risks driver damage. The sign’s adapter label states the voltage; the dimmer’s package states its range; the match is the first five seconds of every purchase decision (the power matching rules).
Wattage headroom is cheap insurance. A dimmer rated exactly at the sign’s draw runs hot at its ceiling. One size up — a 60W-rated dimmer for a 35W sign — costs two dollars more and runs cool forever. The failure mode it prevents: thermal shutdowns that look like flicker diagnosis rabbit holes (the troubleshooting tree).
PWM dimmers and camera work. If the sign appears on video, the dimmer’s switching frequency meets your camera’s shutter somewhere — sometimes as visible banding. The two-step fix: change shutter speed slightly (the photographer’s standard move), or choose dimmers advertising higher-frequency PWM. Content creators should test the full dim range on camera before committing a dimmer to the setup (the banding fix).
RGB signs and aftermarket mono dimmers. Adding a plain dimmer inline with a color-changing sign dims whatever mode is active — usually fine, occasionally confusing (mode behaviors shift at low brightness). The cleaner architecture for RGB builds: the sign’s own controller handles brightness; add-on dimmers belong on mono-color signs (the control layering).
The smart-plug boundary. Smart plugs switch on/off and schedule brilliantly, but they cannot dim — the common misconception. The working combo: smart plug for on/off automation plus the sign’s own remote for the brightness floor. Set the sign to its evening level once; the plug’s schedule then toggles a pre-dimmed sign — the poor man’s scene system, and it genuinely works (the automation tier).
Battery builds and dimming. Signs running from power stations dim exactly as wall-powered ones do (the dimmer sits between driver and sign, downstream of the power source) — with the bonus that dimming stretches battery runtime proportionally: the 30%-brightness event runs roughly three times longer on the same charge (the battery math). Event decorators should note the pairing: dimmed settings plus battery power is the outlet-free evening solved twice over.
FAQ: Dimming How-To
How do you dim a neon sign? Use the included remote’s sun-icon keys (press to step, hold to slide), the maker’s app on smart signs, or add an in-line LED dimmer pod between adapter and sign on signs that shipped without control.
How do I pair a neon sign remote? Power the sign on, then hold the pairing button (inside the battery compartment or marked “S”) for up to 30 seconds until the sign blinks. Fresh coin cell first — weak batteries mimic every pairing failure.
Can I add a dimmer to a neon sign that didn’t come with one? Yes — a plug-through in-line LED dimmer matched to the sign’s voltage (12V/24V) and wattage, connected adapter → dimmer → sign. No cutting, no soldering. Never use an AC wall dimmer on the adapter’s mains side.
Why does my neon sign flicker when I dim it? Either the brightness dropped below the driver’s PWM floor (raise a step) or an added dimmer isn’t matched to the driver’s voltage and wattage — remove and re-match. Glass neon flicker means dimmer-transformer incompatibility: professional territory.
Why won’t my neon sign remote work? Dead coin cell (most common), blocked line of sight for IR handsets, lost pairing after battery swap, or the handset sitting in a mode that re-purposes the brightness keys. Work the tree: battery, angle, re-pair, mode.
Can I schedule my neon sign to dim at night? Smart (WiFi/Bluetooth) signs dim on schedules natively in their apps; non-smart signs get on/off scheduling from a smart plug, with brightness preset on the sign’s own remote at your evening level.
Can two neon signs share one dimmer? Only if their combined wattage stays well under the dimmer’s rating and both signs share the same voltage — wired as parallel loads, they dim together as one system. Mixed-voltage pairs never share. For signs you want to control independently, separate in-line dimmers per sign is the clean architecture, and multi-sign walls usually prefer one shared master level anyway (the multi-sign method).
Matched correctly, an add-on dimmer outlives several signs and moves between them as the collection grows, which is why the matching rules above repay reading twice.
Sources & Further Reading
- Solid-State Lighting (U.S. Department of Energy) — DOE reference on LED efficacy and lifetime.
- Neon sign (Wikipedia) — the consolidated public record of neon-sign history and technology.