Neon Sign Power Supplies: Adapters, Watts, Batteries
An LED neon sign’s power supply is a low-voltage adapter — 12V or 24V, 10–60 watts — and the entire discipline around it is matching numbers: the adapter’s voltage must equal the sign’s, its wattage must exceed the sign’s draw, and its plug polarity must agree with the connector. Get those three right and the electrical side of sign ownership is solved; get one wrong and the sign either does nothing or dies. Add one optional layer — battery power — and the outlet-free installations open up.
This is the hardware guide: reading specs, choosing replacements, running on batteries, and diagnosing the power layer when something’s wrong. The energy-cost side of the question (“what does it add to my bill”) lives separately at do neon signs use a lot of electricity.
Read the Label: What the Numbers Mean
Every adapter and sign spec lists three numbers that matter:
- Voltage (12V or 24V) — the pressure of the electricity. This is a hard match: 12V signs need 12V adapters, 24V signs need 24V. Over-voltage kills signs; under-voltage makes them dim or dead. (24V builds dominate larger signs because higher voltage means lower current for the same power — thinner runs, cooler wires.)
- Wattage (adapter output vs. sign draw) — the workload. The adapter’s rating must exceed the sign’s draw with headroom: a 30W sign wants a 40–45W adapter running comfortable, not a 30W adapter at its ceiling. Signs list draw; adapters list output; both print the numbers.
- Polarity (center-positive ⎓) — which pin of the barrel plug is positive. Almost all LED signs use center-positive, but “almost” is doing load-bearing work: a reversed-polarity adapter on an unprotected sign kills it instantly. Replacement adapters must match polarity, not just voltage.
The certification marks matter as much as the numbers — UL/ETL (US) or CE/UKCA — because the adapter is the component that touches your wall power all night, every night (the safety context is in our safety guide).
Sizing a Replacement Adapter (The Five-Step Match)
When an adapter dies — the most common LED sign failure, and a $20 fix (see the repair guide) — replace it correctly:
- Copy the dead adapter’s label: output voltage, wattage (or amperage — volts × amps = watts), polarity symbol, plug diameter (commonly 5.5×2.1mm or 5.5×2.5mm, measurable with a ruler).
- Match voltage exactly — 12V for 12V, 24V for 24V. No approximating.
- Meet or exceed wattage — a higher-wattage adapter at the correct voltage is always safe (the sign draws what it draws); a lower one strains and shuts off.
- Match polarity and plug — center-positive, same barrel size. Adapters with interchangeable tips make this easy.
- Buy certified — the certification is the difference between a $15 adapter and a fire-marshal anecdote.
How Much Power Signs Actually Draw
Real numbers by sign size (the full cost-per-month math is in the electricity guide):
| Sign size | Typical draw | Typical adapter |
|---|---|---|
| Desktop / USB (6–12 in) | 2–5 W | 5V USB / 12V 1A |
| Small wall (12–24 in) | 8–15 W | 12V 1–2A |
| Medium wall (24–48 in) | 15–35 W | 12V/24V 2–3A |
| Large statement (48 in+) | 35–60 W | 24V 3–5A |
For calibration: a 30W sign running 8 hours nightly is roughly a dollar or two monthly. Power anxiety about LED neon is a solved problem — it’s the hardware matching that bites, not the bill.
Battery Power: The Outlet-Free Layer
Quality LED signs run 10–12 hours on portable power stations, and small USB signs run 6–10 hours on power banks — which unlocks the middle-of-room, field-event, and no-outlet installs:
- Match through an inverter or USB: power stations with AC outlets run any sign’s adapter; USB signs run straight from bank ports. Either way, size the bank’s watt-hour (Wh) rating to the draw × hours needed + 20% margin. A 20W sign for a 6-hour event wants 150+ Wh.
- Where batteries shine: wedding arches far from power, market stalls, showroom islands, photo booths in the middle of fields — the cases detailed in the event setup guide.
- Dimming doubles runtime — a sign at 30% brightness draws roughly 30% power, so the evening dim level stretches battery sessions dramatically (the dimming mechanics are in the dimming guide).
Surge Protection: The $15 Insurance
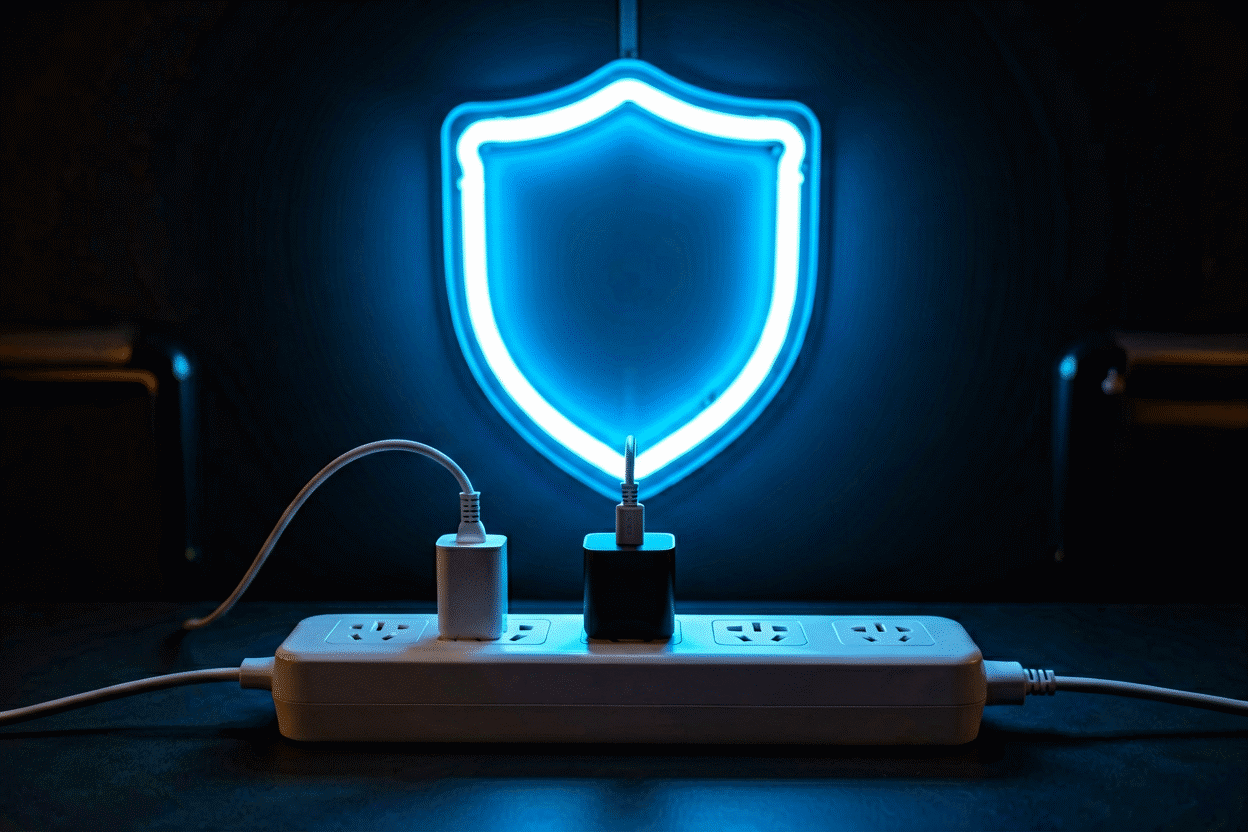
The power layer’s one genuine hazard is mains surges (lightning-adjacent events, grid switching), and the answer is a surge-protected power strip between wall and adapter — the same protection your TV deserves. Signs on strips also gain the one-switch-off habit, and smart strips add scheduling. What the strip must not be: daisy-chained to another strip (the one real fire-pattern in sign setups, per the cable management guide).
Diagnosing the Power Layer (Dead Sign? Start Here)
The branching order that solves “it doesn’t work” in five minutes:
- The outlet: lamp test. Dead outlet explains everything.
- The adapter: its indicator light (if present); a cold, silent adapter with a live outlet is your culprit — swap-test with a matched spare if you have one.
- The low-voltage side: connector seating at adapter and sign (the jiggle test); a sign that flickers when the connector moves has told you everything.
- The sign itself: if a verified-good matched adapter leaves the sign dead, the fault is inside the panel — that’s the repair guide‘s territory and the repair-cost decision tree.
Most “dead signs” end at step 2 with a $20 adapter — which is why knowing these four steps is the most valuable page in sign ownership.
Glass Neon: A Different Power World
Real glass neon doesn’t run on adapters at all — it runs on transformers stepping mains power up to 2,000–15,000 volts for the tubes. Those are installation-grade hardware: ventilated mounting, code clearances, professional service. If you’re choosing between the technologies, the plug-and-go power side is one of LED’s quiet structural advantages — the full comparison lives in our LED vs glass guide.
Order It Right the First Time
Every sign from the custom builder ships with a matched, certified adapter (or USB power at desktop scale) — voltage, wattage, and polarity engineering done for you, with dimming integrated on the same control layer. The replacement-matching skill above is for years later, when the heart of the sign eventually retires.
Power Failures: Four Case Files
The power layer’s failure modes as they actually presented:
The silent Monday (adapter death, year two). A bedroom sign, dead, no drama — the most common case in the files. The diagnosis sequence ran four minutes: lamp-test the outlet (live), adapter indicator (dark), spare-adapter test with a matched unit (sign lit — case closed). The replacement: $24, spec-matched to the label’s voltage and wattage (the five-step match), arrived next-day. The file’s note: this sign ran nightly for two years on a quality surge strip; the adapter died of plain electronic age, the way most do (the failure map).
The flicker saga (connector, disguised as power). A bar-corner sign flickering intermittently for weeks — worsening. Initial suspicion: driver. Actual finding: the barrel connector at the sign’s entry had oxidized (the jiggle test made the flicker respond — the decisive clue). Fix: contact cleaner and a re-crimp, $6 and twenty minutes (the diagnosis tree). The file’s lesson: flicker is almost never the adapter and almost always the joint — check connectors before ordering parts.
The outlet-strip mystery (the load that wasn’t). An office wall where the sign “randomly” shut off: the diagnosis found a daisy-chained power strip arrangement (the previous occupant’s legacy) whose cumulative protection tripped on warm afternoons. The fix: the topology rebuilt — one quality strip, direct to the outlet, sign and its two desk-mates properly distributed (the power rules). No parts replaced at all; the failure was architecture, not components. The file’s lesson worth framing: some power problems are solved at the layout level.
The outdoor GFCI education (the safety layer working). A patio sign that shut off every rainstorm — the owner’s initial read: fault. The actual mechanism: the GFCI outlet doing exactly its job, tripping on moisture intrusion at an unsealed junction (the weatherproofing layer). The fix: the junction re-wrapped with self-fusing tape, the connection moved into a weatherproof box, and the GFCI resets confirmed as part of the seasonal routine. The file’s closing note: “The sign was never failing — it was being protected. The fix was upstream of the symptom.”
The four files’ collective lesson: the power layer announces its problems clearly once you know its vocabulary — dead-and-silent means adapter, intermittent means connector, systematic means topology, weather-correlated means sealing. The five-minute diagnosis translates symptoms to parts, and in every file above, the fix cost under thirty dollars or nothing at all.
FAQ: Neon Sign Power
What power supply does a neon sign need? LED neon signs use low-voltage adapters: 12V or 24V matching the sign’s spec, with wattage exceeding the sign’s draw (typically 10–60W by size) and matching polarity/plug. Certified (UL/ETL) adapters, always.
Can I use any 12V adapter for my neon sign? Only if it also matches wattage (equal or higher), polarity (almost always center-positive), and plug size — and carries a certification mark. Wrong polarity can kill an unprotected sign instantly.
How many watts does an LED neon sign use? Desktop signs draw 2–5W, typical wall signs 8–35W, and large statement pieces 35–60W — roughly one incandescent bulb’s worth at the top end. Nightly use costs a dollar or two monthly.
Can neon signs run on battery power? Yes — quality LED signs run 10–12 hours on power stations, and USB desktop signs run 6–10 hours on power banks. Dimming extends runtime proportionally: a 30%-dimmed sign runs roughly three times longer.
Why did my neon sign adapter stop working? Adapters are the most common point of failure — they wear from heat cycles and surges. Test the outlet with a lamp, check the adapter’s indicator, and verify connectors; a confirmed-dead adapter is a $20–40 spec-matched replacement.
Do neon signs need surge protectors? They should have them — a surge-protected strip between wall and adapter is $15 insurance against the power layer’s one real hazard, plus it gives you the one-switch-off and smart-scheduling options.
The Power Owner’s Cheat Sheet
The entire power discipline as a wallet card: match voltage exactly (12V or 24V — read the label, no approximations (the five-step match)); exceed wattage comfortably (one tier up, always); confirm polarity and plug before any replacement purchase; demand certification marks on anything touching mains; and ride a surge strip from day one — the $15 layer that absorbs the one genuinely destructive event in the power landscape. When something fails, run the four-step diagnosis before spending anything (outlet, adapter, connectors, sign — in order (the sequence)): the tree ends at a $20–40 part in the overwhelming majority of cases, which is the entire argument for knowing it. And for the outlet-free placements, the battery math (wattage times hours plus margin) is the only additional formula worth memorizing (the battery layer). Power is the sign’s least glamorous, most decisive layer — ten minutes of literacy buys a decade of quiet reliability.
Sources & Further Reading
- Solid-State Lighting (U.S. Department of Energy) — DOE reference on LED efficacy and lifetime.
- Mercury (U.S. EPA) — federal guidance on mercury exposure and safe handling.
Pricing based on CustomNeon’s current catalog (2026); custom quotes come live from the sign builder.