Event Neon Sign Setup: Timelines and Logistics
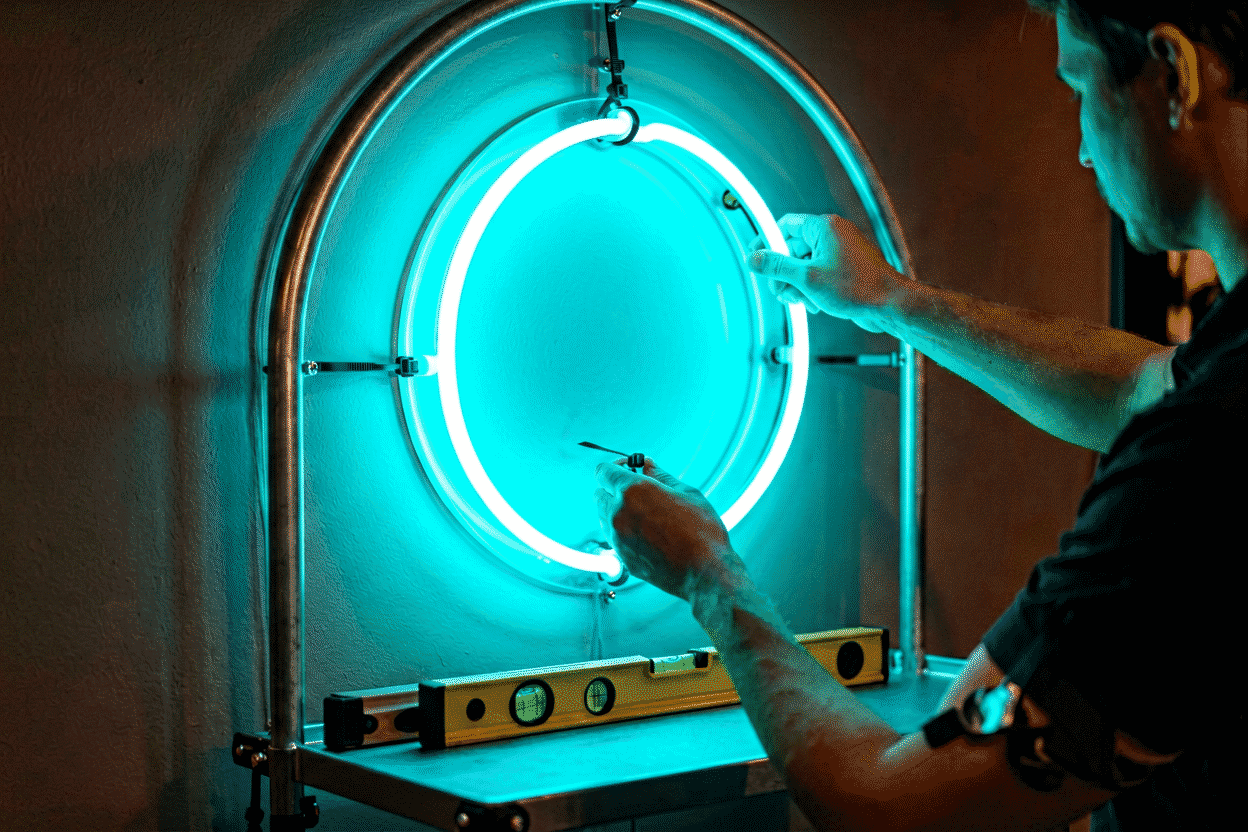
Event neon setup is a calendar problem before it is a hardware problem: order at 3–4 weeks out (production plus shipping plus margin), design for transport and power at 2 weeks, stage and test at 1, and install the day before with a photographed reference for day-of restoration. The hardware itself is the easy part — LED signs are light, rugged, and battery-capable — but the timeline discipline and the five-item logistics kit are what separate the calm event from the 9 pm scramble.
This is the complete planning framework for any event with a sign in it: weddings, corporate parties, market stalls, launches. The specific craft of mounting signs on backdrops lives at hanging neon on a wedding backdrop; the floor-standing formats at freestanding neon signs.
The Countdown Calendar
T-minus 4 weeks: order. Custom signs need production (3–7 days) plus shipping (2–5) plus margin for proofs and peak queues — the full math lives in the production guide. Order now or plan rush fees. Stocked designs are the fallback at T-2.
T-minus 3 weeks: design lock. The proof arrives; approve fast (same-day responses keep the clock honest). Event-specific design notes: shorter phrases read better in photos; names-and-dates formats carry weddings; logos for corporate need clean vector files at order. Design choices at how to design a neon sign.
T-minus 2 weeks: logistics audit. Three questions, written down:
- Where does it hang/stand? — backdrop frame, arch, easel, or stand; confirm with the venue what exists (pipe-and-drape? crossbars? wall?) and what’s allowed.
- Where does power come from? — outlet map from the venue, or the battery decision (below).
- How does it travel? — the sign, in its shipping box, in your vehicle with nothing stacked on it. The original packaging is the travel case (why).
T-minus 1 week: stage and test. Unbox at home, power on, photograph every angle, run the dimmer through its range, then repack in the original foam. This hour catches every problem while fixes are still cheap — and the photos become your install reference.
T-minus 1 day: install. Venues permitting, the sign goes up the afternoon before: mounted, powered, photographed lit from the event’s main viewing angles. Day-of becomes verification, not installation.
Event day: the ten-minute check. Power on, dim set, cords taped, photograph against the T-1 reference. Done.
The Logistics Kit (Five Items)
- Gaffer tape — floor cords, wall drops, marking stand positions. The event world’s duct tape without the residue.
- Zip ties + scissors — the universal fastener (backdrop methods).
- Outdoor-rated extension cord (25–50 ft) — venue outlets are never where the floor plan pretends.
- Rubber cord cover — any cord crossing a walk path; ankles and liability share the protection.
- The sign’s full power kit — adapter, spare coin cell for the remote, and (if applicable) charged battery station. Plus the photographed setup reference on your phone.
Power: The Three Event Solutions
Solution 1: Venue outlets. Map them at the site visit (or from the venue’s floor plan). Rules: GFCI anywhere near outdoor or damp settings, cords along walls under gaffer tape, nothing across thresholds without a cover, and one quality strip rather than a chain of extensions.
Solution 2: Battery stations. Quality LED signs run 10–12 hours on a charged power station — the answer for arches, field ceremonies, market stalls, and the middle of ballrooms (sizing math). Charge everything the night before; dim settings stretch runtime further.
Solution 3: The venue’s AV partner. Corporate venues have power drops and rigging points — ask, because using theirs costs less than fighting physics alone. This is also the route for anything hung above head height (rigging = venue professionals, always).
Transport Without Tears
- Original packaging travels best — the fitted foam and double box were engineered for exactly the abuse of transit (anatomy).
- Flat, wedged, climate-sane: sign flat on the seat or floor, nothing stacked, not the trunk over a hill in July (silicone and acrylic both prefer sane temperatures).
- The accessories pouch rides inside the box — adapter, remote, hardware kit; a missing adapter at the venue is the classic 6 pm discovery.
Install Day: The Order of Operations
- Position the backdrop/stand structure first, sign last — mounting to a half-placed frame means doing it twice.
- Mount per the surface (backdrop frames, grass walls, stands), every attachment point, equal tension.
- Power test before the decorative layers finish (florals, draping) — diagnosing a fault through a finished flower wall is a self-inflicted injury.
- Route cords: drops behind fabric/foliage, floor runs gaffer-taped, covers on crossings.
- Dim to event level; photograph lit from the room’s main angles.
- The public-safety pass: stand feet sandbagged, no cord trips, nothing within head-bump range on dance floors.

After the Event
- Power off before teardown, always.
- Dismount in reverse order (cords first, sign into packaging immediately — the sign is the fragile priority, backdrops can wait).
- Repack in original foam and the sign’s event career continues for years; most event signs are home-decor signs the following week (the wedding names-and-date over the headboard — bedroom placement).
- Rent vs. own math: at 2–3 events, owning beats renting (event rentals run $150–400 per occasion; custom purchase $150–300 once). Event planners and stylists own fleets; couples own their sign.
Event Types, Tuned
- Weddings: backdrop-centric — the full craft in the backdrop guide; order at T-4, battery for the ceremony arch.
- Corporate/launches: logo accuracy and venue AV coordination; dimming for program moments (signs drop during speeches, glow during mingling).
- Market stalls/pop-ups: freestanding stands, battery power, gaffer discipline; see freestanding formats.
- Parties (birthdays, mitzvahs): names and numbers in photo-corner setups; the phrase ideas live in our birthday guide.
Design the whole pipeline at once — the custom builder prices event-sized signs with dimming and power options, and its order confirmation carries the production timeline your countdown calendar hangs from.
Event Files: Three Events, Executed
The event playbook run at three real occasions:
The backyard wedding (T-minus four weeks, textbook). The calendar followed to the day: order at four weeks (custom names-and-date piece, standard production, zero rush fees — the math); logistics audit at two (the venue was the family backyard — frame built from a rented pipe-and-drape kit, power mapped to the garage’s exterior outlet, battery station charged as backup for the far-corner arch); stage-and-test at one week (the living-room powered test that caught a cord-label mix-up while it was free to fix); install the afternoon before (backdrop frame raised, sign zip-tied at six points, cord dropped behind the drape, gaffer-taped floor run, photographed lit from the reception’s sightlines). Event day: the ten-minute check, the dim set to the evening level, and the sign performing through toasts and dancing without a further thought. The file’s closing line: “The checklist was the whole magic. Nothing dramatic happened — that was the point.”
The trade-show booth (the commercial case). A 10×10 booth with a 48-inch logo sign and two accent pieces: the logistics ran corporate — venue power ordered in advance (the AV-department route — the venue coordination), freestanding stands for both accents (sandbagged — booth traffic is exactly the public-exposure case (the stability rules)), and the sign kit packed in original packaging with the gaffer tape, zip ties, and spare fuses that ten years of trade-show folklore recommends. Setup: ninety minutes the night before (venue access), the morning-of reduced to verification. The file’s only incident: a neighbor booth’s borrowed gaffer tape — repaid with interest when their power strip failed and ours was the tested one.
The festival pop-up (the battery case). A weekend market stall with zero outlet access: the battery-station architecture carried the whole event (the power math) — one sign, the stall’s name piece, running 30 watts for two ten-hour days on a single 300Wh station with the dim schedule stretching margin further (the evening 40% setting on day two, the battery at 61% at teardown). The logistics that mattered beyond power: the freestanding stand’s sandbags (the festival’s wind tested them genuinely), the cord cover across the stall’s entry (the ankle insurance), and the original packaging that made the sign’s fourth event trip as safe as its first. The file’s verdict on the format: “Battery neon is the difference between a market stall and a market presence.”
The three files share the playbook’s spine — calendar discipline, power architecture, the night-before install, and the photographed reference — and each added its venue’s specific physics: the backyard’s frame logistics, the expo’s institutional coordination, the festival’s energy independence. The framework holds because it bends (the full playbook).
FAQ: Event Neon Sign Setup
How do you set up a neon sign at an event? Mount to the backdrop frame or stand with every attachment point, power from a mapped outlet or battery station, route cords behind fabric and under gaffer tape, dim to event level, and photograph the finished install — all staged the day before where the venue allows.
How early should I order a neon sign for a wedding? 3–4 weeks out: production runs 3–7 days plus shipping plus proof and margin. Two weeks is the workable minimum with rush fees; stocked designs are the last resort at T-2.
Can neon signs run on batteries at events? Yes — quality LED signs run 10–12 hours on charged power stations (sized to wattage × hours plus 20%), making outlet-free arches, fields, and ballroom centers practical. Dimming extends runtime.
How do you transport a neon sign to an event? In its original fitted packaging, flat, nothing stacked on it, accessories pouch inside — the shipping foam is the travel case. Stage-test at home a week out and repack in the same materials.
Is it cheaper to rent or buy an event neon sign? Buy if the sign has a second life — most do, as home decor the week after. Rentals run $150–400 per event; custom purchase is $150–300 once, and the names-and-dates format is designed to outlive the party.
Who hangs a neon sign at a corporate venue? You hang backdrop-level signs on venue rigging with their AV partner; anything above head height is venue-professional work. Coordinate power drops at the site visit — venue power beats fighting extension physics.
The Event Playbook’s Last Word
Every event file reduces to the same four disciplines: the calendar (order at T-4, approve proofs same-day, stage at T-1 — the timeline that removes heroics (the countdown)), the logistics kit (gaffer, ties, power, covers, the photographed reference — the toolbox that turns surprises into procedures), the power architecture (mapped outlets, charged batteries, or venue AV — the three solutions covering every room, field, and ballroom (the power layer)), and the teardown discipline (power off, sign first into packaging, originals always — the habit that makes one sign serve a hundred events). Events reward preparation exponentially: the calm coordinators and the 9 pm scramblers hold the same hardware, differ only in calendar discipline, and produce completely different evenings. Master the countdown and the kit, and the sign stops being an event risk and becomes the event’s most reliable performer.
Sources & Further Reading
- Solid-State Lighting (U.S. Department of Energy) — DOE reference on LED efficacy and lifetime.
- Mercury (U.S. EPA) — federal guidance on mercury exposure and safe handling.
Pricing based on CustomNeon’s current catalog (2026); custom quotes come live from the sign builder.