How Are Neon Signs Made? Factory to Finish
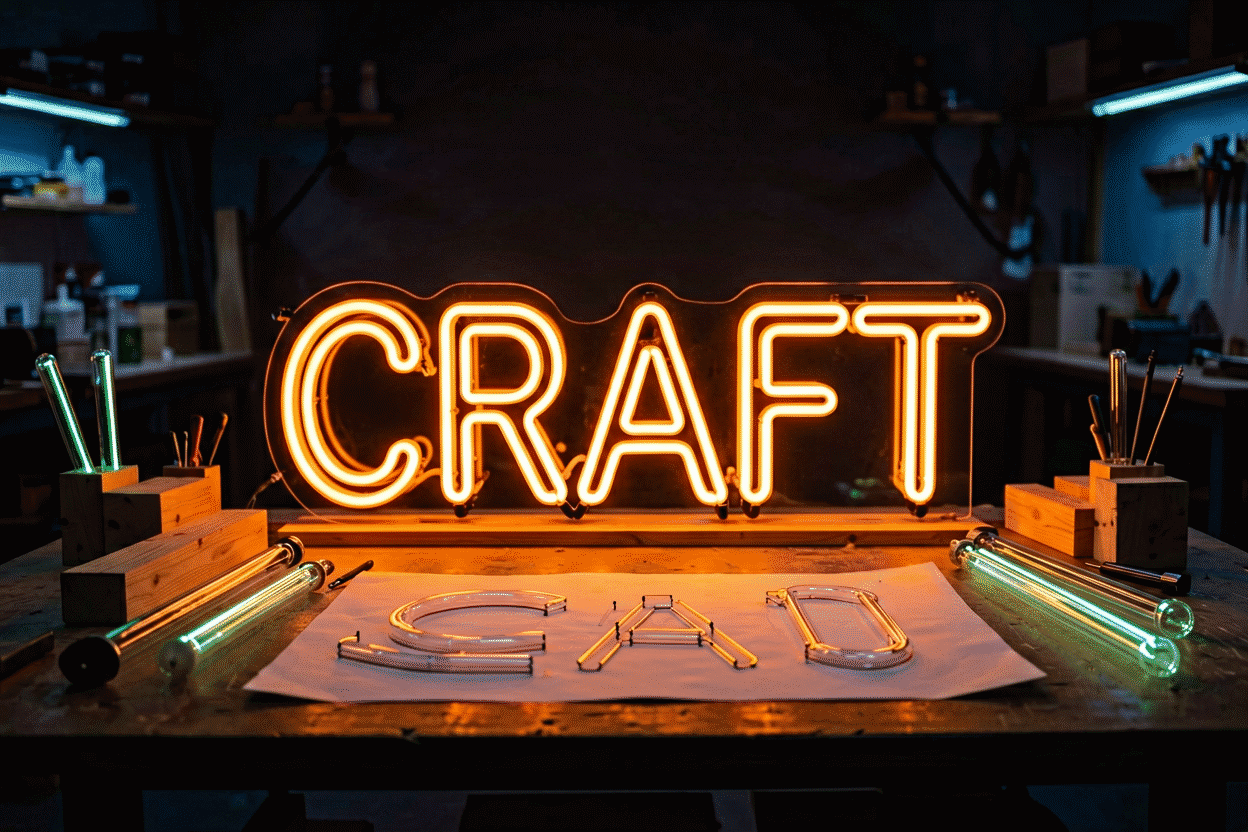
A glass neon sign is made in seven craft steps — pattern, bending, processing, gas fill, aging, assembly, installation — most of them by hand, most of them unchanged since the 1930s. An LED neon sign is made in six industrial steps — design file, backing routing, flex forming, mounting and wiring, controller integration, burn-in testing — mostly machine-assisted, mostly invented since 2010. Same glowing destination, two entirely different journeys, and knowing both explains almost everything about price, wait time, and why one is a craft and the other an industry.
The physics of what the finished signs do lives at how do neon signs work; this is how they physically come to exist. The timeline version (how long each stage takes) is production time.
The Glass Neon Process (Seven Steps)
1. The pattern. The design — your words or logo — prints at full size on paper (or, today, is plotted). Every tube run is planned on the pattern: where the glass bends, where double-backs hide, where electrodes join, where tube supports mount. Pattern-making is the invisible engineering that determines whether the finished sign reads cleanly; it’s drafting as much as design.
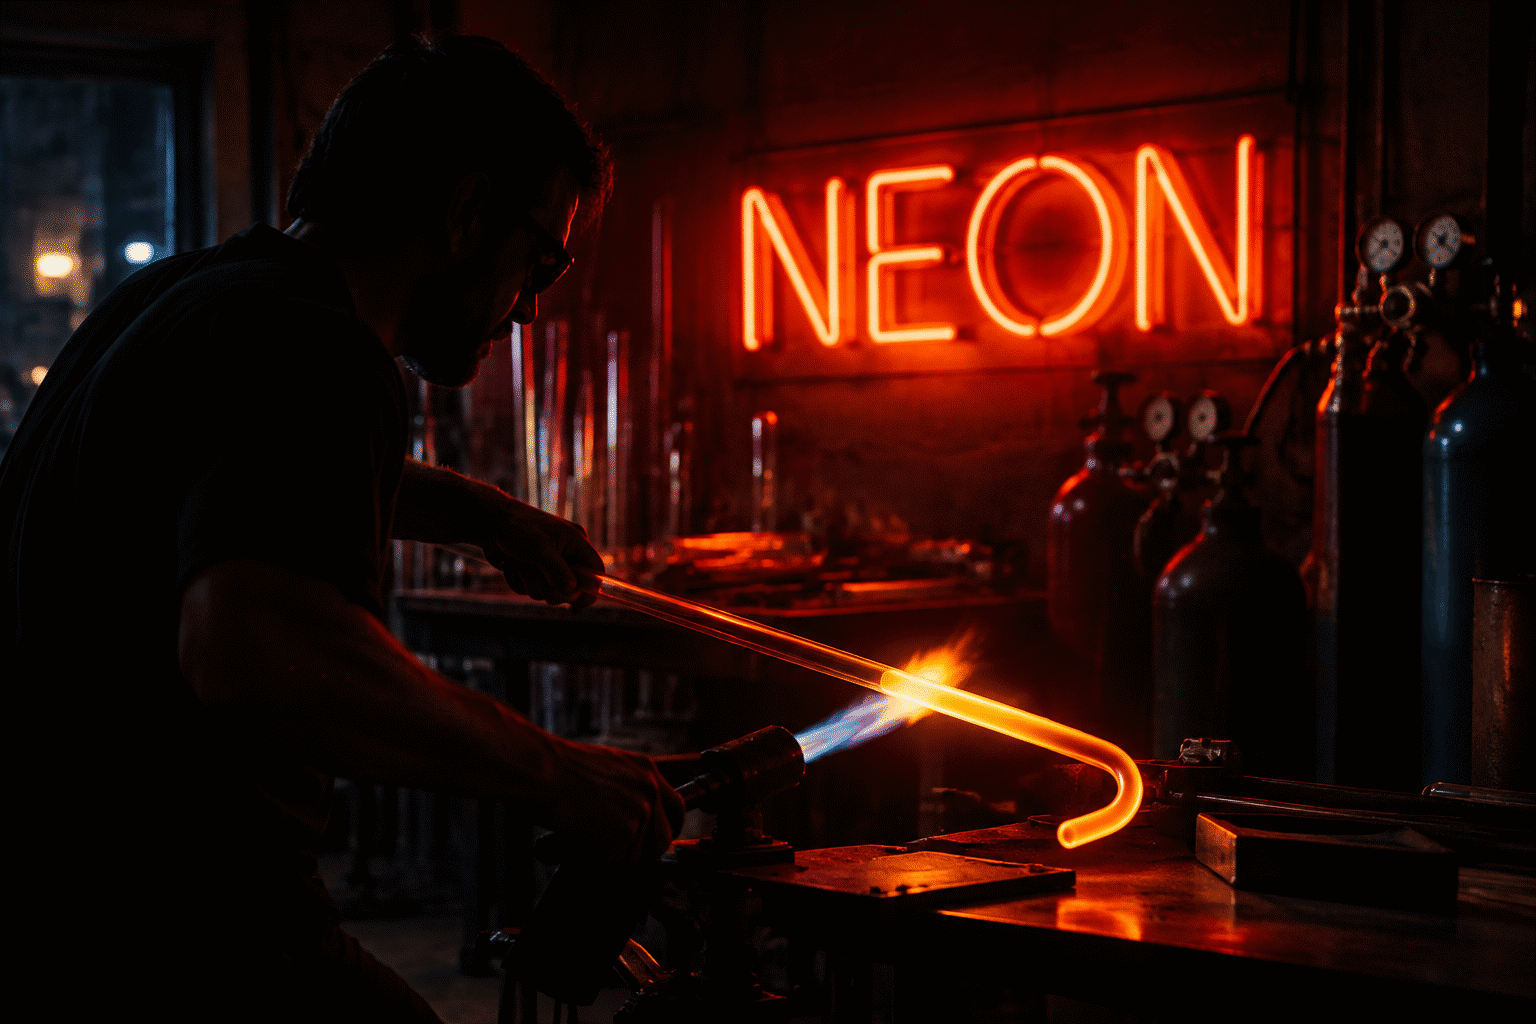
2. The bending. A glassbender works over a flame (ribbon burners at controlled temperatures), heating short sections of coated glass tubing until soft, then bending them freehand against the pattern — blow-and-bend, with a gentle puff of air kept in the tube to prevent collapse. Tight curves are done over shaped forms. This is the signature craft skill: years to train, unmistakable in the result (why glass carries craft pricing). A complex word can take hours.
3. Processing — the vacuum work. Each bent tube section goes to the processing bench: electrodes welded on, the tube connected to a vacuum manifold, and the system pumped down while the glass is heated (bombardment) to drive out impurities trapped in the glass walls. This degassing step is the difference between a tube that glows for decades and one that darkens in a season.
4. The gas fill. With the tube clean and evacuated, the fill enters — neon for red-orange, argon (historically with a mercury trace) for blues, helium, krypton for other hues — at just above atmospheric pressure, then the tube is sealed (tipped off) from the manifold. The chemistry roster and each gas’s color: what gas is used in neon signs.
5. Aging (burn-in). The filled tube runs on power for a stabilizing period — impurities burn off, the discharge settles, phosphor coatings activate fully. Factories that skip aging ship signs that change color or dim in month two; the quality check at delivery effectively tests whether it happened.
6. Assembly. Tubes mount to their backing — historically wire grids and porcelain buttons, today acrylic panels — wired in series-parallel circuits matched to transformer loads, with the transformer (2,000–15,000 volts — the power reality) mounted and grounded. The assembly documents live with the sign for its service life.
7. Installation. Glass neon installs professionally: mounting, transformer placement, code clearances (the why). The craft object becomes architecture.
The LED Neon Process (Six Steps)
1. The design file. Your text enters the maker’s system: font mapped, letterforms checked for manufacturability (bend radii, minimum stroke widths), electrical runs planned, and the backing profile generated — design validation is software-assisted now, which is why live previews work (design your own).
2. Backing routing. CNC routers cut the acrylic to shape — the full panel or the cut-to-shape silhouette (backing types) — with mounting holes drilled to the standard patterns every install method uses.
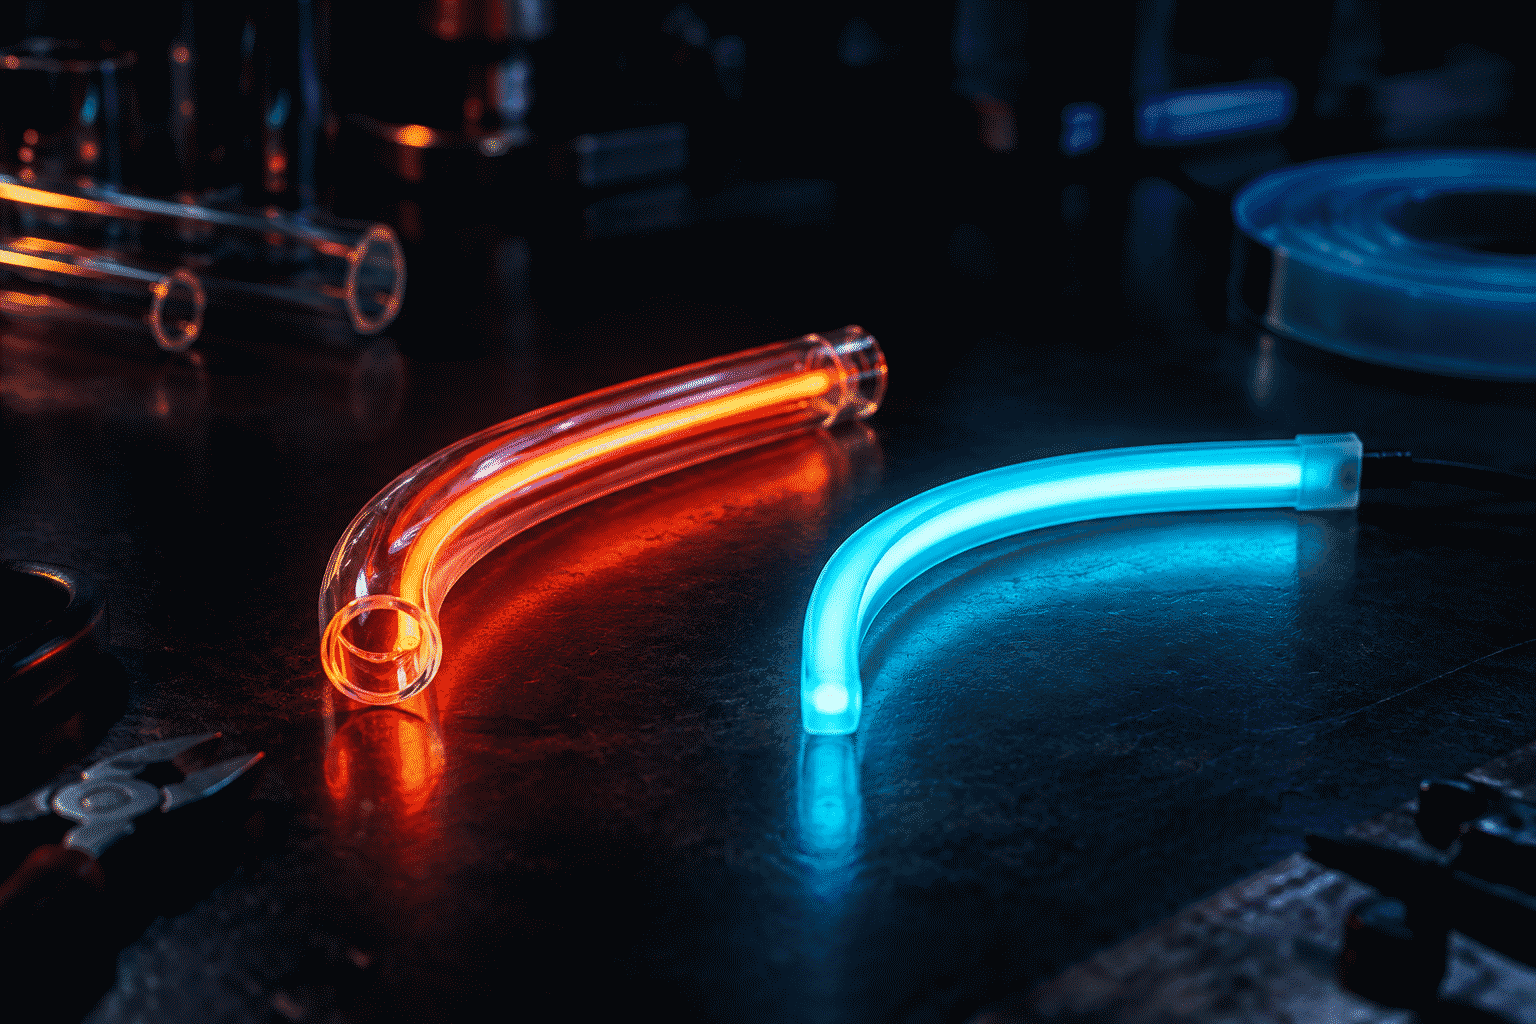
3. Flex forming. LED neon flex (the silicone-jacketed diode strip — its anatomy) is measured, cut at marked intervals, and formed along the backing’s channels. Bends respect the flex’s minimum radius; letters with impossible radii get engineering solutions (segment joins, hidden jumpers) rather than craftsman heroics.
4. Mounting and wiring. The formed flex bonds to the backing; runs are wired to the power bus, connectors sealed, sections joined. Soldering quality and connector sealing are the reliability frontier — the parts that separate tiers of makers (what fails and when).
5. Controller integration. Driver, dimmer receiver, RGB logic (on color-changing builds — the RGB layer) wired and paired. The 12–24V architecture means this is electronics assembly, not electrical trade — the safety structure of the whole category (why).
6. Burn-in and QC. The finished sign runs powered while technicians check section brightness, color consistency, dimming range, and connector behavior under flex — the same philosophy as glass aging, executed in hours against the factory clock. Then the double-box (shipping anatomy) and the courier.
Same Destination, Different Worlds
Put the journeys side by side and the market’s shape makes sense: glass is hand-crafted physics at kilovolts, with artisan scarcity priced in; LED is engineered manufacturing at consumer voltage, with scale economics available. The craft premium and the wait times (production math) come from the same place: hands and flame versus file and router. Both processes end with a burn-in and a proof of light — the industry’s honest ritual, in either century.
Watch the modern half happen to your own words: every order through the custom builder runs this exact pipeline, previewed live at design time and tracked from factory to door.
Quality Control: What Factories Test and Why
The steps above end in testing — and the QC layer deserves its own chapter, because it’s where the quality tiers actually separate:
The burn-in (both technologies, different clocks). Glass tubes age on the processing bench: hours of powered operation that stabilize the discharge, burn off impurities, and activate phosphors fully — the step whose absence shows up months later as color drift and dim sections (the aging step). LED signs run shorter bench cycles checking for the same class of infant failures. Factories that skip burn-ins ship the failure curve’s steep part to customers; factories that run them keep it in-house. There is no third option — which is why the QC section of any maker’s process page is the buying guide’s most load-bearing paragraph (the quality checks).
Section-by-section brightness matching. On multi-run signs, technicians compare section output — the difference between a sign that glows as one object and one that shows its assembly seams. High-density flex makes matching easier (more diodes, smaller variance); cheap builds let mismatch pass to the wall.
Connector and flex stress tests. The reliability frontier gets exercised on the bench: connectors flexed and reseated, cord strain reliefs pulled, mounting holes torque-checked — the abuse simulations that catch the failures the field will find (the failure map).
Dimming-range sweeps. Quality signs sweep the full brightness range looking for flicker zones and floor behavior (the dimming physics) — because a sign that flickers at 20% was born that way, and the bench is cheaper than the warranty claim.
The documentation layer. The best makers photograph the finished sign lit (the proof-of-light record), attach the spec card, and match the serial to the order — the paper trail that makes warranty claims clean and restorations honest years later (the warranty file). QC’s last act is paperwork, which is why the buyers who receive documented signs receive better service on the rare failure.
The synthesis for buyers: every “premium tier” claim reduces to which of these tests actually ran. Ask makers what their QC includes — the specific answers (hours of burn-in, section matching, range sweeps) separate the quality stories from the quality itself.
FAQ: How Neon Signs Are Made
How are glass neon signs made? Seven hand-led steps: full-size pattern, flame-bending glass against it, vacuum processing to purge impurities, noble-gas fill and seal, powered aging, assembly to backing with transformer wiring, and professional installation.
How are LED neon signs made? Six industrial steps: design validation, CNC routing of the acrylic backing, forming the silicone LED flex along its channels, mounting and sealed wiring, controller integration, and powered burn-in testing before double-boxed shipping.
Is neon sign glass bent by hand? Yes — glassbenders heat tubing over ribbon burners and bend it freehand against printed patterns, with puffed air preventing collapse. It’s the trade’s signature skill and the core of glass neon’s craft pricing.
How does the gas get into a neon sign? Each processed tube connects to a vacuum manifold, is evacuated and heat-cleaned, then backfilled with its gas (neon, argon, etc.) just above atmospheric pressure and sealed off — the fill never depletes in normal life.
What quality testing do neon signs go through? Both technologies burn-in powered before shipping: glass ages its tubes to stabilize the discharge; LED signs are checked for section brightness, color consistency, dimming behavior, and connector integrity — the stage cheap builds skip.
Can you watch a custom neon sign being made? Video dominates this SERP for a reason — the process is visually compelling. Maker pages and the how-it’s-made genre cover glass bending; and every custom order runs the pipeline on your own words through the builder. The making-of story in one line each: glass is a craft (seven hand-led steps at kilovolts — flame, vacuum, gas, patience), LED is an industry (six engineered steps at consumer voltage — file, router, flex, test), and both end the same way: a burn-in, a proof of light, and a sign that earns its wall (the complete walkthroughs). Every custom order runs one of these two pipelines — including, if you’re curious, yours.
Sources & Further Reading
- Cleaning Up a Broken CFL (U.S. EPA) — the federal mercury-spill cleanup procedure; we mirror it for broken glass-neon tubes.
- Neon: Strong Lines (NIST Physical Reference Data) — the standard reference for neon’s emission wavelengths.
- Argon: Strong Lines (NIST Physical Reference Data) — the standard reference for argon’s emission wavelengths.
- Solid-State Lighting (U.S. Department of Energy) — DOE reference on LED efficacy and lifetime.