How to Hang a Neon Sign Without Drilling: 4 Ways
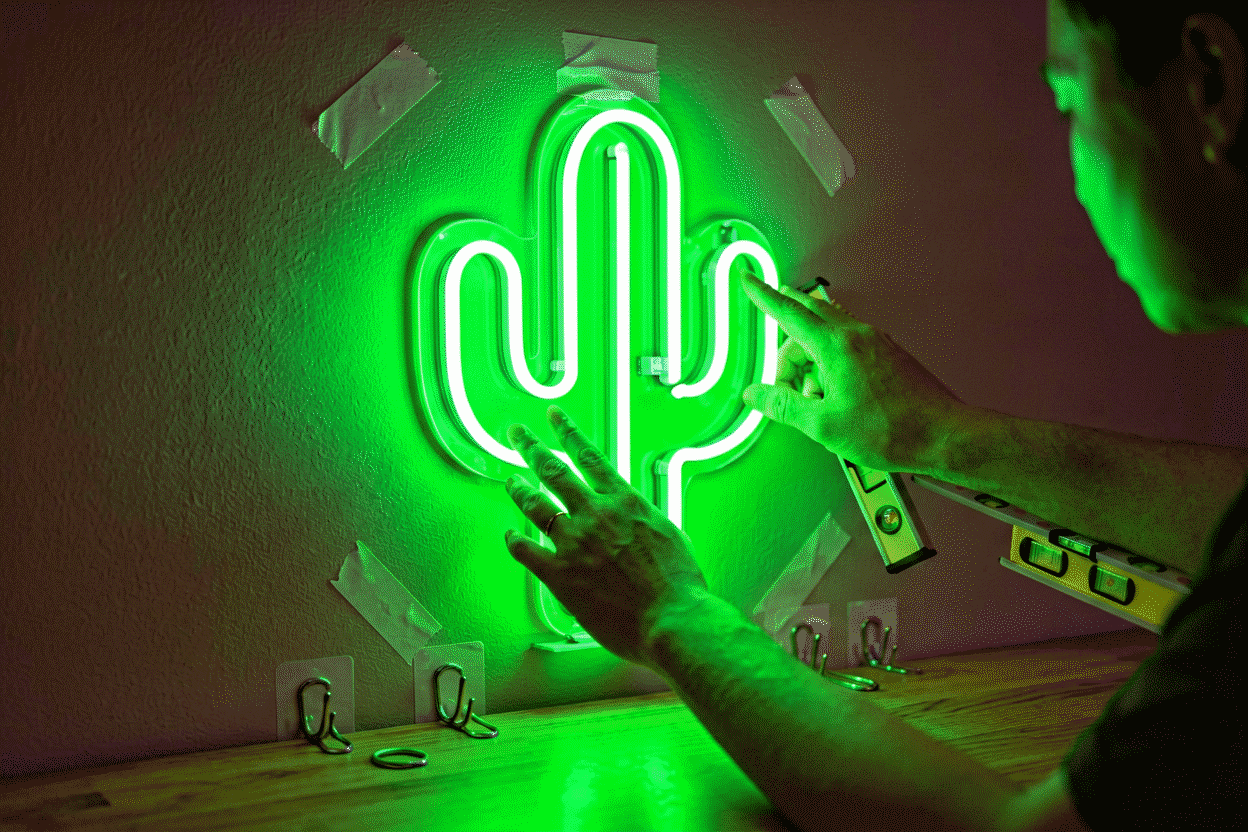
You can hang a neon sign without drilling using heavy-duty adhesive mounting strips, clear fishing line from adhesive hooks or a picture rail, a leaning shelf mount, or for heavier signs, construction adhesive — every one of these holds the 2–6 lb weight of a typical LED neon sign without a single hole in the wall. The trade-off is always the same: each method caps out somewhere, and knowing the caps is the whole game.
This is the complete no-drill playbook: four methods, what each one actually holds, which walls each one loves and hates, and how to take it all down without a trace.
If you landed here before reading anything about neon mounting in general, the full hanging guide covers backing types, templates, and leveling — the drilled way. Everything below assumes the common case: an LED flex neon sign on a cut-to-shape or full-panel acrylic backing, with pre-drilled holes you’re choosing to ignore.
Method 1: Heavy-Duty Adhesive Mounting Strips
The workhorse. Quality mounting strips rated 4–8 lb per pair will carry most small and medium LED signs, and they remove cleanly with the pull-tab release.
How to do it right:
- Clean both surfaces — isopropyl alcohol on the wall and on the acrylic backing where the strips will sit. Skin oils and dust are what make strips fail, not gravity.
- Plan strip positions across the backing’s full area, not clustered at the top. Weight distributed over six strips beats weight hanging from two. Use more strips than the weight rating requires — for a 4 lb sign, install as if it were 8 lb.
- Press each strip for the full 30 seconds. The adhesive needs heat and pressure to flow into the wall’s texture.
- Wait one full hour before letting the sign bear its own weight, and 24 hours before powering on if the sign runs warm (LED neon barely does, but the patience is cheap).
Where strips win: painted drywall, smooth plaster, sealed wood, glass, tile, painted brick faces.
Where strips fail: textured orange-peel plaster, unsealed brick, fresh paint (under 2–3 weeks old — the paint film isn’t fully bonded and strips can peel it), wallpaper, and any wall that reads damp. In a bathroom or garage with humidity swings, use outdoor-rated strips only and expect to re-check adhesion seasonally.
The removal trick everyone gets wrong: don’t pull the strip toward you. Pull the tab straight down, slowly, along the wall — the strip stretches and releases the adhesive without peeling paint. Ten seconds of slow beats a fast rip and a touch-up kit.
Method 2: Fishing Line and Hooks (The Invisible Method)
The gallery-hang. Two or more clear adhesive hook cups at the top corners of the sign, transparent fishing line looped through the backing’s existing screw holes or around the backing’s edge, and the sign floats against the wall with almost nothing visible holding it.
Why it’s better than it sounds:
- The load pulls down on adhesive hooks (shear force), which is exactly what adhesive is good at — hooks rated 3 lb in tension routinely hold 5+ lb in pure shear.
- Monofilament disappears at viewing distance; from across the room the sign genuinely appears to float.
- Repositioning means re-sticking two hooks, not six strips.
The setup: stick the hooks level (check with a phone level app — eyes lie on bright glowing shapes), cut line with a few inches of slack, tie through the backing holes with a improved clinch knot or just triple overhand loops, and adjust sign height by shortening one side. If your room has a picture rail or curtain rod, skip the adhesive entirely and hang from that — it’s the rare wall feature that was designed for exactly this.
Best for: medium signs (4–8 lb), renters who want near-zero wall contact, and anyone hanging a group of several signs that should visually float.
Method 3: Lean It (Zero Commitment)
The most underrated option. A cut-to-shape LED sign leans beautifully against the wall on any shelf, mantel, bookcase top, or even the floor behind a console table, propped with a small clear acrylic stand or a discrete wedge.
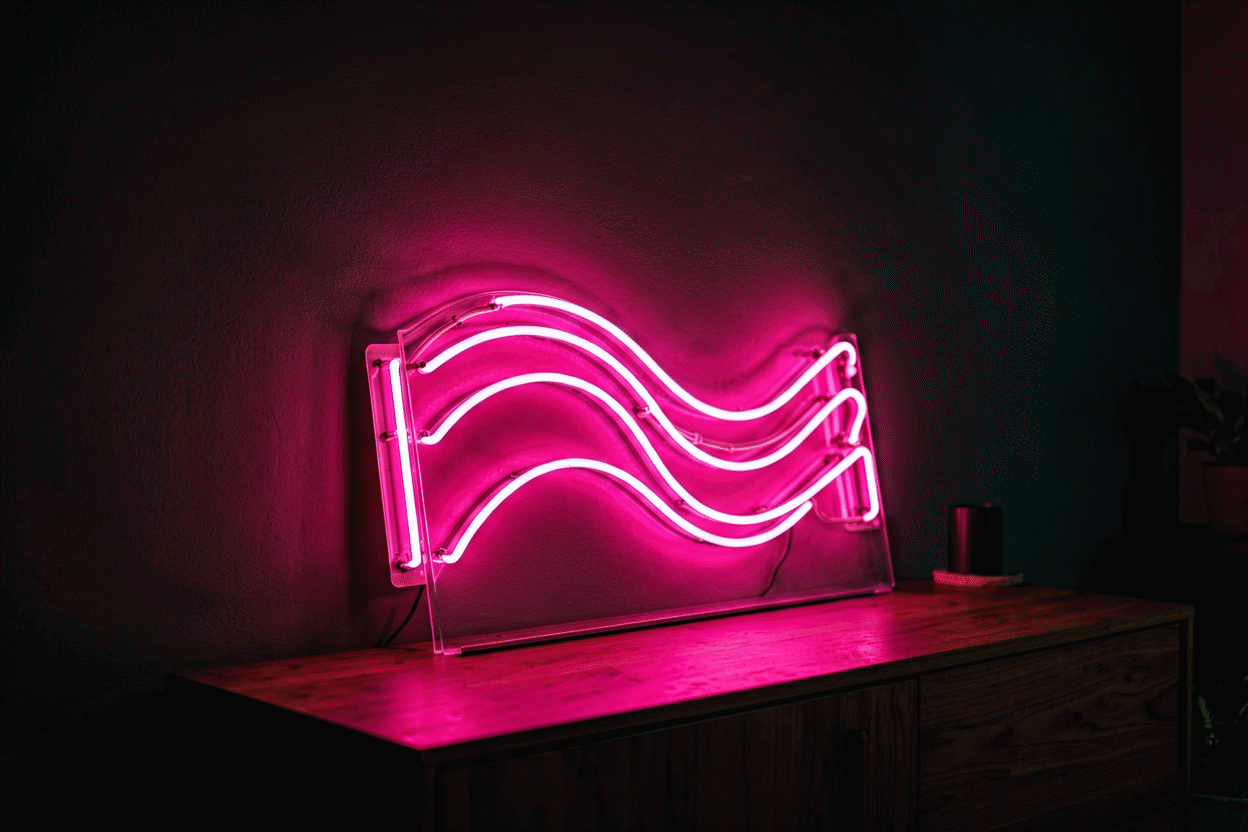
This isn’t a compromise — leaning is a legitimate display style with real advantages:
- Signs sit at a natural slight angle, which photographs beautifully (that’s why product photographers shoot neon this way)
- Repositioning takes four seconds and zero skill
- Cord management is trivial: it drops behind the shelf, done
The physics check: a leaning sign on a smooth shelf can walk sideways from door-slams or bumping. A thumb-size ball of museum putty under the bottom edge anchors it invisibly and releases without residue.
Best for: bedrooms, shelves, mantels, store window ledges, and anyone who re-decorates on a monthly cycle. See how leaning reads in a finished room in our neon signs for bedroom placement guide.
Method 4: Construction Adhesive (The Heavyweight No-Drill Option)
When the sign is 8 lb+ and drilling is off the table — exposed brick feature walls, tile, or a landlord with strong opinions — construction adhesive is the answer that actually holds.
Run beads along the back of the backing and any standoffs, press hard for 60 seconds, brace overnight, cure 24–48 hours. On rough surfaces, scuff-sand the high spots first; on painted walls, know that removal will take the patience of fishing line sawed behind the backing and possibly some mineral-spirits cleanup.
Understand what you’re signing up for: this is a semi-permanent mount. It will not damage the wall structurally, but “clean removal” is not its genre. Use it when the sign and the wall are in a long-term relationship.
No-Drill Method Comparison
| Method | Holds | Removability | Best wall | Worst wall |
|---|---|---|---|---|
| Mounting strips | 4–8 lb | Excellent (pull-tab) | Painted drywall | Textured plaster |
| Fishing line + hooks | 4–8 lb | Very good | Any smooth wall | — |
| Leaning + putty | Any (it sits) | Perfect | Any | None |
| Construction adhesive | 15 lb+ | Poor | Brick, tile | Fresh paint |
Wiring, the No-Drill Way
A sign hung without holes still has a cord, and the cord is what betrays an amateur job. Three moves:
- Cord channel: adhesive-backed cord clips every 12–18 inches down the wall’s shadow line (the corner, or directly under the sign) keep the drop tight and intentional.
- Cord cover: a paintable adhesive cord channel turns the drop into something that reads as architecture, not wiring — the standard move for sign-over-desk setups.
- The lean trick: for leaning signs, just drop the cord behind the shelf. If the outlet is on an adjacent wall, run the cord along the shelf’s underside with clips, then down.
One electrical rule that matters: never run the cord under a rug or through a doorway threshold, and never staple it. The full safety checklist lives in the main hanging guide.
Renters: Read This Before You Choose
If the no-drill requirement comes from a lease rather than a preference, the full playbook — lease-friendly language, damage documentation, and the move-out restore routine — is in our renter-friendly neon sign hanging guide. Short version: strips and leaning leave zero trace when done right; photograph the wall before and after; and skip construction adhesive unless you plan to die in this apartment.
Design the Sign Around the Method
No-drill hanging rewards lighter, smarter sign design: shorter phrases (less acrylic, less weight), cut-to-shape backings (nothing to hide), and letters sized to the strip layout rather than fighting it. In the custom neon builder you can see the live weight-and-size relationship as you type — design a sign your walls can hang without a drill ever coming out of the closet.
The No-Drill Troubleshooting Field Guide
When no-drill mounts misbehave, the symptom names the fix. The five failures that account for nearly everything:
The sign drifted down overnight. One strip’s bond was marginal from installation — almost always one that was pressed for five seconds instead of thirty, or applied over an uncleaned spot. Re-set it: a fresh strip (they don’t survive repositioning), full thirty-second press, an hour of patience before the sign bears weight. Drift also follows cold walls: strips below roughly 50°F never fully bond, so winter installs want a room warmed first.
One corner pulls away after weeks. Thermal cycling worked a marginal edge loose, or the load geometry put shear on the top pair. The fix is load redistribution: add two more strips lower on the backing so the top pair carries less, and consider moving the top attachments from strips to small adhesive hook cups loaded in shear — hooks handle downward force far better than strips handle peel.
The fishing line shows more than expected. Line diameter matters at viewing distance: 20-lb monofilament is nearly invisible; 50-lb looks like guitar string indoors. Most signs under 8 lb don’t need 50 — drop to 20 or 25 and the line disappears. Also check the lighting: line lit from the side sparkles; line in the wall’s shadow vanishes. Repositioning the anchor two inches into shade does more than any line upgrade.
The leaning shelf sign keeps sliding. Museum putty under the bottom edge is the standard fix, but the recurring-slide case is a shelf that isn’t level — the sign is doing what physics says. A self-adhesive felt strip along the low side, invisible under the sign, levels the stage; the putty then holds position instead of fighting slope.
Strips removed and took paint. The two causes: paint under three weeks old (the film hadn’t fully bonded to itself — nothing survives that except waiting) or outward ripping instead of the slow straight-down pull-tab method. For future reference: heat the strip ten seconds with a hair dryer, grab the tab, and pull down along the wall at the speed of pouring honey. The adhesive stretches off and the paint stays where it belongs.
The honest summary of no-drill failure analysis: ninety percent of problems trace to installation conditions (surface prep, press time, temperature, load geometry) rather than the products themselves. The method is sound; the edges are where discipline lives.
FAQ: Hanging Neon Without Drilling
How do you hang a neon sign without drilling? Adhesive mounting strips for most signs up to 8 lb, clear fishing line from adhesive hooks or a picture rail for a floating look, or simply lean the sign on a shelf. For signs over 8 lb on a no-drill wall, construction adhesive is the only serious option.
Can Command strips hold a neon sign? Yes — heavy-duty strips rated 4–8 lb per pair hold typical small and medium LED signs (2–6 lb) on smooth painted walls. Clean both surfaces with alcohol, use double the strips the weight requires, press 30 seconds each, and wait an hour before releasing the sign.
How do you hang neon without nails? Strips, adhesive hooks with fishing line, or leaning. All three avoid nails entirely and carry the same weights as nail-free rated hardware.
What’s the strongest no-drill way to hang a neon sign? Construction adhesive, which holds well beyond any LED sign’s weight — but it’s semi-permanent. The strongest removable method is fishing line from shear-loaded adhesive hooks or a picture rail.
Can I hang a neon sign on a textured wall without drilling? Strips bond unreliably to heavy texture. Use the fishing-line-to-rail method, lean the sign, or mount a thin painted board to the wall with two anchors and treat the board as the sign’s removable base.
How do I remove adhesive strips without peeling paint? Pull the release tab slowly straight down along the wall, letting the strip stretch off. Never pull outward. Warm the strip with a hair dryer for 10 seconds if it resists.
Sources & Further Reading
- Mercury (U.S. EPA) — federal guidance on mercury exposure and safe handling.
- Neon sign (Wikipedia) — the consolidated public record of neon-sign history and technology.