Neon Sign Installation Guide: Walls to Windows
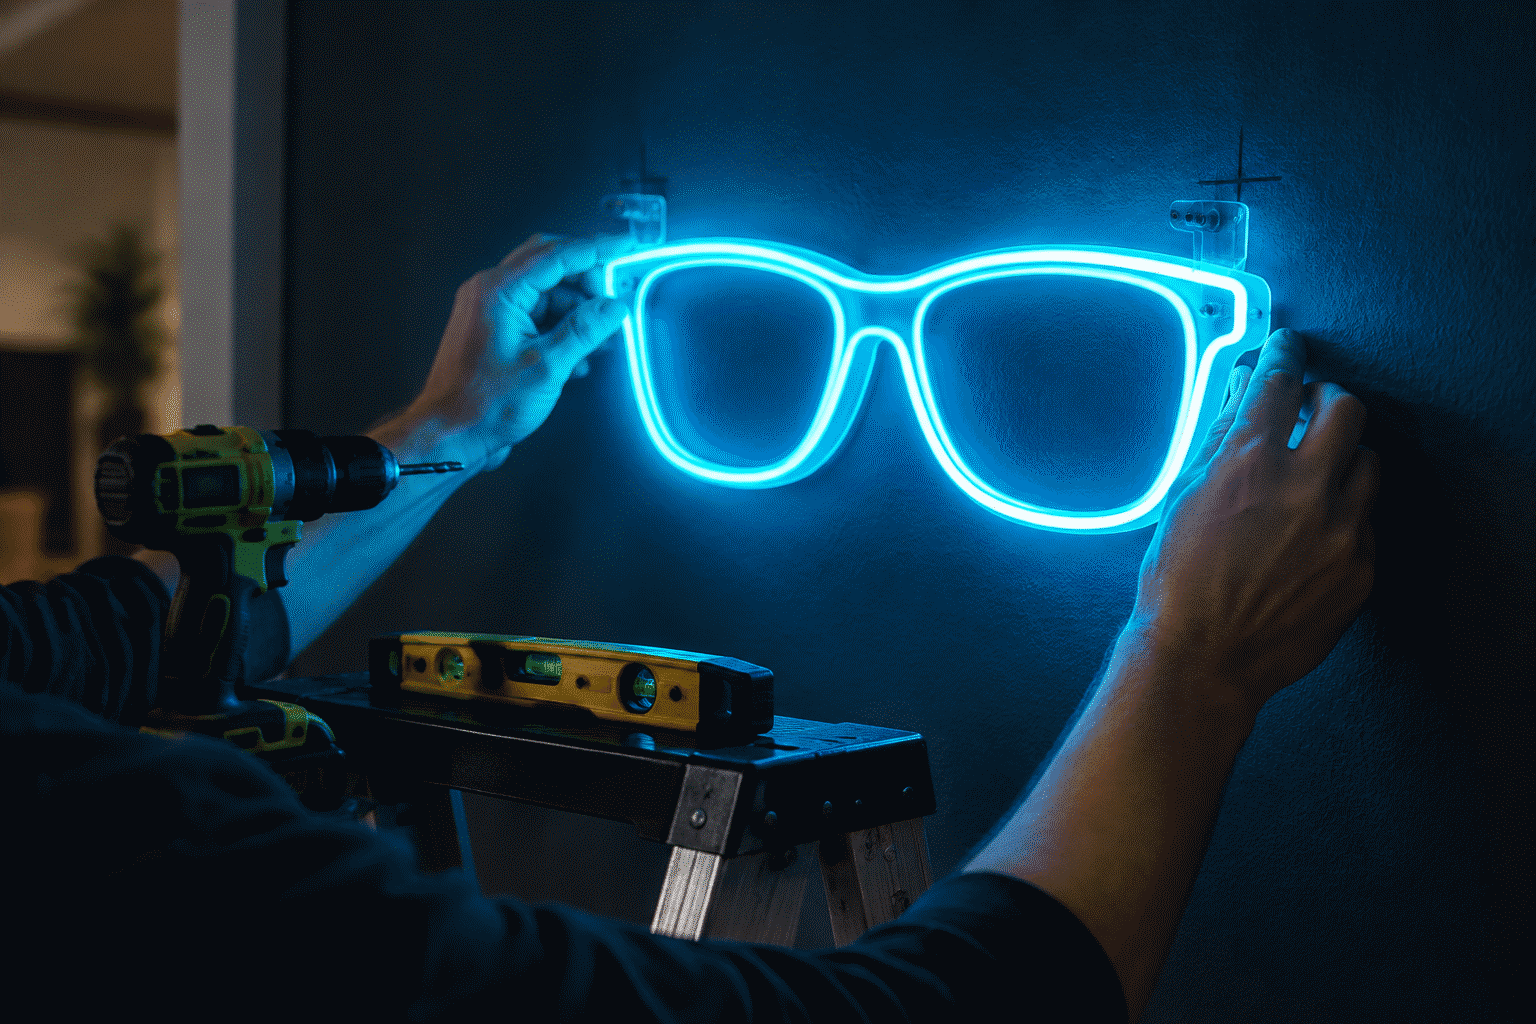
Hanging a neon sign on a wall is a 30-minute job — but “installation” is bigger than one wall. This is the full-terrain guide: walls of every material, windows, ceilings, freestanding displays, and outdoor placements, plus the commercial installs (stores and events) that follow different rules entirely. For the deep single-topic treatment of the most common case (flat wall mounting), our how to hang a neon sign guide is the companion piece — this guide covers everything around and beyond it.
Before Anything: The Five-Minute Pre-Install
Whatever the surface, run this checklist first:
- Unbox and inspect. Acrylic backing intact, no visible tube or silicone damage, hardware kit present (screws, anchors, sometimes standoff posts).
- Test it lit before mounting. Plug in on a table first. Finding a dead section after mounting is the avoidable tragedy.
- Confirm the power plan. Where’s the nearest outlet? Is the cord long enough, or do you need an extension rated for it? Adapters stay ventilated and dry — never under carpet, never in insulation.
- Check the wall for hidden services. Studs you want to hit, pipes and wires you don’t (a stud finder with AC detection earns its price on the first install).
- Dry-fit with paper. Trace the backing on kraft paper, tape the template up, live with the position for a day if you’re unsure. Moving a template is free; re-drilling is not.
Surface by Surface
Drywall (the default)
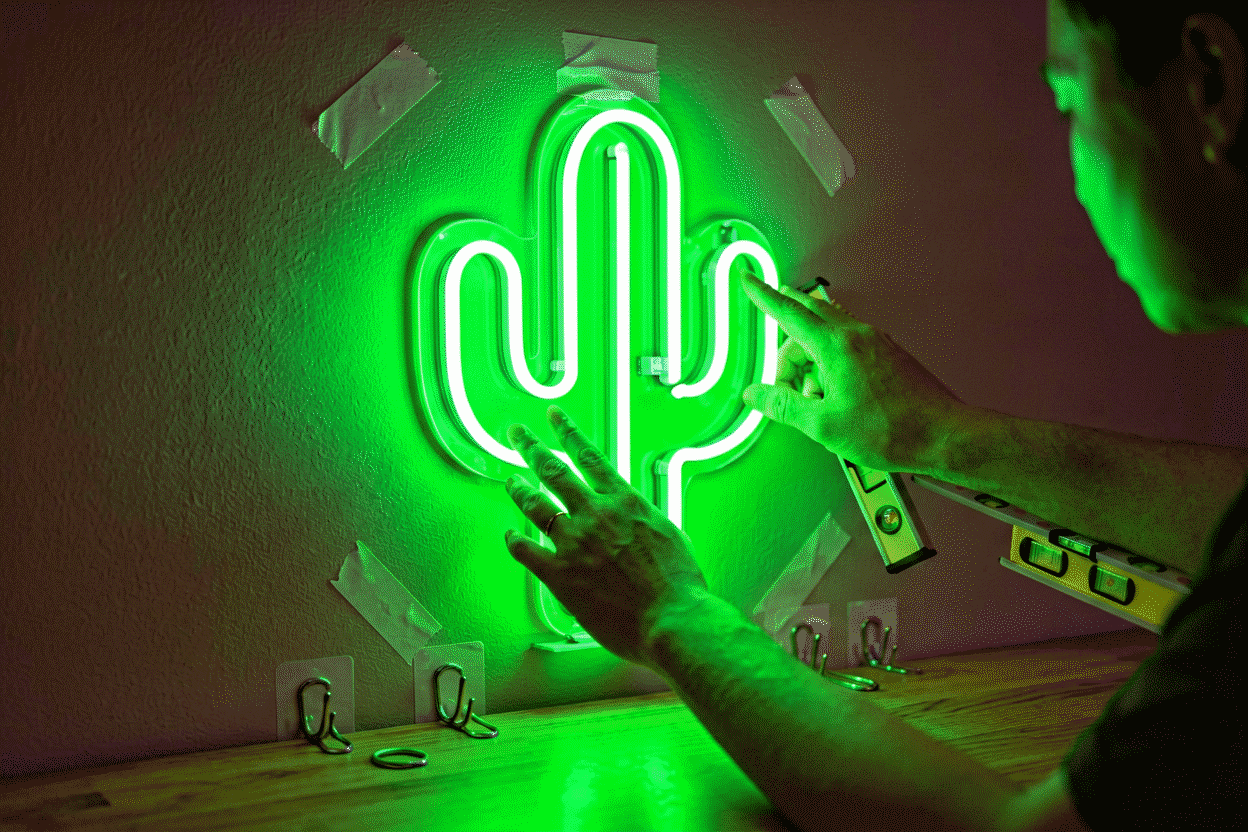
The standard path, covered in depth in the hanging guide: mark through the backing’s pre-drilled holes, anchor, screw, hang, level. LED signs under 10 lb hold fine with quality plastic anchors in drywall; hitting a stud makes it permanent-grade. The one addendum: for signs mounted high or over beds, use two-person handling — not for the weight, for the alignment.
Brick and concrete
Masonry bits and shield anchors (sleeve anchors for the load class, or plastic conical anchors for light signs). Hammer drill, pilot holes, blow out the dust (dust in the hole is the top cause of loose masonry anchors). Brick mortar joints drill easier than brick faces but hold less — prefer the brick itself for heavier pieces.
Tile
Drilling tile without cracks: masking-tape an X at the hole location (gives the bit something to bite), start with a glass/tile bit at low speed, and don’t hammer until you’re through the glaze into the substrate. Anchor into the wall behind, not the tile itself. The bathroom-install tier (tile walls are neon country — see the moisture rules below).
Wood paneling and studs
The easy case: screws straight into solid wood. Find the studs (paneling alone is not load-bearing), and pre-drill pilot holes in hardwood to avoid splitting.
Wallpaper and finished walls
Two schools: (a) mount through it — holes are small and the sign covers them; (b) preserve it — use the no-drill options from the hanging guide (heavy command strips on the backing’s flat zones, or a lean-to on shelving). Painted walls: touch-up paint in the sign’s color hides anchor holes if it ever comes down.
Beyond the Flat Wall
Windows
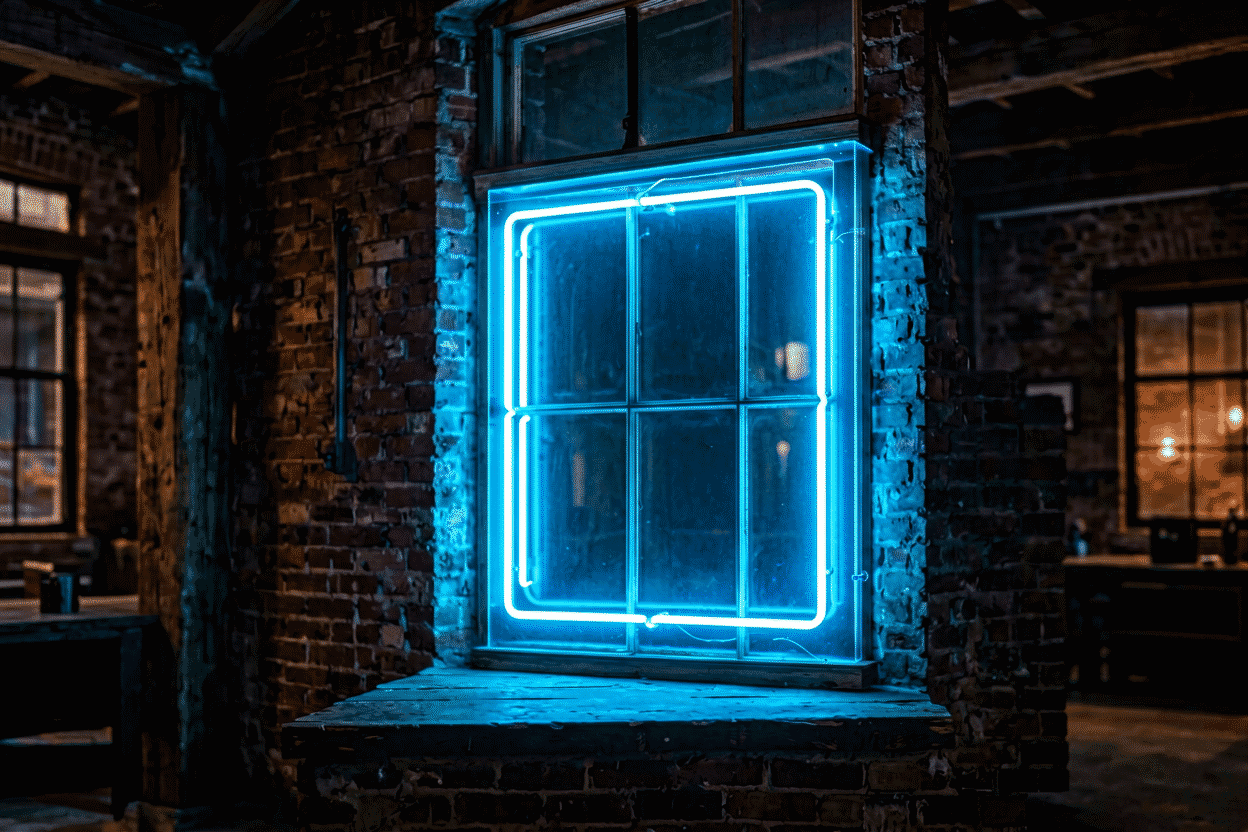
The storefront-and-apartment classic. Options: suction-cup mounts on the glass edge (light signs), hanging from a thin security chain between two hooks above the frame, or a tension rod in the frame for smaller pieces. Face the sign’s front to the street; run the cord behind the curtain line. Window installs double the effect — your display decorates the block (the open signs guide covers the business version).
Ceilings and overhead
For hanging installs (event backdrops, porch eaves, the flat-on-ceiling dinner-table glow): chain or wire from two points minimum (single-point hangs rotate), with the sign’s center of gravity between them. Ceiling mounts into joists, never drywall alone — overhead failures are the one category where the hardware must be over-spec.
Freestanding
No wall required: lean-to display easels (the gallery approach), shelf-backing mounts (sign screwed to a board that stands on the shelf), and purpose-built floor stands. The renter and event-planner tier — full portability, zero holes.
Event and backdrop installs
The wedding-and-party case: pipe-and-drape frames, backdrop stands, or two ladders and a crossbar for the DIY tier. Hang from the backing’s holes with zip ties (the event standard), sag-proof with a center support for spans over 4 ft. The staging playbook (heights, photo mechanics) is in the wedding backdrop guide.
Outdoor Installation
The rules tighten outdoors:
- Rating first: covered porches need basic moisture resistance (IP44-class); exposed placements need genuine outdoor spec (IP65+). Indoor signs outdoors die in one wet week.
- Adapter indoors, always — or in a weatherproof enclosure. The sign survives weather; the adapter doesn’t.
- GFCI outlet, drip loops on every connection (cord dips below the plug, then rises into it — water runs off before the junction).
- Mount for wind: two-point minimum on walls; four-point for exposed facades. A 40-inch sign is a sail.
- Cold is fine. LED neon handles freezing without complaint — December installs are safe; the moisture rules are what matter.
Commercial Installs (Stores & Venues)
The business tier adds obligations:

- Permits and code. Many jurisdictions regulate illuminated signage (especially exterior); check before installing — the permit question is covered in our business guide.
- Professional glass-neon installs. High-voltage transformers, grounding, and housing codes make glass neon a licensed-electrician install in commercial settings. LED sidesteps most of this — one reason it dominates business signage now.
- Height and egress rules. Nothing blocking exits, extinguishers, or panels — the inspector’s checklist starts there.
- Timer or photocell. Business signs belong on a dusk-to-schedule circuit — the operating-cost and consistency win.
The Five Universal Install Rules
Whatever the surface, these hold:
- Level is not optional — a 1-degree tilt is invisible at install and maddening forever after. Phone-level apps are accurate enough.
- Cord discipline — route flat, secure, and out of reach; cords across rooms are the install that never got finished.
- Adapter ventilation — open air, always.
- Dimmer accessible — mount the sign where its remote works and (for wired dimmers) the control is reachable.
- Re-inspect at 30 days — anchors settle, chains stretch, command strips declare their opinions. A month-in check catches everything cheaply.
The Renter’s Complete Path: Zero-Hole Installs
The full no-drill decision tree — every surface, no damage:
- Adhesive tier (light LED signs, under ~8 lb): heavy-duty mounting strips on the backing’s flat zones (4–6 points, weight-rated with margin), the wall cleaned with isopropyl first (the adhesive’s honest requirement — the failure mode is dust, not weight). The strips’ removal tab leaves clean walls; the 30-day inspection habit catches any early surrender.
- Lean tier (all weights): the display easel (the gallery approach) or the shelf-backed board — the sign screwed to a finished board that stands on shelving or the floor. The most stable zero-hole method; the design-forward version is a cut-to-shape sign on a matching easel.
- Tension tier: tension rods in doorways-and-window frames (small signs hung from S-hooks), and compression poles in corners — the apartment tier’s engineering solutions.
- Rail-and-hook tier: picture rails (in older apartments) and existing wall hardware (mirror clips, shelf brackets) — the opportunistic mounts that leases smile on.
- The disclosure move: for any install, photograph the wall before and after — the deposit-protection habit that costs nothing.
The Power Plan: Outlets, Cords, and Distance
The infrastructure half of every install — the part that separates finished rooms from almost-finished ones:
- The outlet audit: before mounting, confirm the nearest outlet’s location and the cord’s reach (the standard cord runs 6–10 feet; the adapter sits mid-cord). The sign that needs 12 feet of reach from 8 feet of cord produces the extension-cord-across-the-room failure — plan the position to the power, or add a properly-rated extension.
- The cord-routing kit: cord clips (adhesive, matching the wall color) every 18–24 inches; cord covers for floor-and-wall transitions; the behind-furniture route wherever possible. The $10 kit that makes every install look professional.
- The adapter’s home: ventilated (never enclosed, never under fabric — the fire-safety rule from our safety guide), accessible (the occasional unplug shouldn’t require furniture moving), and stable (not dangling by its cord — the strain-relief rule).
- The smart-plug upgrade: the $10 addition that adds scheduling and app control — the dusk-to-10PM automation that’s the finishing touch on every display install.
- The multi-sign room’s power discipline: one sign per outlet (or one power strip with surge protection for the multi-sign walls — a quality strip, not the daisy-chain). The installation-and-power specifics carry the details.
Troubleshooting the Fresh Install
The first-72-hours issues and their fixes — the post-mount checklist:
- The sign doesn’t light: check the adapter’s outlet (test with a phone charger), then the adapter-to-sign connection (reseat firmly — the shipping-vibration loosening is real), then the remote’s battery. Ninety percent of “dead on arrival” signs are connection-tier, not sign-tier.
- Partial illumination: a section out means a section connection (LED) or a tube issue (glass) — reseat everything first; if a section stays dark, contact the seller within the return window (this is what the window is for).
- Flicker: usually the dimmer’s lowest setting hunting (raise 5%) or a marginal connection (reseat); persistent flicker on a new sign is a warranty claim, not a repair project.
- The remote does nothing: battery first (the dead-remote rate is the genre’s quiet humor), then pairing (the hold-the-button reset per the manual), then the receiver’s line-of-sight (IR remotes) — the RF tier doesn’t have this issue.
- The “it’s dimmer than the photo” moment: brightness perception vs. photography (listing photos run brightness at max in dark rooms); check yours at full in a dark room before judging — and see our troubleshooting guide for the deeper diagnostics.
FAQ: Neon Sign Installation
How do you install a neon sign? The standard path: test it lit on a table, mark the wall through the backing’s pre-drilled holes, drill and anchor to the surface type (drywall anchors, masonry shields, tile bits, or wood screws), hang, level, route the cord. The single-topic deep-dive: how to hang a neon sign.
Can you install a neon sign without drilling? Yes — heavy-duty command strips on the backing’s flat zones (light LED signs), lean-to easels and shelf-backing boards (portable, zero-hole), and window suction or tension-rod mounts. The renter’s toolkit is covered in the hanging guide.
How do you install a neon sign on brick? Masonry bit, hammer drill, pilot holes blown clean, sleeve anchors for heavier signs or conical plastic anchors for light ones. Prefer brick faces over mortar joints for load.
Can you hang a neon sign from the ceiling? Yes — chain or wire from two points minimum (single-point hangs rotate), anchored into joists, with the sign’s center of gravity between the mount points. Event overheads use zip ties on backdrop frames; the staging is in the wedding guide.
How do you install a neon sign outside? Covered porch: moisture-resistant sign, adapter indoors, GFCI outlet, drip loops. Exposed: IP65-rated sign, four-point mounting for wind, all connections weatherproofed. Cold is fine; water is the enemy.
Do I need an electrician to install a neon sign? For plug-in LED signs: no — it’s a screwdriver-and-level job. For glass neon (high-voltage transformer) and any hardwired or exterior commercial install: yes, a licensed electrician — permits and code apply. The business-specific rules start at the open signs guide.
Install Once, Glow for Years
Thirty minutes, the right anchor for the surface, and the five universal rules. Pick the sign first — custom neon maker, live render and pricing — then come back here with the surface in mind. If something’s already misbehaving, the troubleshooting guide is the next stop.
Sources & Further Reading
- Mercury (U.S. EPA) — federal guidance on mercury exposure and safe handling.
- Neon sign (Wikipedia) — the consolidated public record of neon-sign history and technology.