Neon Sign Remote Controls: Pairing, Modes, Fixes
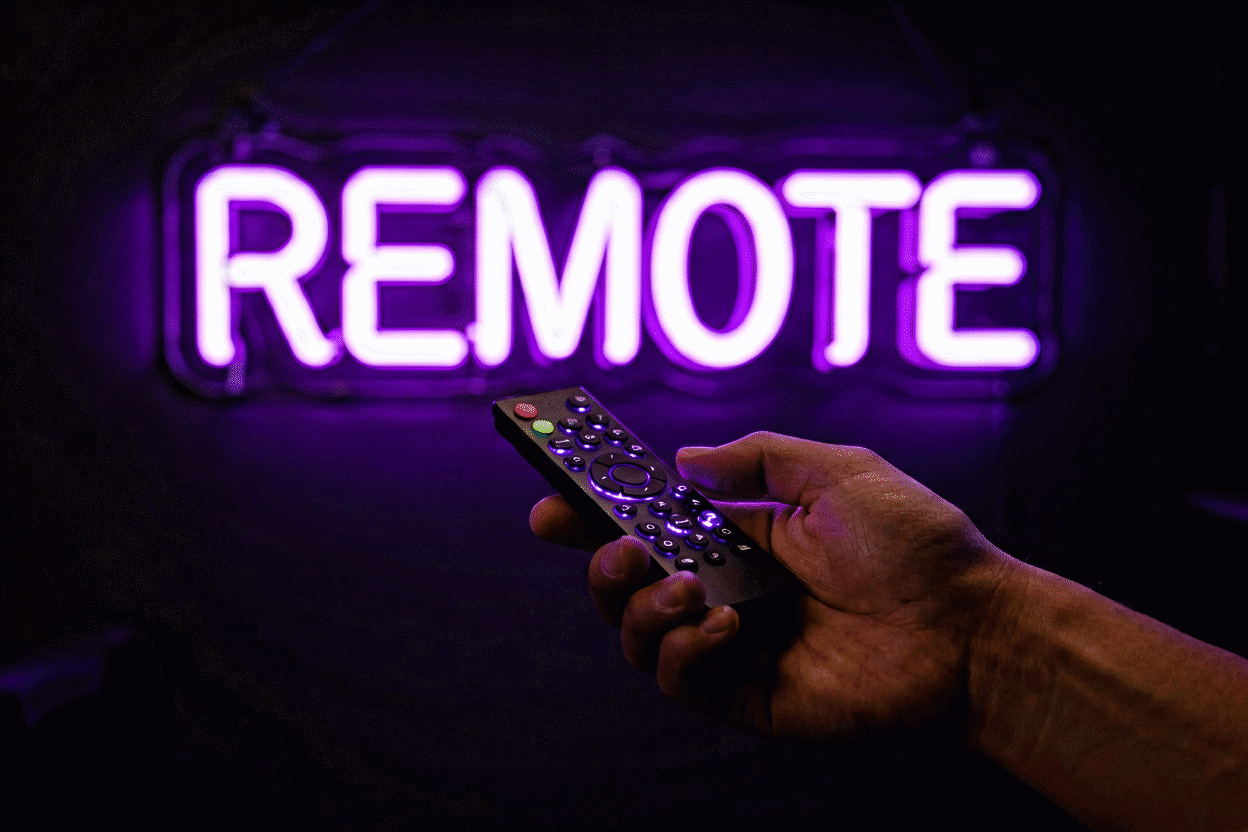
The neon sign remote is a 12–24 button handset that runs the sign’s entire control layer — brightness on the sun keys, colors and modes on the palette — and the three things that make it feel mysterious are all mundane: the battery is weak, IR needs line of sight, or the handset needs pairing after a battery swap. Ten minutes of understanding the button map and the pairing dance covers everything the remote will ever ask of you, including the color-mode logic on RGB signs that confuses everyone exactly once.
This is the remote’s complete manual — hardware, buttons, pairing, modes, and the fix tree. The what-and-why of dimming lives at can neon signs be dimmed; the broader control walkthrough (apps, in-line dimmers) at how to dim a neon sign.
Know Your Handset: IR vs RF First
Two radio generations ship with signs, and they behave differently:
- IR (infrared) — needs line of sight from handset to the receiver (a small dark dot on the sign or its controller box). Blocked by furniture, defeated by steep angles. Point-and-shoot like a TV remote from the 2000s, because it is one.
- RF (radio frequency) — works through furniture and from other rooms. The handsets that feel “unusually reliable” are RF; there’s nothing to point.
The practical difference surfaces in troubleshooting: an IR remote that works when you stand close and fails from the couch is telling you about geometry, not health. The receiver dot’s position matters too — signs with the receiver at the bottom edge hear the remote best from below-sightline angles.
The Button Map (Universal Layout)
Handsets vary in styling, not in logic. The standard map:
- Sun icons (big/small) — brightness up/down. Press to step, hold to slide. The most-used buttons on the remote.
- Power — full on/off on most models.
- Color palette (RGB models) — static color keys: reds, greens, blues, white, plus a multi-color key.
- DIY color keys — set custom hues (hold a DIY key, adjust R/G/B sub-keys if present, save).
- Mode keys (dynamic models) — fade, jump, flash, strobe patterns. Modes apply to multi-color signs; see the color-changing guide for what each mode actually does on camera.
- Speed keys — tempo of dynamic modes (arrows or +/−).
- The hidden “S”/pairing key — often inside the battery compartment. The one button nobody can find on the day they need it.
Pairing: The Four Situations
Out of the box: most remotes work immediately — power the sign, press any key. If nothing: pair.
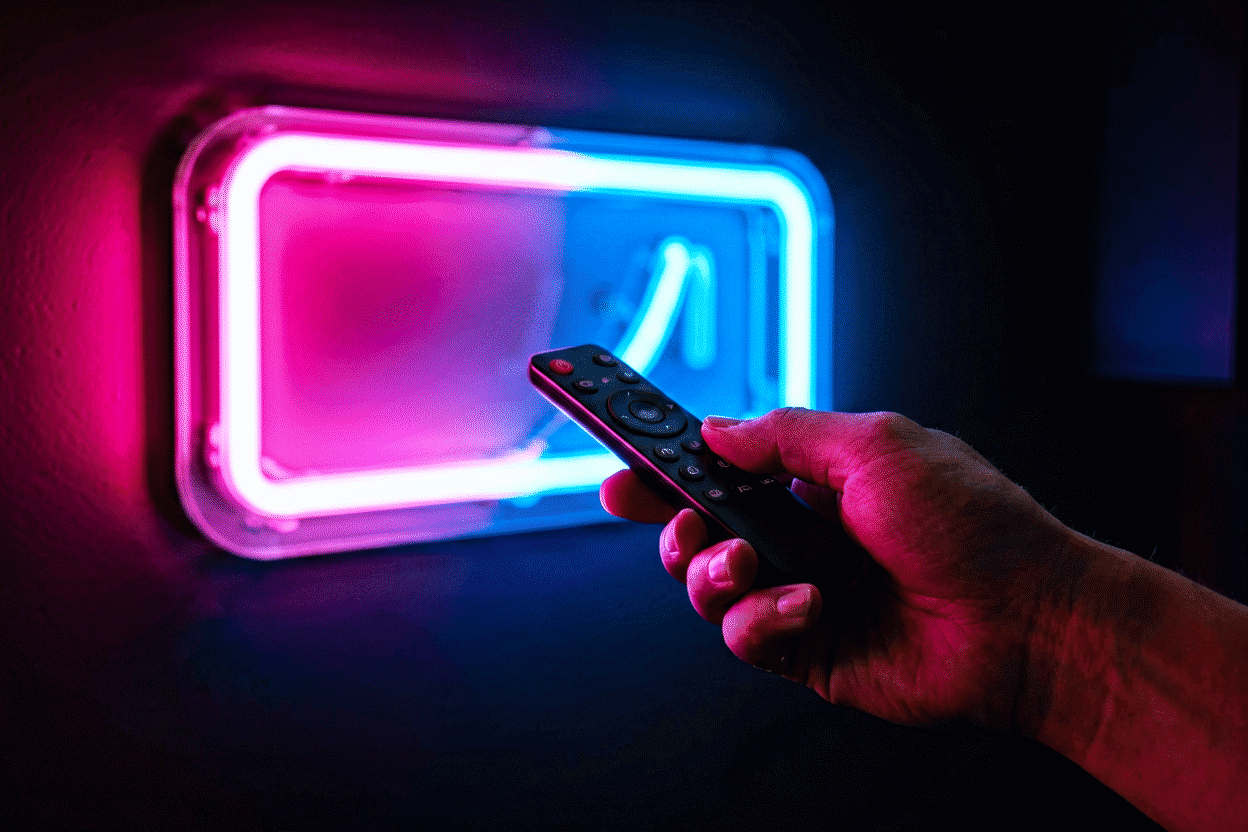
Standard pairing: power the sign on, then within 30 seconds hold the pairing key (the hidden “S” or a marked button) until the sign blinks or flashes acknowledgment. Release; test brightness keys.
After battery change: pairing sometimes survives, sometimes doesn’t (RF handsets usually keep it; IR occasionally loses it) — if the remote goes silent post-swap, re-pair per above before suspecting hardware.
New replacement remote: match the receiver’s model family (sign makers sell replacement handsets keyed to their controllers — the receiver box’s model number is the identifier). Universal LED remotes exist and pair to most controllers with the same hold-the-key routine.
Battery Truths
The CR2025/CR2032 coin cell is the remote’s entire failure mode in most households:
- Weak batteries misbehave before they die — reduced range, intermittent response, works-close-not-far. Replace the cell at the first flakiness rather than debugging geometry.
- Coin cells read “fine” on a multimeter at rest and sag under load — a voltmeter’s 3V reading doesn’t clear the battery; a fresh $2 cell does.
- Spare in the drawer, always — the remote dying on movie night is the sign-ownership equivalent of the smoke alarm chirping at 2 am.
RGB Mode Logic (The Confusion, Solved Once)
On color-changing signs, the confusion is almost always the mode-vs-static distinction: dynamic modes (fade/jump/strobe) run their own programs and ignore the static color keys; pressing a static color key exits dynamic mode. So the remote that “stopped responding to colors” is usually just parked in a speed mode — press any static color first, then everything works again.

The companion quirks worth knowing: brightness keys inside dynamic modes sometimes adjust mode intensity rather than global brightness (set brightness in static mode first, then choose your mode), and strobe/flash modes run at full output by design — they ignore the dimmer entirely (bedroom users, this is your warning).
The Fix Tree (Eight Symptoms)
- Remote does nothing at all — fresh coin cell; check receiver dot isn’t taped over or painted; re-pair.
- Works close, fails far — IR geometry: relocate the sign’s receiver edge toward your seating line, or RF-replacement handset.
- Brightness works, colors don’t — mode parking: press a static color key first.
- One button dead — handset keypad wear; replacement handsets are cheap and pair in 30 seconds.
- Sign responds to power but not remote — controller-level fault: bypass-test with an in-line dimmer (the dimming guide covers the add-on path).
- Remote works, sign flickers — power-layer problem, not control: into the power supply diagnosis.
- Signal after every battery change — expected on some IR models; re-pairing is 30 seconds (above).
- Lost the remote entirely — in-line dimmer replaces brightness control permanently (add-on guide), or order the maker’s replacement handset by controller model.
Living With the Remote Well
- Photograph your settings after the perfect evening setup — post-battery-swap restoration becomes a glance instead of a session.
- The remote’s home: a small tray or hook near the light switch. Remotes are the one component with legs.
- Smart-sign owners: the app becomes the daily driver (schedules, scenes), and the physical remote settles into backup duty — the smart sign guide covers the app layer.
Order the Control You’ll Actually Use
Every custom sign in the builder offers its control options at design time — remote dimming standard, RGB mode controls on color-changing builds, app control on smart models. Adding control at order integrates it with the sign’s own controller (zero compatibility friction); the add-on paths above exist for signs already glowing.
Remote Situations: Five Field Cases
The remote layer in real-world operation:
The lost remote (month eight). The classic: the handset vanished somewhere into a sofa’s biography. The interim workaround that surprised its owner: the sign’s dimming had been set at the sweet spot months earlier, and daily life barely noticed the loss — the plug switch did the on/off. The permanent fix: the maker’s replacement handset, ordered by the controller model number printed on the receiver box, $9, paired in thirty seconds out of the envelope (the pairing ritual). The sofa eventually returned the original, which now lives in the drawer as the spare.
The battery arc (the annual rhythm). One household’s documented battery pattern: the remote’s coin cell weakened each year at approximately the same season, announcing itself as “range getting shorter” — the handset that worked across the room wanting line-of-sight, then closeness, then nothing (the battery truths). The fix institutionalized: a two-pack of CR2025s lives taped inside the battery drawer’s lid, replaced annually at the sign’s inspection (the maintenance calendar). Cost per year: two dollars; frustration per year: eliminated.
The mode-lockout confusion (RGB household). A color-changing sign whose remote “stopped controlling colors” — the owner’s diagnosis journey took a support email and ended with one sentence: the handset was parked in a dynamic mode where the palette keys change pattern speed instead of color. Press any static-color key first; everything returns (the mode logic). The household’s adaptation: a sticky note inside the remote drawer reading “STATIC FIRST” — the entire troubleshooting tree compressed to two words that survived a move and a battery change.
The IR geometry problem (the furniture rearrangement). A bedroom sign that worked flawlessly until the bed rotated ninety degrees — after which the remote worked only from one corner of the room. The physics: the receiver dot now faced away from the bed’s new angle (the IR rules). The two-part fix: the sign’s mounting rotated fifteen degrees on re-install (receiver now catching the bed’s line), and the eventual upgrade — an RF replacement handset that ignores geometry entirely. The file’s verdict: geometry problems yield to either furniture-awareness or ten dollars of radio.
The smart-handoff (the app household). The remote’s gradual retirement: once the sign joined the household’s smart setup (the automation tier), the app’s scenes and schedules absorbed daily control, and the physical handset settled into its real role — the backup that works when wifi reboots and the tool that pairs new signs. The owner’s summary after a year: “I thought I’d lose the remote and be helpless. Instead I kept it and forgot it — different problem, better one.”
FAQ: Neon Sign Remotes
How do you pair a neon sign remote? Power the sign on, then hold the pairing button (often the “S” key, sometimes inside the battery compartment) within 30 seconds until the sign blinks acknowledgment. Most remotes pair at the factory and only need this after battery swaps or replacement.
Why is my neon sign remote not working? In order of likelihood: weak coin cell (replace first, always), blocked line of sight on IR handsets, lost pairing (re-pair), or the handset parked in a mode where brightness/color keys are re-purposed — press a static color key and retest.
Can I get a replacement remote for my neon sign? Yes — makers sell replacement handsets matched to their controllers (match the receiver box’s model number), and universal LED remotes pair to most controllers with the standard hold-the-key routine.
What do the buttons on an RGB neon remote do? Sun icons control brightness; palette keys set static colors; mode keys run dynamic patterns (fade, jump, strobe); speed keys adjust pattern tempo; DIY keys save custom hues. Static keys always exit dynamic modes — the root of most “remote stopped working” reports.
Do neon sign remotes work through walls? RF remotes do — they’re radio. IR remotes need line of sight to the receiver dot and fail behind furniture and at steep angles. Replacement RF handsets fix stubborn IR geometry.
Can I control my neon sign without the remote? Yes: smart signs use apps (brightness, schedules, scenes); any sign can take an in-line dimmer for brightness; and a smart plug adds on/off scheduling to every sign.
The Remote Layer’s One-Page Truth
Everything the handset will ever ask of you, compressed: it’s IR or RF (line-of-sight or through-furniture — know which you hold (the distinction)); its failures are battery, pairing, or geometry, in that order of likelihood; its RGB confusion is always mode-parking (static key first (the mode logic)); and its lifecycle is annual coin cells and eventual succession — by replacement handset ($9, model-matched) or by the app taking over daily duty (the smart handoff). The habits that make the layer invisible: the spare cell in the drawer, the settings photographed after the perfect evening, and the receiver’s position respected during furniture moves. The remote is the sign’s most-touched and least-dramatic component — ten minutes of understanding here covers its whole service life.
Sources & Further Reading
- Solid-State Lighting (U.S. Department of Energy) — DOE reference on LED efficacy and lifetime.
- Neon sign (Wikipedia) — the consolidated public record of neon-sign history and technology.
Pricing based on CustomNeon’s current catalog (2026); custom quotes come live from the sign builder.