DIY Neon Sign Guide: 4 Build Routes Ranked
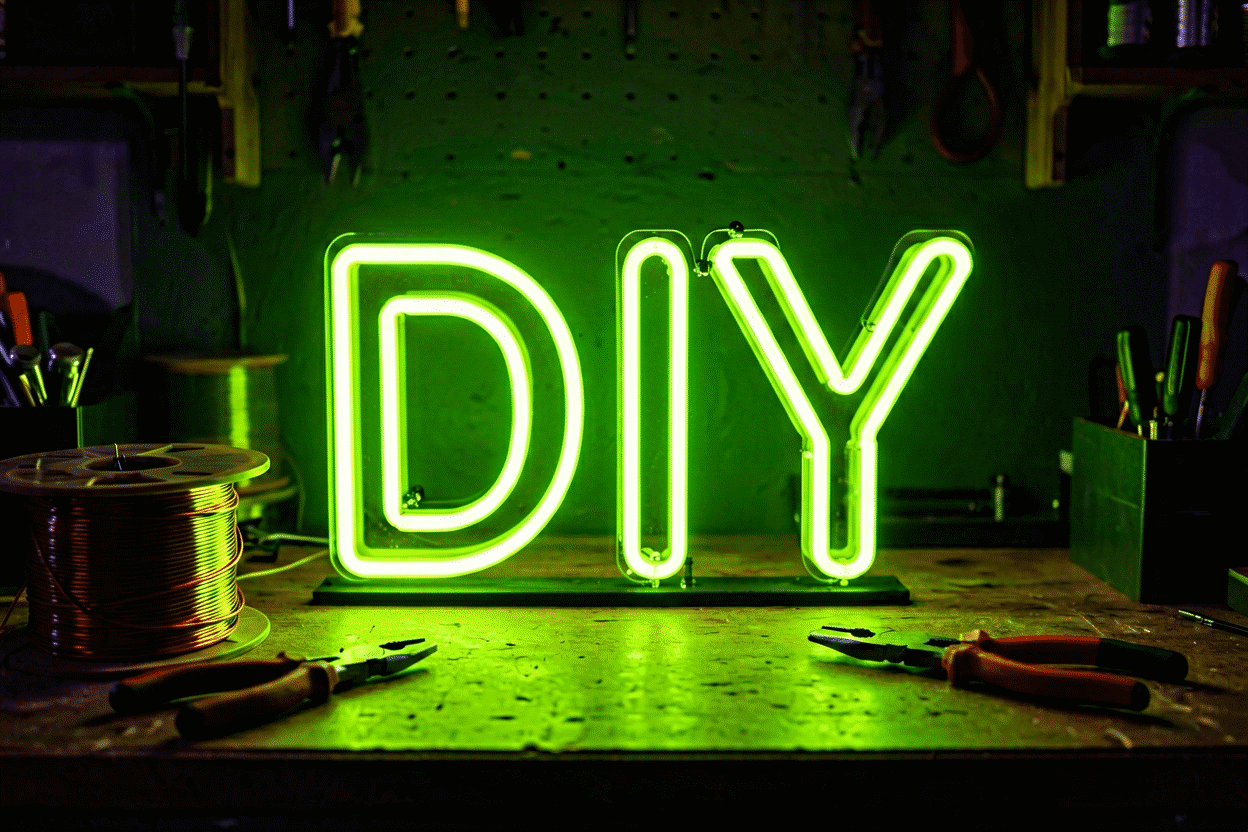
You can build a real glowing sign yourself through four routes: an EL-wire build (the classic craft version, $25–50 in parts), an LED-strip-on-acrylic build (the weekend-project version, $50–100), a DIY neon kit (pre-engineered components, $60–150), or — the honest fourth route — designing a custom LED sign and having it built for you ($100–300, zero failure modes). The first three earn their place in the craft; the fourth exists because knowing the real trade-offs is part of the DIY decision.
The reason to read this before watching the tutorial videos (the SERP is full of them, and Amazon’s kit results pull hundreds of clicks): route choice is 90% of the outcome. Match the route to your actual goal — craft evening, decor result, or professional glow — and the build goes well; mismatch it and you spend a weekend discovering why factories exist.
Route 0: Design It and Have It Built (Know This Exists First)
Not a cop-out — a benchmark. Custom LED neon from a builder: you design the text, font, color, and size online (the builder is here), approve a preview, and receive a factory-built sign with premium LED density, sealed silicon jacketing, certified adapters, dimming remotes, and a warranty. Typical cost: $100–300 for home sizes; typical wait: 1–3 weeks.
What DIY is measured against: the even, saturated, dimmable glow of a purpose-built sign with zero solder joints of your own. Every route below gets compared to this bar honestly — some clear it for their use case, some don’t. The full factory process (how the pros actually make signs) is documented in how are neon signs made.
Route 1: EL Wire — The Craft Classic
What it is: electroluminescent wire — thin, flexible, glowing cord driven by a small battery pack. The material behind every “DIY neon” Pinterest board since 2010.
Build steps:
- Design on paper at final size, then transfer to a backing board (painted plywood or foam board).
- Plan the run: EL wire glows along its entire length, so your design is one continuous path — plan where the wire doubles back (those return runs show as parallel dim lines, the EL signature).
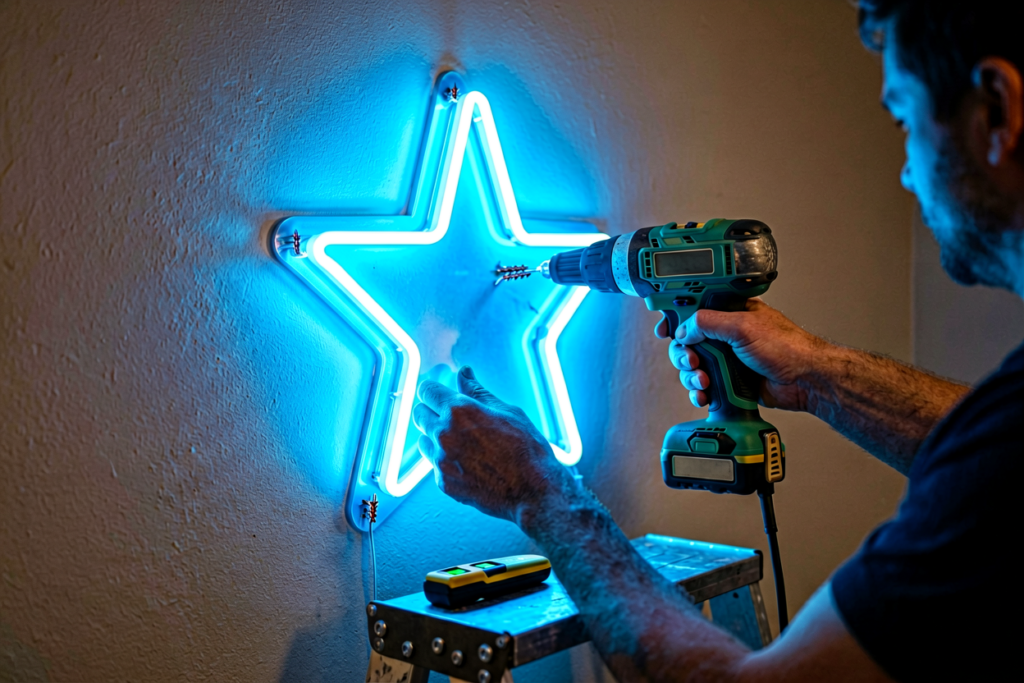
- Attach: hot glue or clear tape, working section by section; drill exit holes where wire passes through the board to the back.
- Power: connect to the driver/battery pack (solder or the connector most EL ships with), mount the pack behind the board.
Strengths: cheap ($25–50), genuinely safe (battery voltage), infinitely hand-craftable, great with kids. Limits: dim (visible in dim rooms, washed out in daylight), the return-run lines, visible joins, no dimming tiers, lifespan measured in seasons of evening use.
Best for: craft projects, event one-nighters, kids’ rooms, and the joy of making. Not for: anything meant to look professional in a lit room.
Route 2: LED Strip on Acrylic — The Weekend Build
What it is: addressable or standard LED strip (the 12V ribbon kind) bent along a drawn design on a clear acrylic panel — the closest home build to the “neon look,” using the same underlying technology as commercial flex neon.
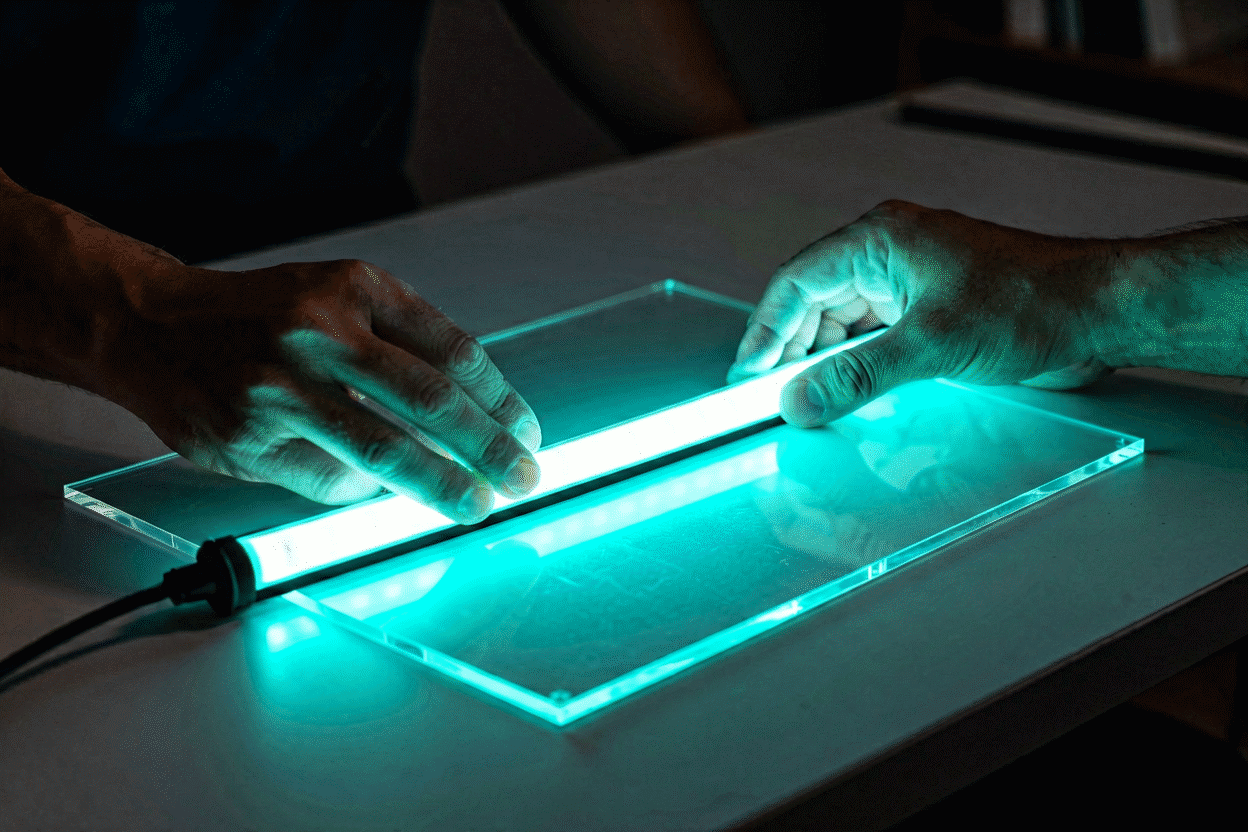
Build steps:
- Design and print your word/shape at final size; tape it behind a clear acrylic sheet.
- Map the strip run: LED strip cuts every few LEDs at marked lines — plan cuts so segments follow your design’s strokes, series-connecting around corners with short wire jumpers.
- Solder the jumps (the skill floor of this route — four to ten joints on a word sign), insulate with heat-shrink.
- Mount the strips front-facing (for direct glow) or edge-lit into engraved acrylic (for the elegant halo version — engrave the design into the acrylic’s surface and side-light it).
- Power and control: 12V supply sized to your strip length, plus a controller/dimmer between supply and strip.
Strengths: bright (genuinely room-lighting), dimmable, RGB-controllable with the right strip, and the proudest craft-to-result ratio of any route. Limits: soldering required; visible hotspot LEDs at close range (commercial flex neon diffuses with shaped silicone — strips don’t); time (a real weekend); and the look reads “LED project” up close, “neon” from across the room.
Best for: makers who want the build to be part of the point, custom colors and modes, and signs for rooms where 90% of the neon look is enough.
Route 3: The DIY Neon Kit — Pre-Engineered
What it is: a boxed kit — flexible silicone “neon tube” (LED strip pre-sealed inside), formed backing, connectors, adapter, sometimes remote. Amazon’s kit results pull hundreds of daily clicks because this route genuinely splits the difference: more finished than Route 2, more custom than Route 0.
Build steps: trace the included template (or your own on the blank backing), bend the tube along the line (it holds shape), trim at marked cut lines, click connectors together, power on. No soldering in most current kits — the connector system is the product.
Strengths: fastest custom-ish build (1–2 hours), real diffused neon-look tube, dimming included in better kits, and safe (low voltage, sealed). Limits: letter quality depends on your bending patience; connectors are the failure point over time; and length-per-kit constraints mean long phrases need multiple kits spliced.
Best for: first-time builders, gift-makers, and anyone who wants a hands-on evening with a professional-adjacent result. This is the route the wedding-DIY tutorials (visible all over the SERP) actually use.
The Honest Comparison
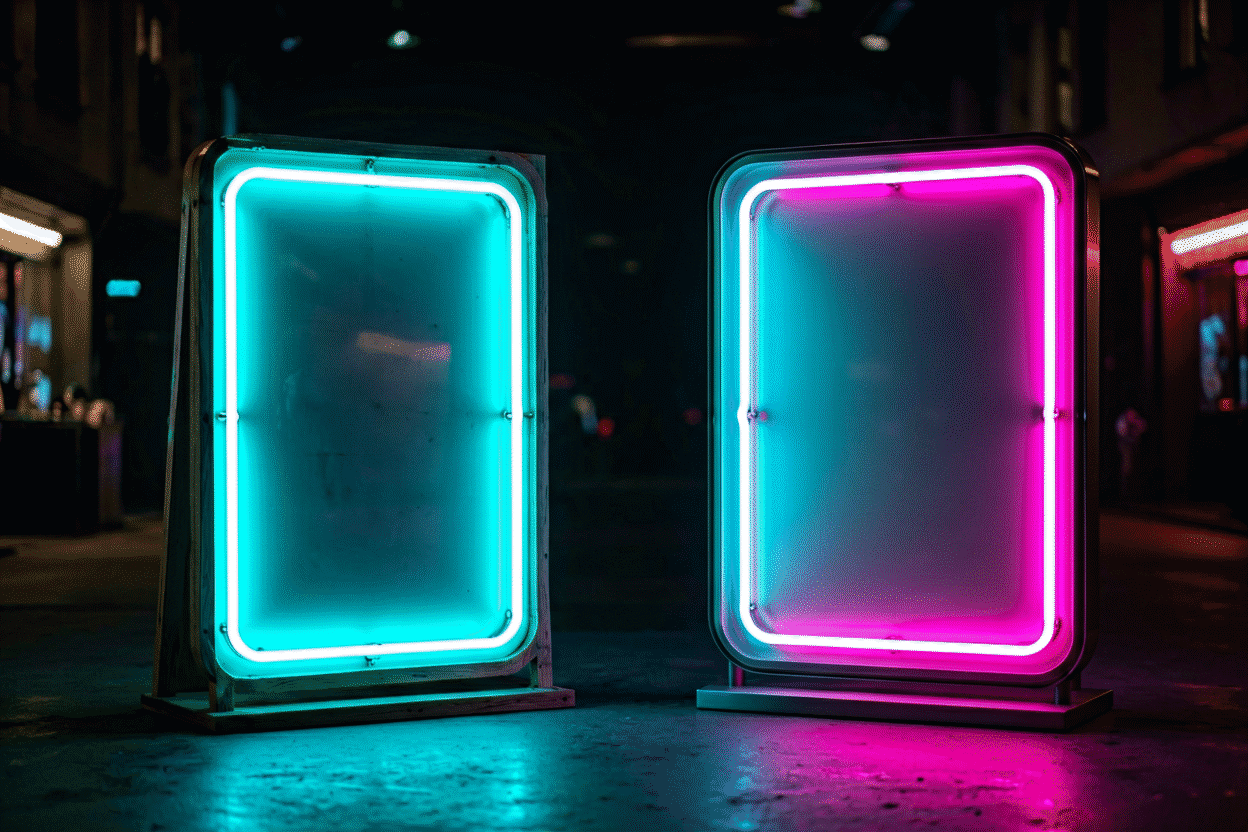
| EL wire | LED strip build | DIY kit | Custom-built (Route 0) | |
|---|---|---|---|---|
| Cost | $25–50 | $50–100 | $60–150 | $100–300 |
| Time | 2–4 hrs | Weekend | 1–2 hrs | 0 (1–3 wk wait) |
| Brightness | Dim | Bright | Bright | Brightest/most even |
| Looks pro from… | dark rooms | across the room | 3+ ft | everywhere |
| Dimming/RGB | no | build-dependent | often | yes, engineered |
| Failure points | joins, driver | your soldering | connectors | (warranty) |
| The real point | craft joy | making | making, faster | the result |
When DIY Is the Wrong Answer
Straight talk, because the guides that never say this waste weekends:
- The professional-glow requirement: if the sign must read as signage — a business, a content wall, a wedding centerpiece photographed all night — the failure modes of every home route (hotspots, joins, dim patches) are exactly what cameras find. Route 0.
- Time value math: a weekend of building costs more than the $150–250 gap to a custom build for most working adults — unless the building itself is the entertainment (a legitimate and underrated reason).
- Glass neon: not a DIY route at any skill level. Transformers at 2,000–15,000 volts and glass-bending craft are licensed-trades territory — the safety boundary is documented in our safety guide.
And when DIY is exactly right: the craft is the gift, the builder is the point, the sign is one word in a dark bedroom, or a kid’s name glowing at sleepover.
Design First — Whatever Route You Build
Every route shares the same front half: choosing the word, the size, the color, the layout. That front half is free and identical whether you bend wire for a Saturday or order from a factory — the full decision framework (message, size math, color psychology, fonts) lives in how to design a neon sign, and the price anatomy of the custom route in neon sign cost.
Run your design through the custom builder even if you plan to build it yourself: live rendering in your exact color and size shows what the finished target looks like — the spec your build is aiming at, free of charge.
Three DIY Builds, Documented
The routes above, as they played out in three real builds:
The EL-wire kids’ project. A Saturday-morning build with a nine-year-old: her name in bubble letters on a painted foam board, EL wire hot-glued along the lines, battery pack taped behind. Cost: $28. Time: ninety joyful minutes. Result: a glowing name sign that lived on her wall for two years of nightly use before the wire’s joints gave out — at which point the second build (a gift from the experience) went smoother. The honest assessment: EL’s dimness didn’t matter in a dark kid’s room, and the craft value was the entire point. Route validated for its use case.
The LED-strip studio sign (the maker’s route). A 30-inch “STUDIO” piece for a workshop wall: acrylic panel, printed pattern taped behind, addressable strip cut and soldered at four joints, 12V supply with a controller, forty-five minutes of soldering and heat-shrink, an hour of channel-mounting and wire-tidying. Cost: $64 in parts. The result glows bright, runs RGB modes, and from across the room reads as proper signage; up close, the hotspots and the visible strip structure tell its story. Two years on: one solder joint re-flowed (vibration), otherwise flawless. The maker’s verdict: “I could have bought one for $140. I didn’t want to buy one — that’s the whole point.” Route validated for people who mean it.
The DIY-kit wedding piece. The timeline crunch: a names-and-date sign needed in twelve days, custom makers quoting three weeks plus rush fees. The kit route: bendable silicone tube and connectors, the couple’s phrase formed on the included template backing, assembly in an evening, battery pack for the venue. Cost: $95. The result photographed beautifully from any reasonable distance and survived the reception — then retired to a closet, its connectors never quite trusting after the teardown. The honest verdict: the kit saved the deadline and earned its photos, but the couple’s next sign (ordered, custom, unhurried) is the one still glowing at home. Route validated as the deadline-saver, not the heirloom.
What the three builds teach together: every DIY route delivers its promise and its limitation exactly as advertised — EL is craft, strips are maker-pride, kits are rescue — and none of them pretends to be the custom-builder product (Route 0), which is why the honest guide keeps all four routes on the table. The failure cases in DIY forums are almost all route-mismatches: expecting factory glow from EL wire, expecting craft-level meaning from a kit. Match the route to the actual goal, and every route here succeeds.
FAQ: DIY Neon Signs
Can you make your own neon sign? Yes — four practical routes: EL wire glued along a design (cheapest, craft-grade), LED strips bent on acrylic (brightest DIY, needs soldering), a bendable-tube DIY kit (fastest custom-ish build, no soldering), or designing a custom sign and having it factory-built (the professional-glow benchmark).
How much does it cost to make a DIY neon sign? EL wire builds run $25–50, LED strip builds $50–100, and DIY neon kits $60–150 — versus $100–300 for a factory-built custom sign of the same size. The honest comparison includes your build hours and the quality gap.
What’s the difference between EL wire and LED neon? EL wire is thin glowing cord — dim, battery-driven, and craft-grade. LED neon (and DIY kits’ silicone tube) uses LED strip sealed in shaped silicone: brighter, diffused, dimmable, and much closer to the professional neon look.
Do I need to solder to build an LED sign? For LED-strip builds, yes — four to ten simple joints on a word sign. DIY kits eliminate soldering with click connectors, and EL wire needs none. If soldering is a hard no, choose those routes.
Is a DIY neon sign as bright as a real one? Strip and kit builds are genuinely bright; none match the even saturation and diffusion of factory flex neon at close range. From across a room the gap narrows a lot; on camera at close range, the factory sign always wins.
Should I DIY or just buy a custom neon sign? DIY when the building is the point — craft evenings, gifts, kid projects. Buy custom when the result is the point: business signs, wedding centerpieces, and any sign that must read as professional signage on camera.
Sources & Further Reading
- Solid-State Lighting (U.S. Department of Energy) — DOE reference on LED efficacy and lifetime.
- Mercury (U.S. EPA) — federal guidance on mercury exposure and safe handling.
Pricing based on CustomNeon’s current catalog (2026); custom quotes come live from the sign builder.