Neon Sign Accessories: The Complete Kit

The full accessory kit for neon sign ownership is a short list: mounting hardware (what ships in the box and what upgrades it), a dimmer, the remote and its battery economy, stands and chains for the no-wall cases, power extensions and surge protection, and two cleaning tools. Every item solves a problem you’ll actually hit within the first year, most cost under $25, and each has its dedicated deep-dive across our how-to library — this guide is the map of the whole kit and the honest “do you need it” for each piece.
Category 1: Mounting Hardware (The In-Box Kit and Upgrades)
What ships standard: screws, plastic wall anchors, sometimes standoff posts, and (on better signs) hanging chain or wire. This kit covers drywall and wood — the two default walls.
The upgrades by wall and situation:
- Masonry sleeve anchors — for brick and concrete; the wall-type chapters of the hanging guide match hardware to walls.
- Self-drilling drywall anchors — the thread-in kind, for heavier signs and old thin drywall (drywall deep-dive).
- Adhesive strip packs and cord clips — the renter’s mounting currency (no-drill methods).
- Zip ties (white/black, 4 and 6 inch) — the event and grass-wall universal (grass wall guide).
- Gaffer tape — the event-floor and cord-path standard. Not duct tape (residue), not painter’s tape (weakness) — gaffer.
Do you need upgrades? Only your walls know: audit where the sign goes before the hardware store, and the shopping list writes itself.
Category 2: The Dimmer (The One Universal Recommendation)
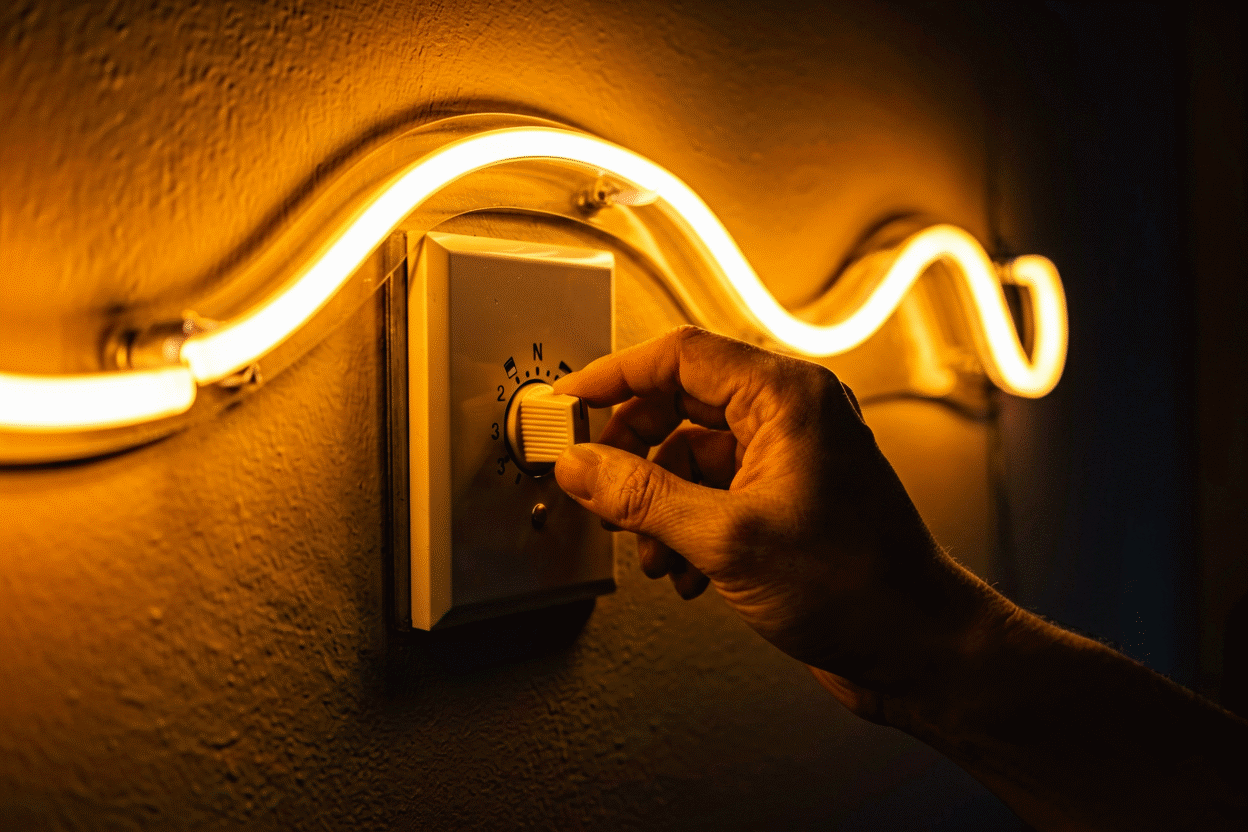
If one accessory earns unconditional endorsement, it’s dimming control — the feature that converts a sign from “spectacular at 7 pm, obnoxious at midnight” to a piece you live with daily. Options by starting point:
- Signs with remote/app dimming built in: nothing to add — see the remote guide and smart guide.
- Signs shipped without control: an in-line LED dimmer pod on the low-voltage side — $10–20, matched to voltage and wattage — installed in five minutes (the how-to).
- Household AC dimmers: not an accessory for signs — a category error. Dimming happens on the low-voltage side.
Category 3: Power Accessories
The power-side kit, in order of value:
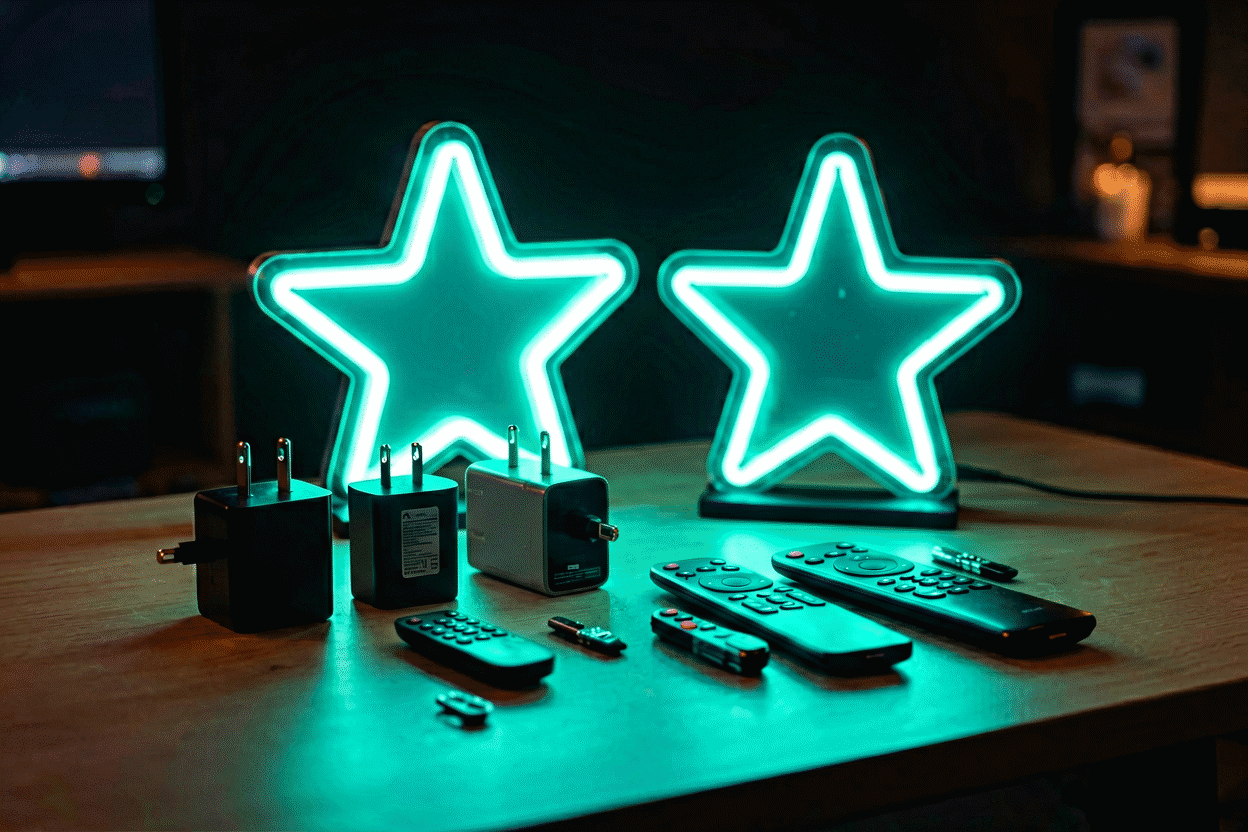
- Surge-protected power strip — $15 insurance for the sign’s most mortal component (why, in the power guide).
- Spare matched adapter — for signs you’d genuinely miss: the adapter is the part that dies first, and having the match on hand converts a two-week outage into a five-minute swap.
- Extension and cord-cover kit — outdoor-rated extension (the orange “W” kind) for distant outlets; paintable cord channel for the camera-facing wall (wire-hiding methods).
- Battery power station — the outlet-freedom accessory for events and island installs; sizing math in the power guide.
- Smart plug — the $10 automation tier: schedules, sunset-on, voice (smart guide).
Category 4: Stands, Chains, and the No-Wall Kit
- Easel stands (wood/metal, art-supply grade) — the classic display upgrade (freestanding formats).
- Tripod with crossbar — height-flexible for photo corners and events.
- Weighted base posts and sandbags — the freestanding and event-stability layer; sandbag any stand the public can reach.
- Hanging chain and wire kits — window displays and the hang-from-above installs (backdrop methods in the wedding backdrop guide).
- Small acrylic display stands — the lean-a-sign prop for shelves and desks (desktop formats).
Category 5: The Cleaning Kit (Two Tools)
The entire approved kit is a microfiber cloth (dry and a barely-damp second one) and a soft brush for the connector and adapter vents. What never enters the kit: ammonia sprays, alcohol on acrylic, paper towels — the forbidden list and technique live in the cleaning guide. Total investment: about six dollars, monthly impact: measurable.

Category 6: The Small Spare-Parts Drawer
The five-dollar wisdom of sign ownership — a zip-lock with:
- Coin cells for the remote (CR2025/CR2032) — the 2 am failure with the 30-second fix.
- Two spare wall anchors and screws — for the rehang after painting.
- Spare zip ties and cord clips — because maintenance days need them.
- The sign’s spec card (voltage, wattage, adapter model, purchase date, warranty window) — the single most valuable scrap of paper in the drawer: every future accessory purchase matches numbers off this card, and warranty claims quote it (warranty terms).
The Complete First-Year Kit, Priced
| Item | Cost | Priority |
|---|---|---|
| In-box mounting kit | included | — |
| Surge strip | $15 | Buy day one |
| Coin cells + spare anchors | $5 | Buy day one |
| Microfiber cloths ×2 | $6 | Buy day one |
| Cord clips + channel | $15–25 | First week |
| In-line dimmer (if no remote) | $10–20 | First week |
| Smart plug | $10 | Optional |
| Stand / chain by display plan | $20–60 | As needed |
| Battery station | $60–150 | Events only |
| Spare matched adapter | $20–40 | Signs you’d miss |
Day-one spend of about $25 covers 90% of the accessory life; everything else is situational.
Accessories Start at the Order
The cheapest accessory path is specifying at design time: dimming integrated, backing type chosen for the wall (backing guide), control tier matched to household (the builder prices each option live) — order-time integration costs less than every retrofit and skips the compatibility questions entirely. Then the drawer, the strip, and the cloths: the $25 that makes year one smooth.
The Accessory Files: Four Households, Equipped
What the kit looks like in real ownership, by household type:
The renter’s kit ($35 total). Strips and clips (the mounting currency), the cord channel for the camera-facing drop, coin cells, and the paper spec card photographed to the cloud — everything damage-free, nothing permanent, the whole kit fitting one drawer slot. The renter’s upgrade path runs through the lease: if it becomes home, the hardware store’s anchor aisle awaits (the renter playbook).
The collector’s kit. Three signs or more changes the math: the surge strip becomes the power spine (the topology), the labeled-cord discipline becomes mandatory rather than nice, the spare-adapter question gets answered per-sign (the collection’s most-missed piece gets its twin), and the cleaning kit scales to a drawer of microfiber. Collectors add one accessory nobody else needs: the original boxes, stored flat — the collection’s future travel and resale infrastructure (the collecting system).
The event kit. The traveling sign’s different list: gaffer tape over clips (venues change), zip ties over screws (frames not walls), the battery station charged and labeled, the extension cord in outdoor rating, and the photographed-setup reference on the phone. Event kits live in one toolbox by the door, packed, ready — the difference between the working event stylist and the hopeful one (the event playbook).
The business kit. The storefront’s additions: the smart-plug layer for the open/close automation (the tiers), the spare adapter on the shelf (downtime economics — a dark OPEN sign costs more daily than the part costs once), and the quarterly inspection scheduled like any facility maintenance (the maintenance calendar). Businesses treat accessories as operations; households treat them as convenience; both budgets are right.
The forgotten accessory that matters most: the spec card — voltage, wattage, adapter model, purchase date, warranty window — photographed and cloud-stored. Every future accessory purchase, every warranty claim, every troubleshooting session starts on that card’s numbers; losing it costs an hour of label-reading and a risk of mis-matching (the power rules). Ten seconds to photograph; the accessory that prevents all the others’ mistakes.
Buying Accessories: The Sourcing Notes
Where each category sources best: mounting hardware from hardware stores (the local aisle beats shipping for anchors and bits, and staff advice on your wall type is free); dimmers and controllers from the sign’s maker first (guaranteed compatibility — the retrofit path only when the maker has none (the dimming how-to)), or electronics suppliers with stated specs (voltage, wattage, polarity — the matching rules apply wherever you buy); power accessories from reputable brands (surge strips especially — the category where certification marks do the real work); stands and display hardware from photo-supply and music-gear sources (decades of professional-grade options the sign industry never needed to invent — the easel and tripod routes (the freestanding formats)); and cleaning supplies from any grocery aisle (the microfiber two-pack — the kit’s cheapest, most-used members).
The universal sourcing rule: accessories reward specification over browsing — every item above exists in matched and mismatched versions, and the difference is reading your sign’s label once and buying to it (the spec-card discipline). The $25 day-one kit assembled deliberately outperforms the $100 kit assembled hopefully; the drawer with labels outperforms the box of mysteries; and every accessory conversation ends where this page began — at order time, where the smartest accessory decisions are made before the sign exists (design yours with the accessories in mind).
FAQ: Accessories That Get Asked About
Can I use any screws to mount my neon sign? The included kit’s screws match the backing’s keyhole mounts — substitutions want the same shaft diameter and head type (pan-head, not flat, which sinks through keyholes). Wall anchors are the part to match to the wall, not the sign: drywall plugs, masonry sleeves, or studs as the surface dictates (the hardware map).
Do neon signs need special extension cords? Indoors, any quality cord works; outdoors or through damp zones, outdoor-rated (“W”-jacket) cords only, sized one gauge heavier than the load suggests (the outdoor rules). The sign’s low draw makes length the only real concern — voltage drop starts mattering past fifty feet, where a heavier gauge earns its price.
What size zip ties for neon sign installs? Four-inch ties handle sign-to-backdrop and cable-bundle work; six-inch for frame mounts and event stands; the white ones disappear on light surfaces, black on dark — buy both, they cost nothing and every install category above uses one or the other.
FAQ: Neon Sign Accessories
What accessories do I need for a neon sign? The day-one kit: surge-protected strip, spare coin cells for the remote, microfiber cloths, and cord clips — about $25 total. From there: dimming control if the sign lacks it, wall-matched mounting hardware, and display accessories (stand, chain) per your placement.
Can I buy a dimmer for an existing neon sign? Yes — an in-line LED dimmer pod matched to the sign’s voltage (12V/24V) and wattage, connected between adapter and sign on the low-voltage side. Signs with remote or app control already have theirs built in.
What hardware do I need to hang a neon sign on brick? Masonry bits, plastic or metal sleeve anchors, and a hammer drill — plus the compressed air for hole-cleaning that makes anchors grip. The brick chapter of the hanging guide covers the full method.
Do neon signs come with mounting hardware? Quality signs ship with screws, wall anchors, and sometimes standoffs or chain — covering drywall and wood. Brick, plaster, and no-drill situations need the wall-specific upgrades listed here.
What’s the best stand for displaying a neon sign? An easel for tabletop and display heights, a tripod for photo-corner flexibility, and a weighted-base post for permanent floor installations — sandbagged whenever crowds can reach. The full format comparison is in the freestanding guide.
How do you clean a neon sign — what products? A dry or barely-damp microfiber cloth and a soft brush for vents, powered off — no ammonia, no alcohol on acrylic, no paper towels. The complete technique lives in the cleaning guide.
Sources & Further Reading
- Solid-State Lighting (U.S. Department of Energy) — DOE reference on LED efficacy and lifetime.
- Neon sign (Wikipedia) — the consolidated public record of neon-sign history and technology.
Pricing based on CustomNeon’s current catalog (2026); custom quotes come live from the sign builder.