Neon Sign Components: Parts and What They Do
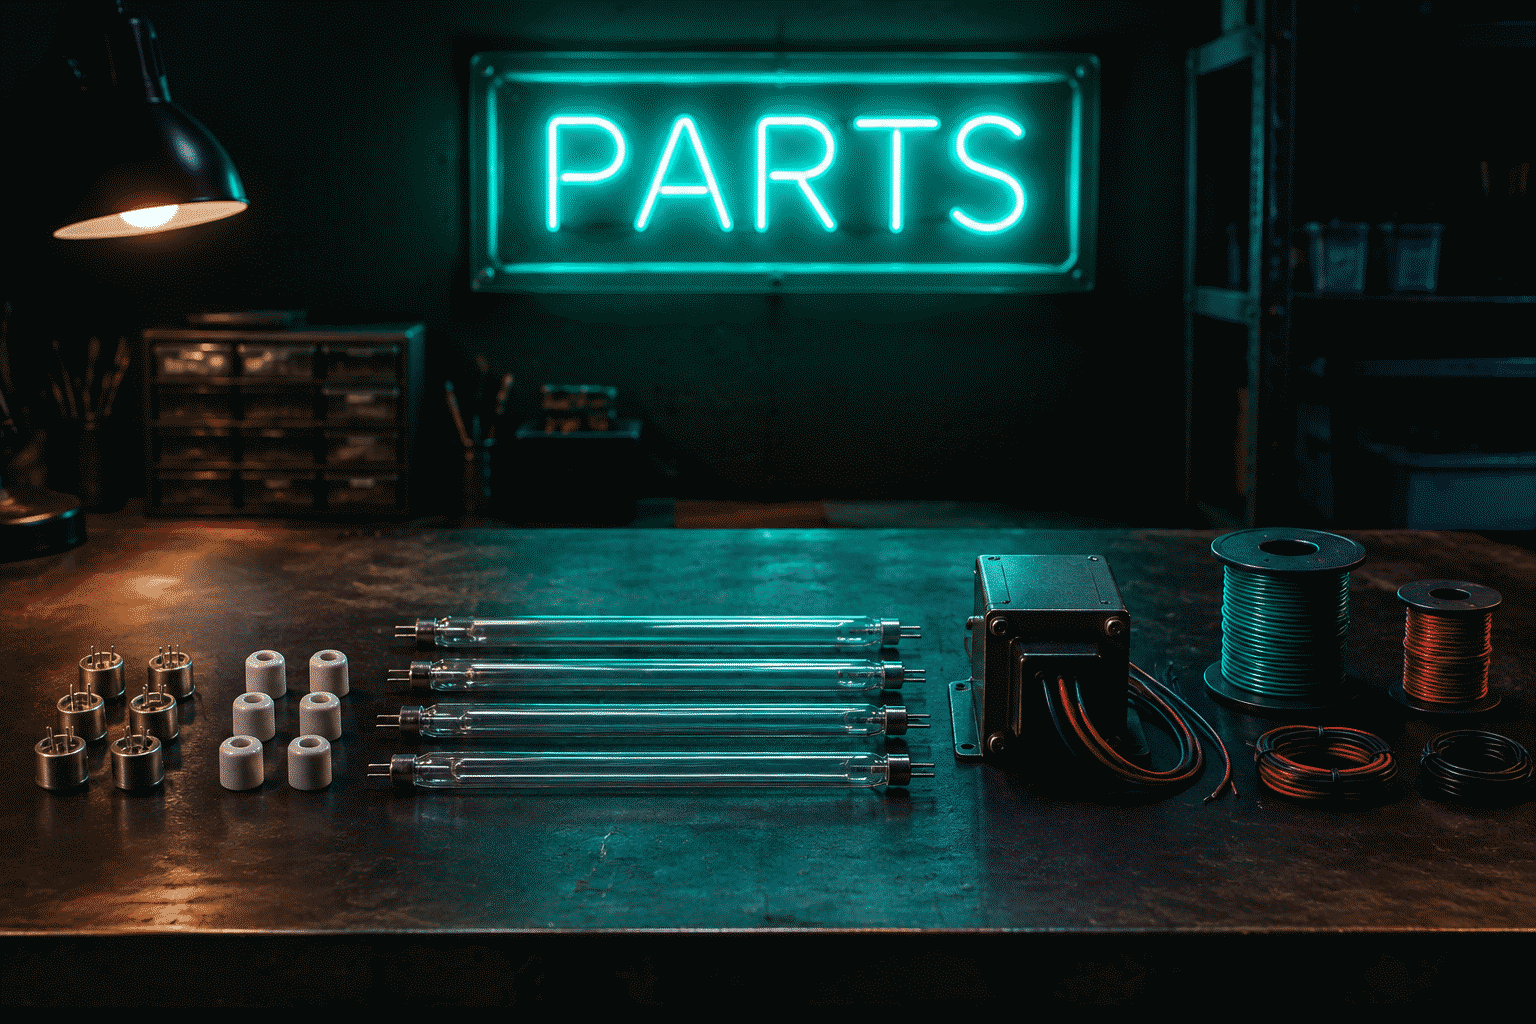
An LED neon sign is six components (flex tubing, backing, adapter, controller, connectors, remote) and a glass sign is five (tubes, gas, electrodes, transformer, frame) — and the reason to know them isn’t engineering trivia: it’s ownership fluency. Every repair, every warranty conversation, every compatibility question reduces to knowing which part is speaking. The materials-view of the same ground lives at what is neon made of; this page is the parts-as-systems view, with each component’s failure behavior and fixability noted as we go.
The LED Sign: Six Components
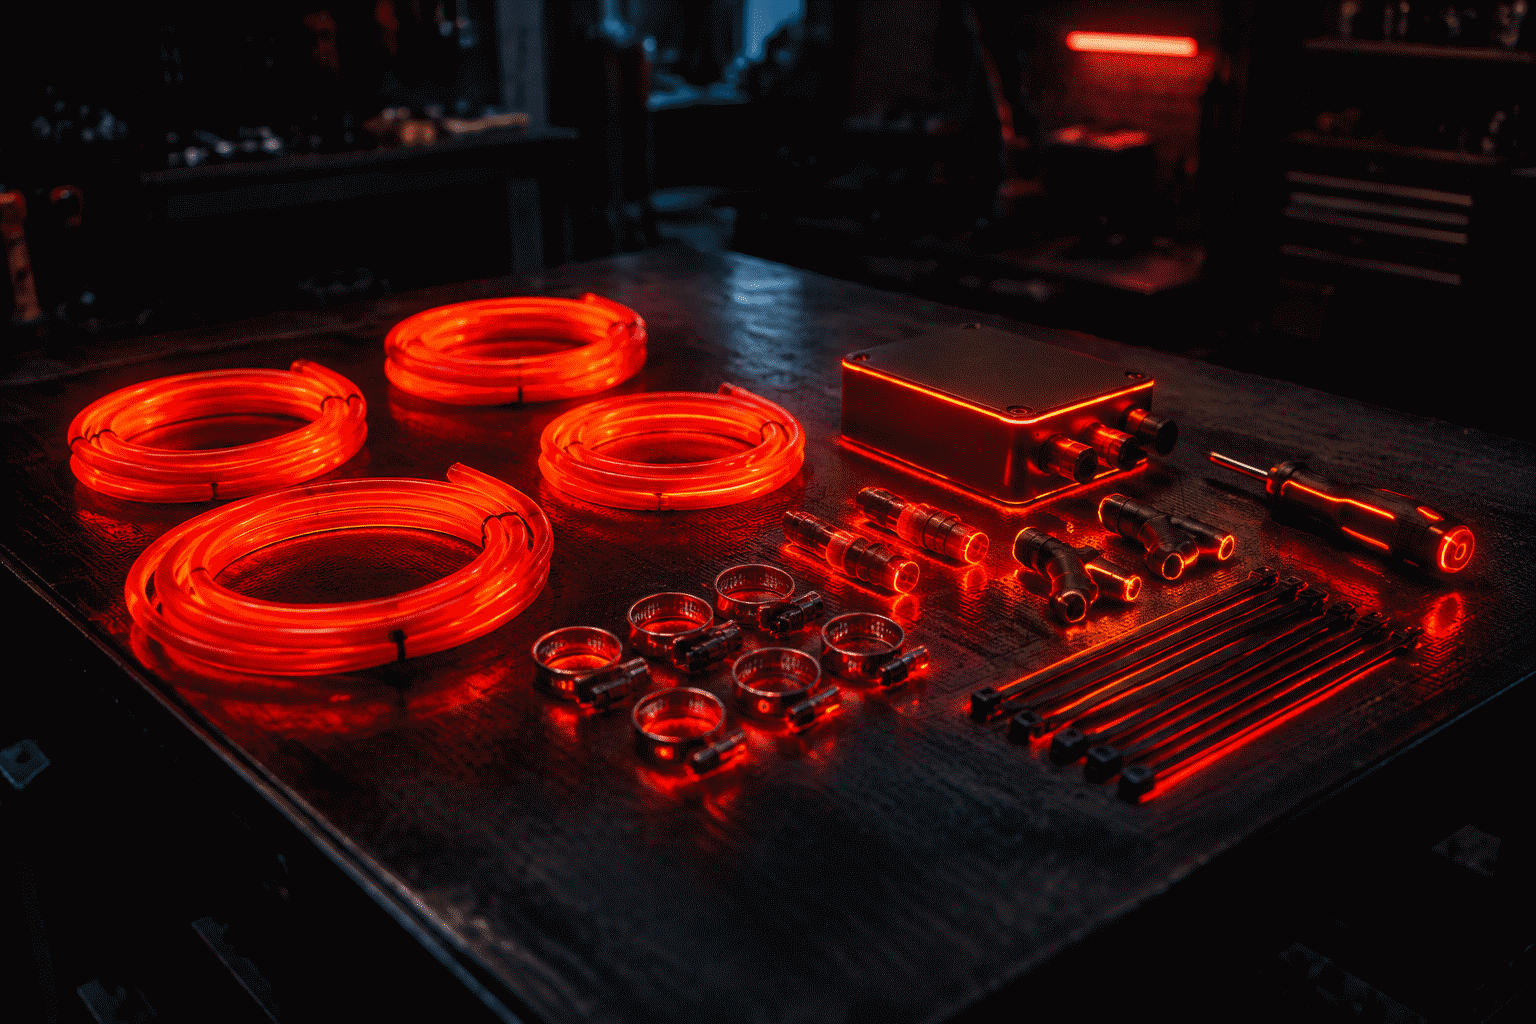
1. The LED flex (the glowing “tube”). Silicone-jacketed diode strip — the sign’s light and color, manufactured in (how it works). Failure behavior: essentially doesn’t, outside physical damage — the most reliable component in the stack; dim sections usually trace to power delivery, not the flex itself. Fixability: section replacement is panel-level work (economics) — the flex is the sign.
2. The backing (acrylic panel). The chassis: cut-to-shape or full panel (the decision guide), carrying the mounting holes and the flex. Failure behavior: cracks from drops and overtightened screws — a maintenance-discipline issue, not age. Fixability: replaceable panel work; prevention is free (snug, not torqued — hanging guide).
3. The adapter (power supply). The certified brick converting mains to 12–24V DC — the component your wall meets (the full power layer). Failure behavior: the #1 thing that dies on any LED sign (heat cycles, surges, age). Fixability: five-minute DIY swap with a matched replacement — the part worth understanding specs for.
4. The controller/driver module. The electronics between adapter and flex: dimming (PWM), RGB channel logic, remote/app receivers (the control layer). Failure behavior: mode confusion (usually re-pairing, not death) and occasional genuine failure — the second-most-replaced part. Fixability: in-line replacements exist; on integrated signs, warranty territory.
5. The connectors and cord. Every junction: adapter-to-controller, controller-to-sign, remote receiver points. Failure behavior: the flicker-and-intermittent crowd — vibration, corrosion, strain (the diagnosis tree). Fixability: excellent — the jiggle test finds them, reseating or $10 parts fix them, and sealed outdoor connectors prevent them (waterproofing).
6. The remote (and its coin cell). The handset controlling the layers above (the full manual). Failure behavior: 90% battery, 10% pairing, 0% mystery. Fixability: $2 cells and a 30-second re-pair — keep spares (the accessories drawer).
The ownership summary: adapter first, controller second, connectors third, everything else barely — which is why the maintenance routine inspects exactly those parts annually.
The Glass Sign: Five Components
1. The glass tubes. Hand-bent letterforms — structure, gas vessel, and light-path in one (the craft). Failure behavior: breakage (physical) and slow pressure loss over decades — dimming sections mean a shop visit for re-pumping (repair economics). Fixability: professional, per-section, priced accordingly.
2. The gas fill. Neon, argon, and kin inside the tubes (the chemistry). Failure behavior: never depletes — the immortal component; tube dimming is electrode or phosphor aging, not gas loss. Fixability: n/a — and knowing this saves owners from the classic “refill my gas” request shops politely decode.
3. The electrodes. Sealed metal terminals at tube ends, where current enters the discharge. Failure behavior: the quiet lifespan-limiter — electrode wear darkens tube ends and eventually calls for section rebuilds. Fixability: professional tube work.
4. The transformer. The 2,000–15,000V power source (the power reality) — the glass sign’s heaviest, most failure-prone, most safety-critical part. Failure behavior: buzzing, flicker, hum changes — announce-and-replace behavior (what the symptoms mean). Fixability: professional replacement, $150–400, the most common glass repair of all.
5. The frame and mounting structure. The grid or panel carrying the tubes — historically wire-and-porcelain, modernly acrylic (backing guide). Failure behavior: structural fatigue and mount loosening. Fixability: hardware work, part of any service visit.
The Failure Map (Both Technologies, One Table)
| Component | LED sign | Glass sign | Dies first? | DIY? |
|---|---|---|---|---|
| Power supply | Adapter | Transformer | Yes — both | LED: yes / Glass: pro |
| Controls | Controller+remote | — | Second | LED: mostly |
| Junctions | Connectors | Electrodes | Intermittent first | LED: yes / Glass: pro |
| Light element | LED flex | Tubes+gas | Essentially never first | Rarely worth it |
| Structure | Backing | Frame | Physical damage only | Panel work |
The pattern worth internalizing: in both technologies, the parts around the light die before the light. Adapters and transformers, controllers and electrodes — the supporting cast takes the mortality risk, and knowing that shapes everything from the spare-parts drawer to the warranty reading to the repair-or-replace math.
Why This Page Pays For Itself
Concretely: “my sign flickers” + this page = “check connectors and adapter” instead of a warranty claim that bounces; “sign is dim” + this page = “phosphor age or power delivery — measure before worrying”; “which replacement part” + this page = spec-matched adapter instead of a fried board (the matching rules). Component fluency is the cheapest form of sign insurance.
And when you’re specifying a new one, the component tiers are the quality tiers: certified adapters, sealed connectors, high-density flex, real controllers — the parts list you now understand is exactly the spec sheet the custom builder prices out.
Upgrading and Extending: The Modding Ground
What the component map says about legitimate upgrades and the modifications to refuse:

The upgrades that work. Replacing a failed adapter with a better-certified unit (the matching rules); adding an in-line dimmer to a bare sign (the retrofit path); upgrading the power chain’s safety (surge strip, better cord routing); and swapping remote systems where makers offer generation upgrades. Each upgrade lives in the power-and-control layer — the parts designed to be serviceable (the component philosophy).
The extensions that work. Adding signs to a system (the multi-sign build — each new piece joining the cable and control architecture (the studio walkthrough)); adding battery capability for placement freedom (the power options); adding smart control at the plug or sign level (the tiers). Extensions scale the system rather than modifying components — the safe direction of change.
The modifications to refuse. Opening sealed sections (the flex is not serviceable — panel replacement is the repair (the failure map)); splicing sections to change a sign’s text (structural failure plus warranty void (the void list)); re-backing or re-glassing a completed sign (the design’s geometry and electronics were married at manufacture); and any mains-side improvisation (the hard line that keeps insurance valid). The boundary’s logic: the light-emitting layer is monolithic by design; everything around it is legitimately yours to improve.
The gray zone, adjudicated. Replacing a sign’s backing hardware (screws, standoffs) with better parts: fine — mechanical interfaces are consumables. Repainting a black backboard: fine, it’s furniture. Re-wiring within the connector architecture using proper parts: fine when documented. The test that resolves all gray cases cleanly: does the modification live in the serviceable layer (yes = proceed), or does it breach the sealed light layer (no = refuse)?
The component map’s final gift: it draws the serviceability boundary so precisely that ownership decisions become easy — upgrade the chain, extend the system, protect the core. That’s the whole maintenance philosophy of the modern sign, in three verbs.
FAQ: Neon Sign Components
What are the main components of a neon sign? LED signs: flex tubing, acrylic backing, adapter, controller, connectors, remote. Glass signs: tubes, gas fill, electrodes, transformer, frame — full breakdowns of both above.
What part of a neon sign fails most often? The power supply in both technologies — LED adapters and glass transformers carry the heat-cycle and surge mortality. Connectors and controllers follow; the light-emitting elements (flex, tubes) essentially never fail first.
Can neon sign components be replaced? Yes — LED adapter and connector replacements are DIY-level with spec matching, controllers swap in-line, and glass transformers and tube sections are professional but routine service work. The repair-vs-replace math is in our cost guide.
What does the transformer do in a glass neon sign? Steps mains power up to the 2,000–15,000 volts that ionize the gas — the component that makes glass neon professional-install hardware, and the first part to announce its retirement (buzzing, flicker).
Is the gas in a neon sign a component that runs out? No — the noble gas fill never depletes in a sealed tube. Tube dimming over decades is electrode and phosphor aging; “gas refills” aren’t a thing, but re-pumping (reprocessing with fresh gas during electrode work) is the shop service that addresses it.
What components should I keep spares of? For LED signs: the adapter’s spec card, spare coin cells, and a surge strip — the $25 kit in our accessories guide. The light itself doesn’t need spares; the supporting cast does. The component map’s closing truth: ownership fluency is maintenance fluency — knowing which part speaks when something misbehaves is the difference between a five-minute fix and a pointless replacement (the map). The parts around the light die before the light; upgrade the chain, extend the system, protect the core — three verbs that cover every legitimate intervention, and the whole service philosophy of the modern sign in one sentence.
The Map’s Practical Payoff, Restated
Consider what component fluency did across this page’s scenarios: the flicker diagnosis that ended at a $6 connector instead of a $200 board (the tree), the adapter death met with a spec-matched swap instead of a warranty claim that bounces (the matching), the RGB mode confusion solved by one static-key press instead of a return label (the mode logic). Three scenarios, one skill, roughly four hundred dollars of avoided mistakes — the component map pays for itself the first time anything flickers. Study it once; collect the dividends for years.
Sources & Further Reading
- Neon: Strong Lines (NIST Physical Reference Data) — the standard reference for neon’s emission wavelengths.
- Argon: Strong Lines (NIST Physical Reference Data) — the standard reference for argon’s emission wavelengths.
- Solid-State Lighting (U.S. Department of Energy) — DOE reference on LED efficacy and lifetime.
- Neon sign (Wikipedia) — the consolidated public record of neon-sign history and technology.
Pricing based on CustomNeon’s current catalog (2026); custom quotes come live from the sign builder.